

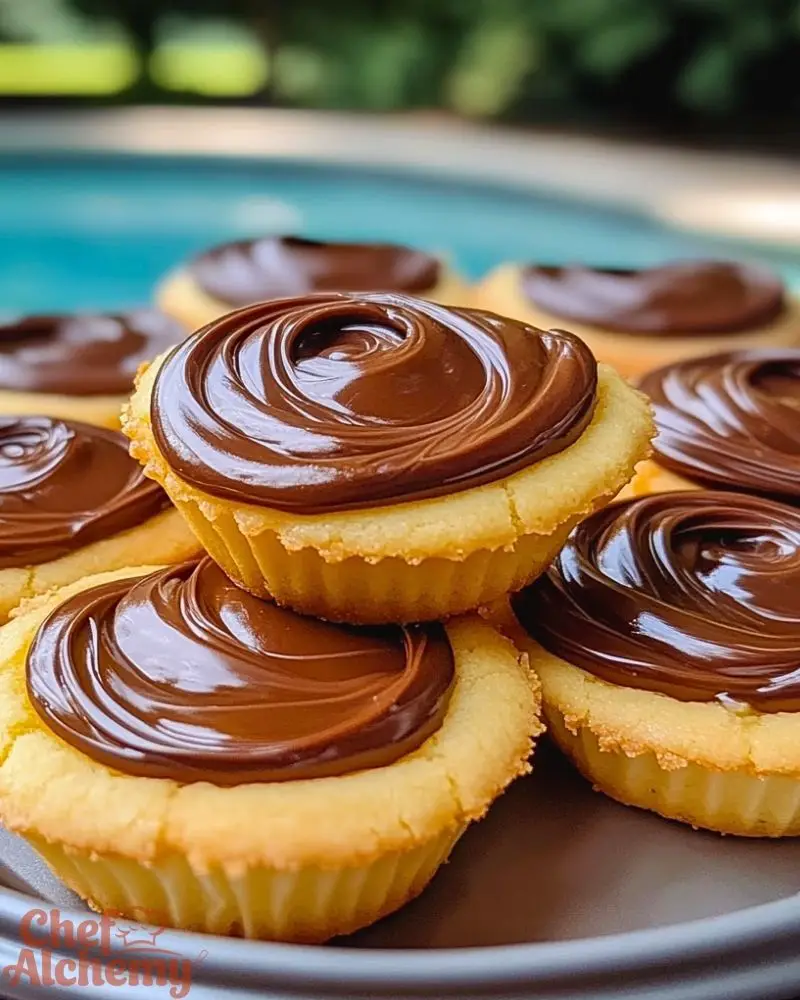
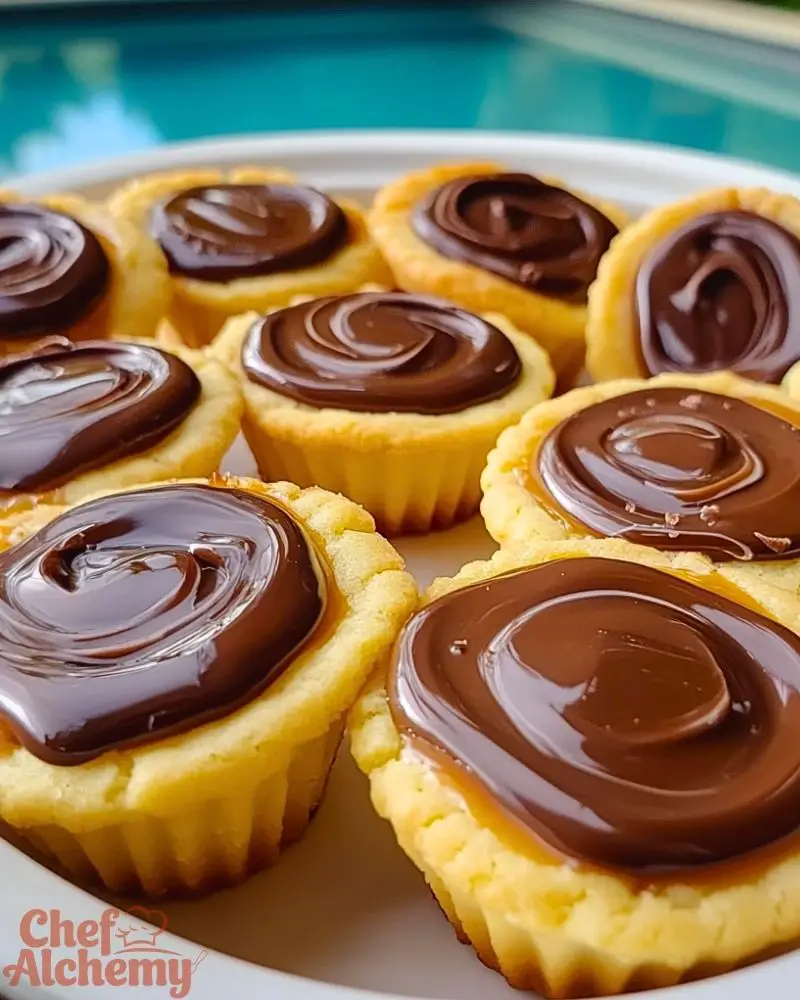
If you’re craving a delicious treat that combines buttery cookie, rich caramel, and smooth chocolate all in one, Twix Cookie Cups are the answer. These indulgent bites are a fun twist on the classic Twix candy bar, transformed into a bite-sized dessert that’s perfect for any occasion. With a soft, melt-in-your-mouth cookie base, a luscious layer of caramel in the middle, and a glossy chocolate topping, these cookie cups bring all the best flavors together in an irresistible combination.

The beauty of these Twix Cookie Cups lies not just in their deliciousness, but also in how easy they are to make. Whether you’re preparing them for a weekend treat or a festive gathering, these cookie cups are sure to be a hit. They offer the nostalgic taste of a Twix bar, but with a homemade touch that elevates them to something truly special. Perfectly portioned and ready to enjoy, you’ll want to make these again and again.
Why You’ll Love This Twix Cookie Cups Recipe
These cookie cups are everything you love about the classic Twix candy bar, with a homemade twist that makes them even more irresistible. The crispy, buttery cookie base provides the perfect contrast to the gooey caramel and decadent chocolate topping. Whether you’re a fan of cookies, caramel, or chocolate, these treats tick all the boxes. Plus, they’re incredibly easy to prepare, making them a great option for both seasoned bakers and those new to the kitchen.
Preparation Phase & Tools to Use
When preparing Twix Cookie Cups, the right tools and equipment can make all the difference in achieving that perfect texture and flavor. Below are some essential tools you’ll need:
- Muffin Tin: This is crucial for shaping the cookie cups. A standard 12-cup muffin tin works perfectly to create evenly sized cookie cups.
- Mixing Bowls: You’ll need at least two bowls—one for mixing the cookie dough and another for preparing the caramel layer.
- Electric Mixer or Handheld Whisk: For mixing the cookie dough, an electric mixer is recommended to ensure the butter and sugar blend smoothly. If you don’t have one, a handheld whisk will work, but it may take a little longer.
- Cookie Scoop or Spoon: This tool ensures each cup is filled with the right amount of dough, helping to create uniform-sized cookie cups.
- Saucepan: If you’re making the caramel from scratch, a saucepan is essential for melting the sugar and butter together.
Each of these tools helps streamline the process, making it easier to prepare each layer with precision.
Preparation Tips
- Room Temperature Ingredients: Ensure your butter and eggs are at room temperature before starting. This helps to mix the ingredients together more smoothly and evenly, giving your cookie cups the best texture.
- Chill the Dough: After mixing the cookie dough, chilling it for about 15-20 minutes in the fridge will prevent it from spreading too much while baking. It also helps the dough hold its shape better in the muffin tin.
- Use Non-Stick Spray: While most muffin tins are non-stick, it’s always a good idea to lightly grease them with non-stick spray or line with paper liners to ensure the cookie cups come out easily.
- Evenly Fill the Muffin Tin: Use a cookie scoop or spoon to evenly distribute the dough in each muffin cup. This ensures each cookie cup bakes uniformly and gives you consistent-sized portions.
- Let Them Cool Completely: Allow the cookie cups to cool in the tin before removing them. This helps them hold their shape and makes the process less messy when you add the caramel and chocolate layers.
Ingredients for this recipe
To make these delicious Twix Cookie Cups, you’ll need the following ingredients:
For the Cookie Base:
- 1 cup (2 sticks) unsalted butter, softened
- 1/2 cup granulated sugar
- 1 large egg
- 1 teaspoon vanilla extract
- 1/4 teaspoon salt
- 2 cups all-purpose flour
For the Caramel Layer:
- 1/2 cup (1 stick) unsalted butter
- 1/2 cup packed brown sugar
- 1/4 cup heavy cream
For the Chocolate Topping:
- 1 cup milk chocolate chips (or you can use dark chocolate or white chocolate, depending on your preference)
These simple ingredients come together to create the perfect blend of buttery cookie, smooth caramel, and rich chocolate, ensuring every bite is indulgent and satisfying.
Step 1: Prepare the Cookie Dough
Start by preheating your oven to 350°F (175°C). In a large mixing bowl, cream together the softened butter and sugar using an electric mixer or whisk until light and fluffy. Add in the egg, vanilla extract, and salt, mixing until everything is well incorporated. Gradually add the flour, mixing on low speed until the dough comes together. Be careful not to overmix, as this could result in a dense texture.
Step 2: Form the Cookie Cups
Once the dough is ready, chill it for about 15-20 minutes in the refrigerator to firm it up slightly. Using a cookie scoop or spoon, take small portions of the dough and press them into the bottom of each muffin cup, ensuring an even layer that covers the base. Use your fingers to gently press the dough up the sides of each cup to form a little crust. Bake the dough in the preheated oven for about 10-12 minutes or until the edges are golden brown.
Step 3: Prepare the Caramel Layer
While the cookie cups are baking, prepare the caramel. In a saucepan, melt the butter and brown sugar over medium heat, stirring constantly until the sugar dissolves. Bring the mixture to a gentle simmer for 2-3 minutes. Remove from heat and stir in the heavy cream, then return to low heat for another minute to thicken slightly. Be careful not to let the caramel boil over.
Step 4: Assemble the Twix Cookie Cups
Once the cookie cups have cooled slightly (about 5 minutes after baking), gently press a small indentation in the center of each cup with the back of a spoon or your thumb. Spoon about 1 teaspoon of caramel into each indentation, filling them evenly.
Step 5: Add the Chocolate Topping
Melt the chocolate (either in a microwave-safe bowl in 20-second intervals, stirring in between, or in a double boiler). Once melted, carefully spoon or drizzle the chocolate over the caramel layer in each cookie cup, spreading it into a smooth, glossy layer. Allow the chocolate to set before serving, either by letting it cool at room temperature or refrigerating for 10-15 minutes for a quicker set.
Notes
- Customize the Caramel: You can easily modify the caramel layer by adding a pinch of sea salt for a salted caramel twist. If you prefer a richer caramel flavor, try adding a teaspoon of vanilla extract to the caramel mixture just before removing it from heat.
- Make It Ahead: These Twix Cookie Cups can be prepared ahead of time. Once assembled, you can store them in the refrigerator for up to a week. The flavors will meld together beautifully as they sit.
- Use Quality Chocolate: The chocolate topping is one of the key flavors, so be sure to use a good-quality chocolate for the best results. You can use milk chocolate, dark chocolate, or even chocolate with a hint of caramel or toffee for an extra layer of flavor.
Watch Out for These Mistakes While Cooking
- Overbaking the Cookie Cups: The cookie cups should be lightly golden around the edges, but don’t let them get too dark or they’ll become dry. Check them at the 10-minute mark to ensure they’re perfectly baked.
- Not Cooling Before Assembling: If the cookie cups are too warm when you add the caramel or chocolate, the layers may melt into one another and create a gooey mess. Make sure to let the cookie cups cool before adding the toppings.
- Overmixing the Dough: When you mix the cookie dough, be careful not to overwork it. Overmixing can result in tough cookie cups, so stop mixing as soon as the dough comes together.
- Too Much Caramel: While caramel is delicious, adding too much will cause it to spill over the sides when you add the chocolate. Stick to about 1 teaspoon per cookie cup to ensure a balanced bite.
- Not Allowing the Chocolate to Set: Be patient and allow the chocolate to set fully before serving. If you try to eat them too soon, the chocolate may still be runny, making it difficult to handle.
What to Serve With Twix Cookie Cups?
Twix Cookie Cups are a delightful treat on their own, but they can be paired with a variety of foods and beverages to enhance the experience. Here are some great serving suggestions:
1. Vanilla Ice Cream
A scoop of creamy vanilla ice cream pairs wonderfully with the rich flavors of the cookie cups. The coolness of the ice cream contrasts with the warmth of the caramel and chocolate.
2. Whipped Cream
For an extra layer of lightness, top each cookie cup with a dollop of freshly whipped cream. It’s simple but adds a touch of elegance and balance.
3. Fresh Berries
The tartness of fresh berries like strawberries, raspberries, or blackberries complements the sweetness of the cookie cups, offering a refreshing contrast.
4. Chocolate Milk
For a nostalgic treat, serve these cookie cups with a glass of chocolate milk. The chocolatey drink will enhance the flavors and make the whole dessert feel extra indulgent.
5. Coffee or Espresso
If you’re serving these as an afternoon snack or dessert, pair them with a cup of strong coffee or espresso. The bitterness of the coffee balances out the sweetness of the cookies.
6. Caramel Latte
For an extra twist, a warm caramel latte makes a wonderful beverage pairing. The rich coffee flavor complements the caramel and chocolate layers perfectly.
7. Milkshakes
Blend up a milkshake, perhaps chocolate or vanilla, for a thicker, indulgent pairing. A milkshake’s creamy texture will make the whole dessert experience feel extra special.
8. Frozen Yogurt
If you’re looking for a lighter option, frozen yogurt offers a tangy contrast to the sweetness of the cookie cups, and it adds a creamy element that’s equally delicious.
These pairing ideas can elevate your Twix Cookie Cups, making them the perfect treat for any occasion! Whether you’re serving them at a party or enjoying them as a cozy snack, these ideas add a little something extra to make your dessert experience even better.
Storage Instructions
Twix Cookie Cups are best enjoyed fresh, but they can also be stored for later enjoyment. Here’s how to keep them fresh:
- Room Temperature: If you’re planning to eat the cookie cups within a few days, you can store them in an airtight container at room temperature for up to 3-4 days. Just make sure they’re completely cooled before storing them to avoid any condensation that could make them soggy.
- Refrigeration: For longer storage, refrigerate the cookie cups in an airtight container. They will stay fresh for up to a week. The caramel and chocolate will harden slightly in the fridge, making the cookie cups firmer, but still delicious.
- Freezing: You can freeze these cookie cups for up to 3 months. After assembling and letting them cool, place them on a baking sheet and freeze them individually. Once frozen, transfer them to an airtight container or freezer bag. When ready to enjoy, thaw at room temperature for about 30 minutes or warm them up in the microwave for a few seconds.
Estimated Nutrition
Here’s an approximate breakdown of the nutrition for each Twix Cookie Cup (based on one serving):
- Calories: 210-250 kcal
-
Fat: 12-15g
- Saturated Fat: 7-9g
-
Carbohydrates: 25-30g
- Sugars: 15-18g
- Fiber: 1-2g
- Protein: 2-3g
- Cholesterol: 25-30mg
- Sodium: 80-100mg
Keep in mind that the exact nutritional content can vary based on the ingredients used, such as the type of chocolate and the portion size of caramel added. For a lighter version, you can try reducing the amount of caramel or using a sugar-free chocolate.
Frequently Asked Questions
1. Can I use a different type of chocolate for the topping?
Absolutely! You can use dark chocolate, milk chocolate, or even white chocolate as a topping. Each will bring a slightly different flavor, but all will pair beautifully with the caramel and cookie base.
2. Can I make the caramel from scratch?
Yes, making the caramel from scratch is simple and adds a richer flavor. Just follow the instructions for creating your own caramel, or use store-bought caramel sauce if you’re short on time.
3. Can I freeze Twix Cookie Cups?
Yes! You can freeze the cookie cups after they’ve cooled and assembled. Just freeze them on a baking sheet first, then transfer them to an airtight container. They will last for up to 3 months in the freezer.
4. How long do Twix Cookie Cups last?
Twix Cookie Cups can be stored at room temperature for 3-4 days, in the fridge for up to a week, and frozen for up to 3 months.
5. Can I add more caramel to the cookie cups?
Yes, you can add more caramel if you prefer a gooier center. Just be careful not to overfill, as it can spill over the sides when you add the chocolate topping.
6. Can I make these cookie cups gluten-free?
Yes! To make these gluten-free, use a gluten-free flour blend in place of the all-purpose flour. Just ensure your caramel and chocolate toppings are also gluten-free.
7. What’s the best way to melt the chocolate for the topping?
The best way to melt chocolate is either in the microwave in 20-second intervals (stirring between each) or using a double boiler. Both methods ensure the chocolate melts smoothly without burning.
8. Can I add nuts or other toppings to these cookie cups?
Yes, you can get creative with your toppings! Chopped nuts like pecans or walnuts, sprinkles, or a drizzle of caramel sauce can add extra texture and flavor to the cookie cups.
Conclusion
Twix Cookie Cups are the ultimate treat for anyone with a sweet tooth. They combine the best parts of a classic candy bar—caramel, chocolate, and cookie—into a bite-sized dessert that’s perfect for any occasion. Whether you’re preparing them for a family gathering, a party, or just a cozy treat at home, these cookie cups are sure to be a hit. Plus, with their versatility in toppings and fillings, you can easily customize them to suit your preferences. So, grab your ingredients, follow the steps, and enjoy these delicious, homemade Twix Cookie Cups!

Twix Cookie Cups
- Total Time: 24 minute
- Yield: 12 Twix Cookie Cups
Description
These Twix Cookie Cups are a decadent treat that combines the rich flavors of a buttery cookie base, gooey caramel, and smooth chocolate. They’re a fun, bite-sized version of the classic Twix candy bar, perfect for any occasion. Easy to make, these cookie cups will quickly become a favorite in your dessert repertoire. Whether you’re serving them at a party, a family gathering, or just enjoying them on your own, these treats are sure to satisfy your sweet tooth!
Ingredients
For the Cookie Base:
1 cup (2 sticks) unsalted butter, softened
1/2 cup granulated sugar
1 large egg
1 teaspoon vanilla extract
1/4 teaspoon salt
2 cups all-purpose flour
For the Caramel Layer:
1/2 cup (1 stick) unsalted butter
1/2 cup packed brown sugar
1/4 cup heavy cream
For the Chocolate Topping:
1 cup milk chocolate chips (or your preferred type of chocolate)
Instructions
-
Preheat the Oven: Preheat your oven to 350°F (175°C) and grease or line a 12-cup muffin tin with non-stick spray or paper liners.
-
Prepare the Cookie Dough: In a large mixing bowl, cream together the softened butter and sugar until light and fluffy. Add in the egg, vanilla extract, and salt, mixing well. Gradually add the flour and mix until the dough forms.
-
Chill the Dough: Chill the dough in the refrigerator for 15-20 minutes to firm it up slightly.
-
Form the Cookie Cups: Scoop portions of dough and press them into each muffin cup, ensuring an even layer. Press the dough up the sides to form a small crust. Bake for 10-12 minutes or until golden brown around the edges.
-
Prepare the Caramel: While the cookie cups bake, melt the butter and brown sugar in a saucepan over medium heat. Stir until the sugar dissolves, then bring to a simmer for 2-3 minutes. Remove from heat and add the heavy cream. Stir to combine, then set aside.
-
Assemble the Cookie Cups: Once the cookie cups have cooled slightly, use the back of a spoon to press an indentation in the center of each cup. Spoon about 1 teaspoon of caramel into each cup.
-
Add the Chocolate: Melt the chocolate chips either in the microwave in 20-second intervals or over a double boiler. Spoon the melted chocolate over the caramel layer, smoothing it into a glossy finish.
-
Let Them Set: Allow the chocolate to set either at room temperature or by placing the cookie cups in the refrigerator for 10-15 minutes until the chocolate hardens.
-
Serve and Enjoy: Once the chocolate has set, serve your Twix Cookie Cups, and enjoy these delightful, bite-sized treats!
- Prep Time: 20 minutes (plus chilling time for the dough)
- Cook Time: 10-12 minutes for baking, plus 10-15 minutes for chocolate setting
- Category: Dessert