

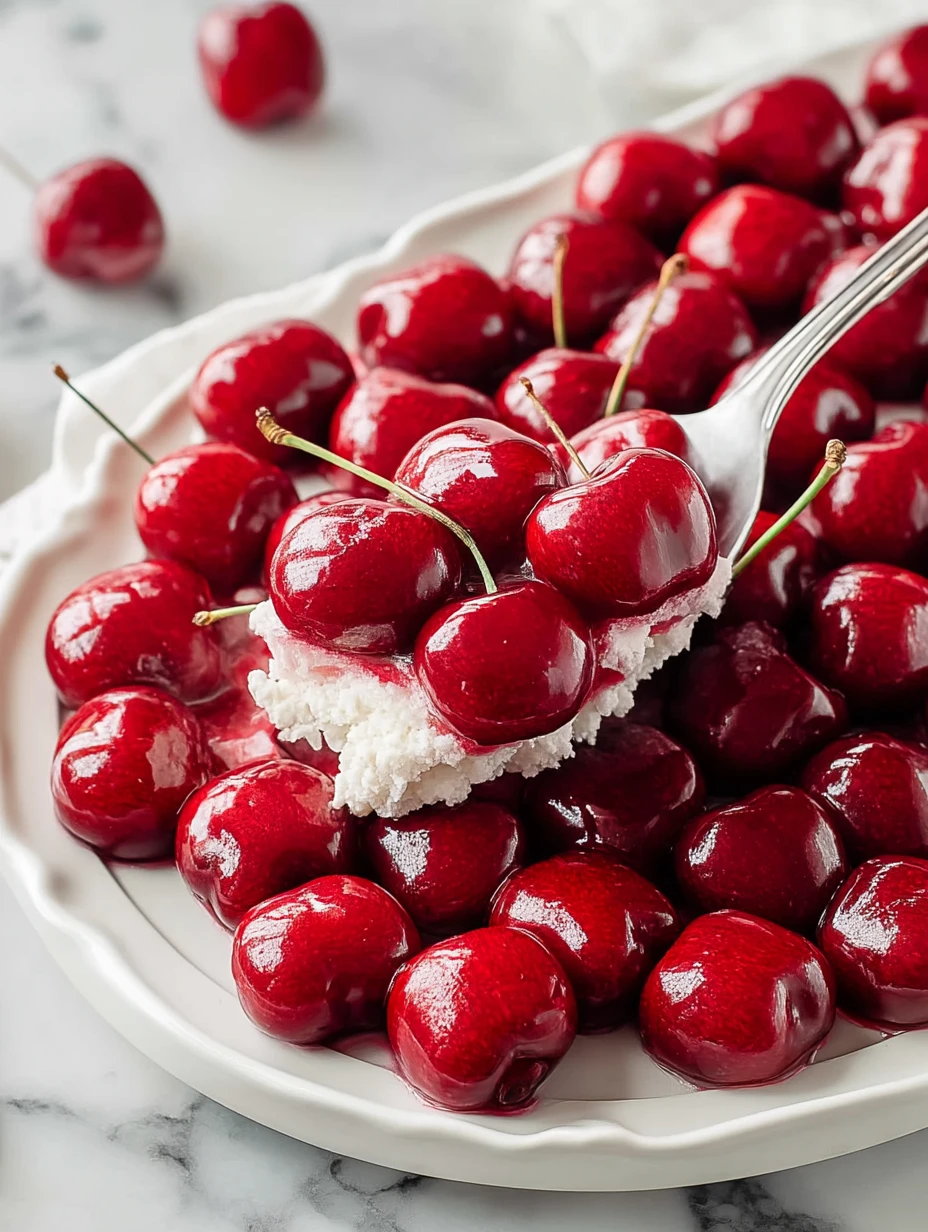
This no-bake dessert is a nostalgic slice of heaven, bringing back memories of holidays past. Vintage Cherries In the Snow layers fluffy, creamy filling over a bed of cake or cookie crumbs and finishes with a luscious cherry pie topping. It’s airy, sweet, and beautifully tart—the kind of treat that vanishes fast at family gatherings.

Whether you’re whipping it up for a special occasion or just because you need a quick, show-stopping dessert, this recipe never disappoints. With minimal effort and no oven required, it’s the perfect go-to when you need something stunning and delicious in a pinch.
What Kind of Base Should I Use?
Most vintage versions use ladyfingers or angel food cake for the base, but graham crackers or crushed vanilla wafers work beautifully too. You want something light that soaks up the flavors and provides a soft contrast to the creamy filling and cherries on top.
Ingredients for the Vintage Cherries In the Snow
- Cherry Pie Filling: The vibrant red cherries add sweet-tart flavor and create the signature glossy finish.
- Cream Cheese: Adds the rich, tangy body to the creamy layer.
- Powdered Sugar: Sweetens the filling without grittiness.
- Heavy Whipping Cream: Whipped and folded in to lighten the cream cheese mixture.
- Vanilla Extract: Adds warm depth to the filling.
- Angel Food Cake or Ladyfingers: Provides a soft, spongy base that absorbs flavor without getting soggy.
How To Make the Vintage Cherries In the Snow
Step 1: Prepare the Cream Layer
In a mixing bowl, beat cream cheese and powdered sugar until smooth. Add vanilla extract and mix well. In a separate bowl, whip heavy cream until stiff peaks form, then gently fold into the cream cheese mixture.
Step 2: Layer the Dessert
Tear or slice the angel food cake (or ladyfingers) into small pieces and spread evenly into the bottom of a 9×13 dish. Spoon the cream mixture over the cake layer and smooth the top.
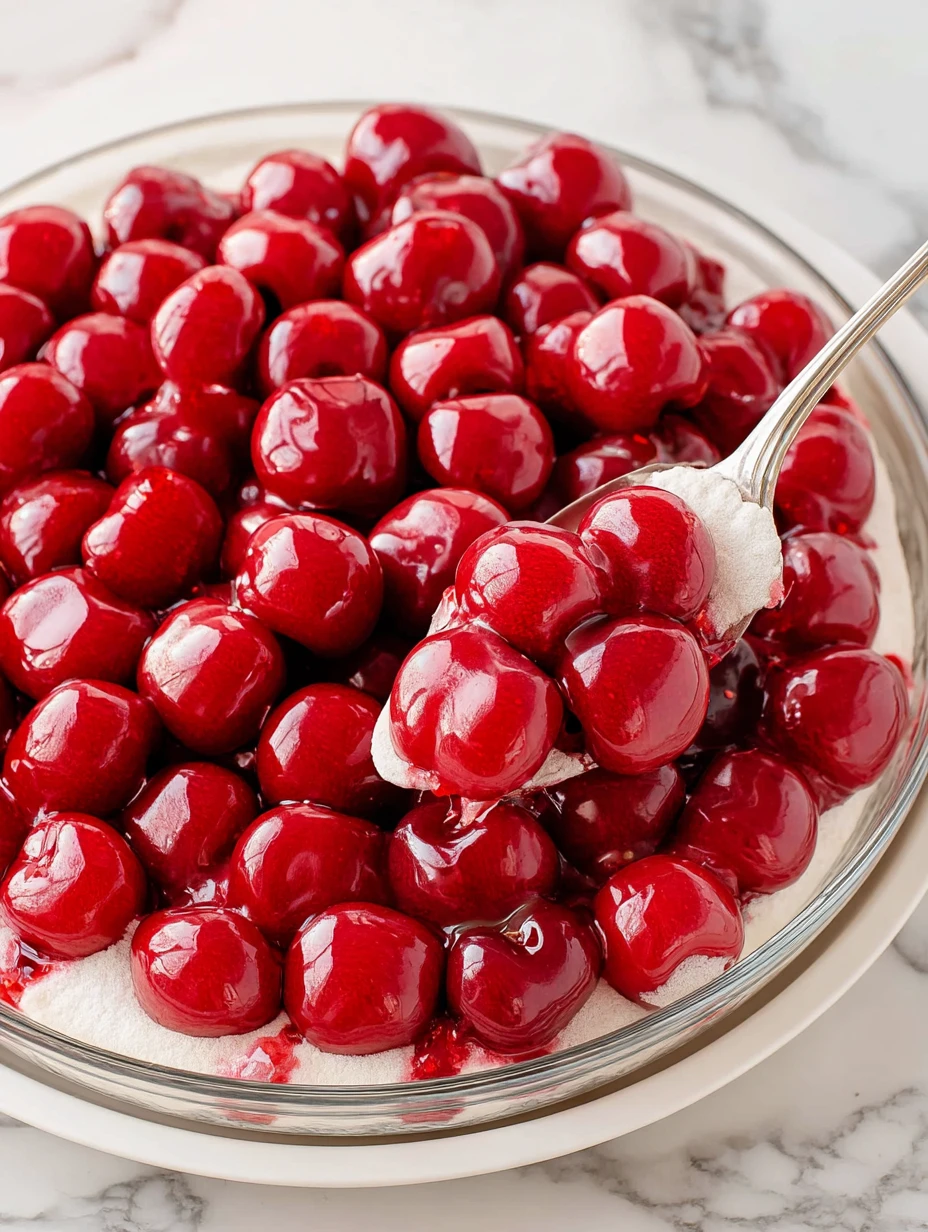
Step 3: Add the Cherry Topping
Pour cherry pie filling over the creamy layer, spreading it to cover the surface completely.
Step 4: Chill and Serve
Refrigerate the dessert for at least 4 hours (or overnight) to let the layers set and flavors meld. Slice and serve chilled.
How to Serve and Store Vintage Cherries In the Snow
This dessert is best served cold, straight from the fridge. It slices neatly when chilled and delivers clean layers in every bite. To store, cover the dish tightly with plastic wrap and refrigerate for up to 4 days. Avoid freezing, as the texture of the cream can change.
What to Serve With Vintage Cherries In the Snow?
A Cup of Freshly Brewed Coffee
The slight bitterness of coffee perfectly balances the sweetness of this dessert.
Vanilla Bean Ice Cream
If you’re feeling extra indulgent, a scoop of vanilla ice cream makes it even more decadent.
Lemonade or Iced Tea
For a refreshing contrast, pair with chilled drinks that cut through the creaminess.
Light Dinner Beforehand
Serve this after a meal like Cheesy Spinach Stuffed Shells to keep things balanced.
Crunchy Butter Cookies
Serve small butter cookies on the side for texture contrast.
Whipped Cream Garnish
A little extra whipped cream never hurts—especially if you’re layering up for presentation.
Want More No-Bake Dessert Ideas?
If Vintage Cherries In the Snow has your heart, you’ll want to try these other crowd-pleasers:
- Classic Cherry Delight for another cherry-lovers dream.
- Chocolate Cherry Cream Pie if you crave a chocolatey twist.
- Cherry Chocolate Cheesecake for the best of both worlds.
- No-Bake Twinkie Pudding Cake for a fun and nostalgic treat.
- Easy Cheesecake Cups if you like single-serve simplicity.
Save This Pin For Later
📌 Save this recipe to your Pinterest dessert board so you can come back to it any time.
And let me know in the comments how yours turned out! Did you stick to angel food cake or go with graham crackers? Any fun toppings you added?
I love seeing your takes on these vintage favorites. Questions welcome—let’s make dessert magic together.
Explore beautifully curated nostalgic and health-boosting desserts on ChefAlchemy’s Pinterest and discover your new sweet obsession!
Vintage Cherries In the Snow
- Total Time: 15 minutes
- Yield: 12 servings
- Diet: Vegetarian
Description
Bring a burst of retro charm to your table with this no-bake Vintage Cherries In the Snow. This dreamy dessert layers fluffy whipped cream and tangy cream cheese over light sponge cake or cookies, topped with a glossy, sweet-tart cherry pie filling. It’s a fast and easy recipe that delivers big flavor with minimal effort—perfect for holidays, potlucks, or anytime you need a quick dessert fix. Whether you’re after quick dessert ideas, easy no-bake recipes, or a nostalgic treat, this one’s a must-try.
Ingredients
1 can cherry pie filling
8 oz cream cheese, softened
1 cup powdered sugar
1 cup heavy whipping cream
1 tsp vanilla extract
1 prepared angel food cake or 12 ladyfingers
Instructions
1. In a mixing bowl, beat cream cheese and powdered sugar until smooth.
2. Add vanilla extract and mix well.
3. In a separate bowl, whip heavy cream until stiff peaks form.
4. Gently fold whipped cream into the cream cheese mixture.
5. Tear or slice cake/ladyfingers and layer them in a 9×13 dish.
6. Spread the cream mixture evenly over the base.
7. Top with cherry pie filling, spreading to cover the surface.
8. Chill in the refrigerator for at least 4 hours before serving.
Notes
For extra flavor, chill overnight to let the dessert fully set.
Swap cherry filling for blueberry or strawberry for a fruity twist.
- Prep Time: 15 minutes
- Cook Time: 0 minutes
- Category: Dessert
- Method: No-Bake
- Cuisine: American
Nutrition
- Serving Size: 1 slice
- Calories: 265
- Sugar: 22g
- Sodium: 135mg
- Fat: 15g
- Saturated Fat: 9g
- Unsaturated Fat: 5g
- Trans Fat: 0g
- Carbohydrates: 29g
- Fiber: 1g
- Protein: 3g
- Cholesterol: 45mg
Keywords: no-bake dessert, cherry dessert, vintage recipe, quick dessert, easy no-bake recipe