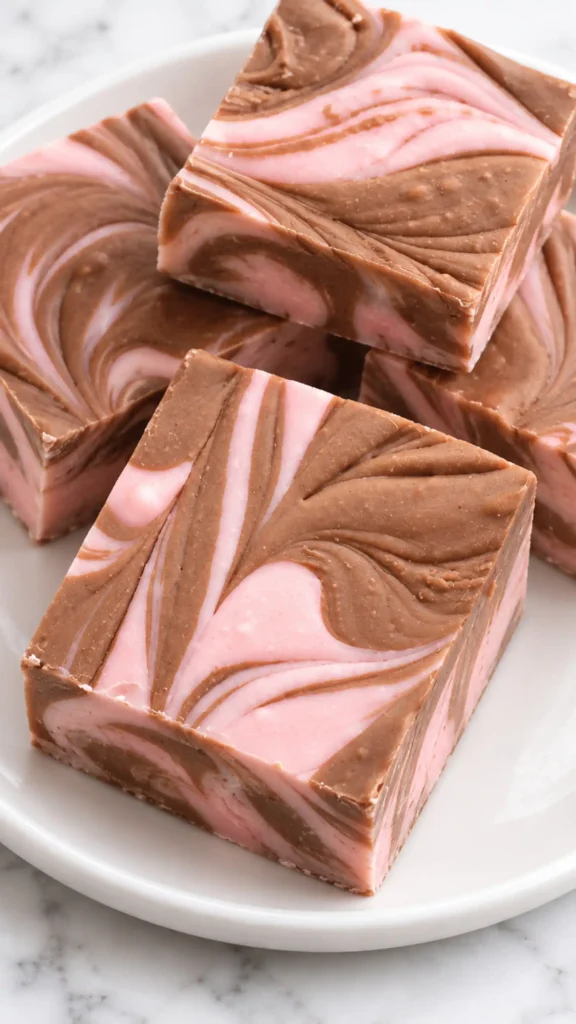
If you’re looking for a sweet treat that comes together with just a microwave and a bowl, look no further than the Chocolate Strawberry Nesquik Fudge, a dessert that delivers all the richness of a decadent chocolate cake in every bite!
It’s incredibly easy to prepare, making it a go-to recipe for busy weeknights, holiday platters, or last-minute gifts for friends.
Did you know that Nesquik, the powdered mix behind so many childhood chocolate milks, was first introduced by Nestlé in the late 1940s? With just five ingredients, you can whip up a treat that will impress your family, and it fits perfectly alongside other chocolate dessert recipes on your menu.
Let’s dive into the ingredients, preparation, and some tips to make this fudge truly shine!
Ingredients for Chocolate Strawberry Nesquik Fudge
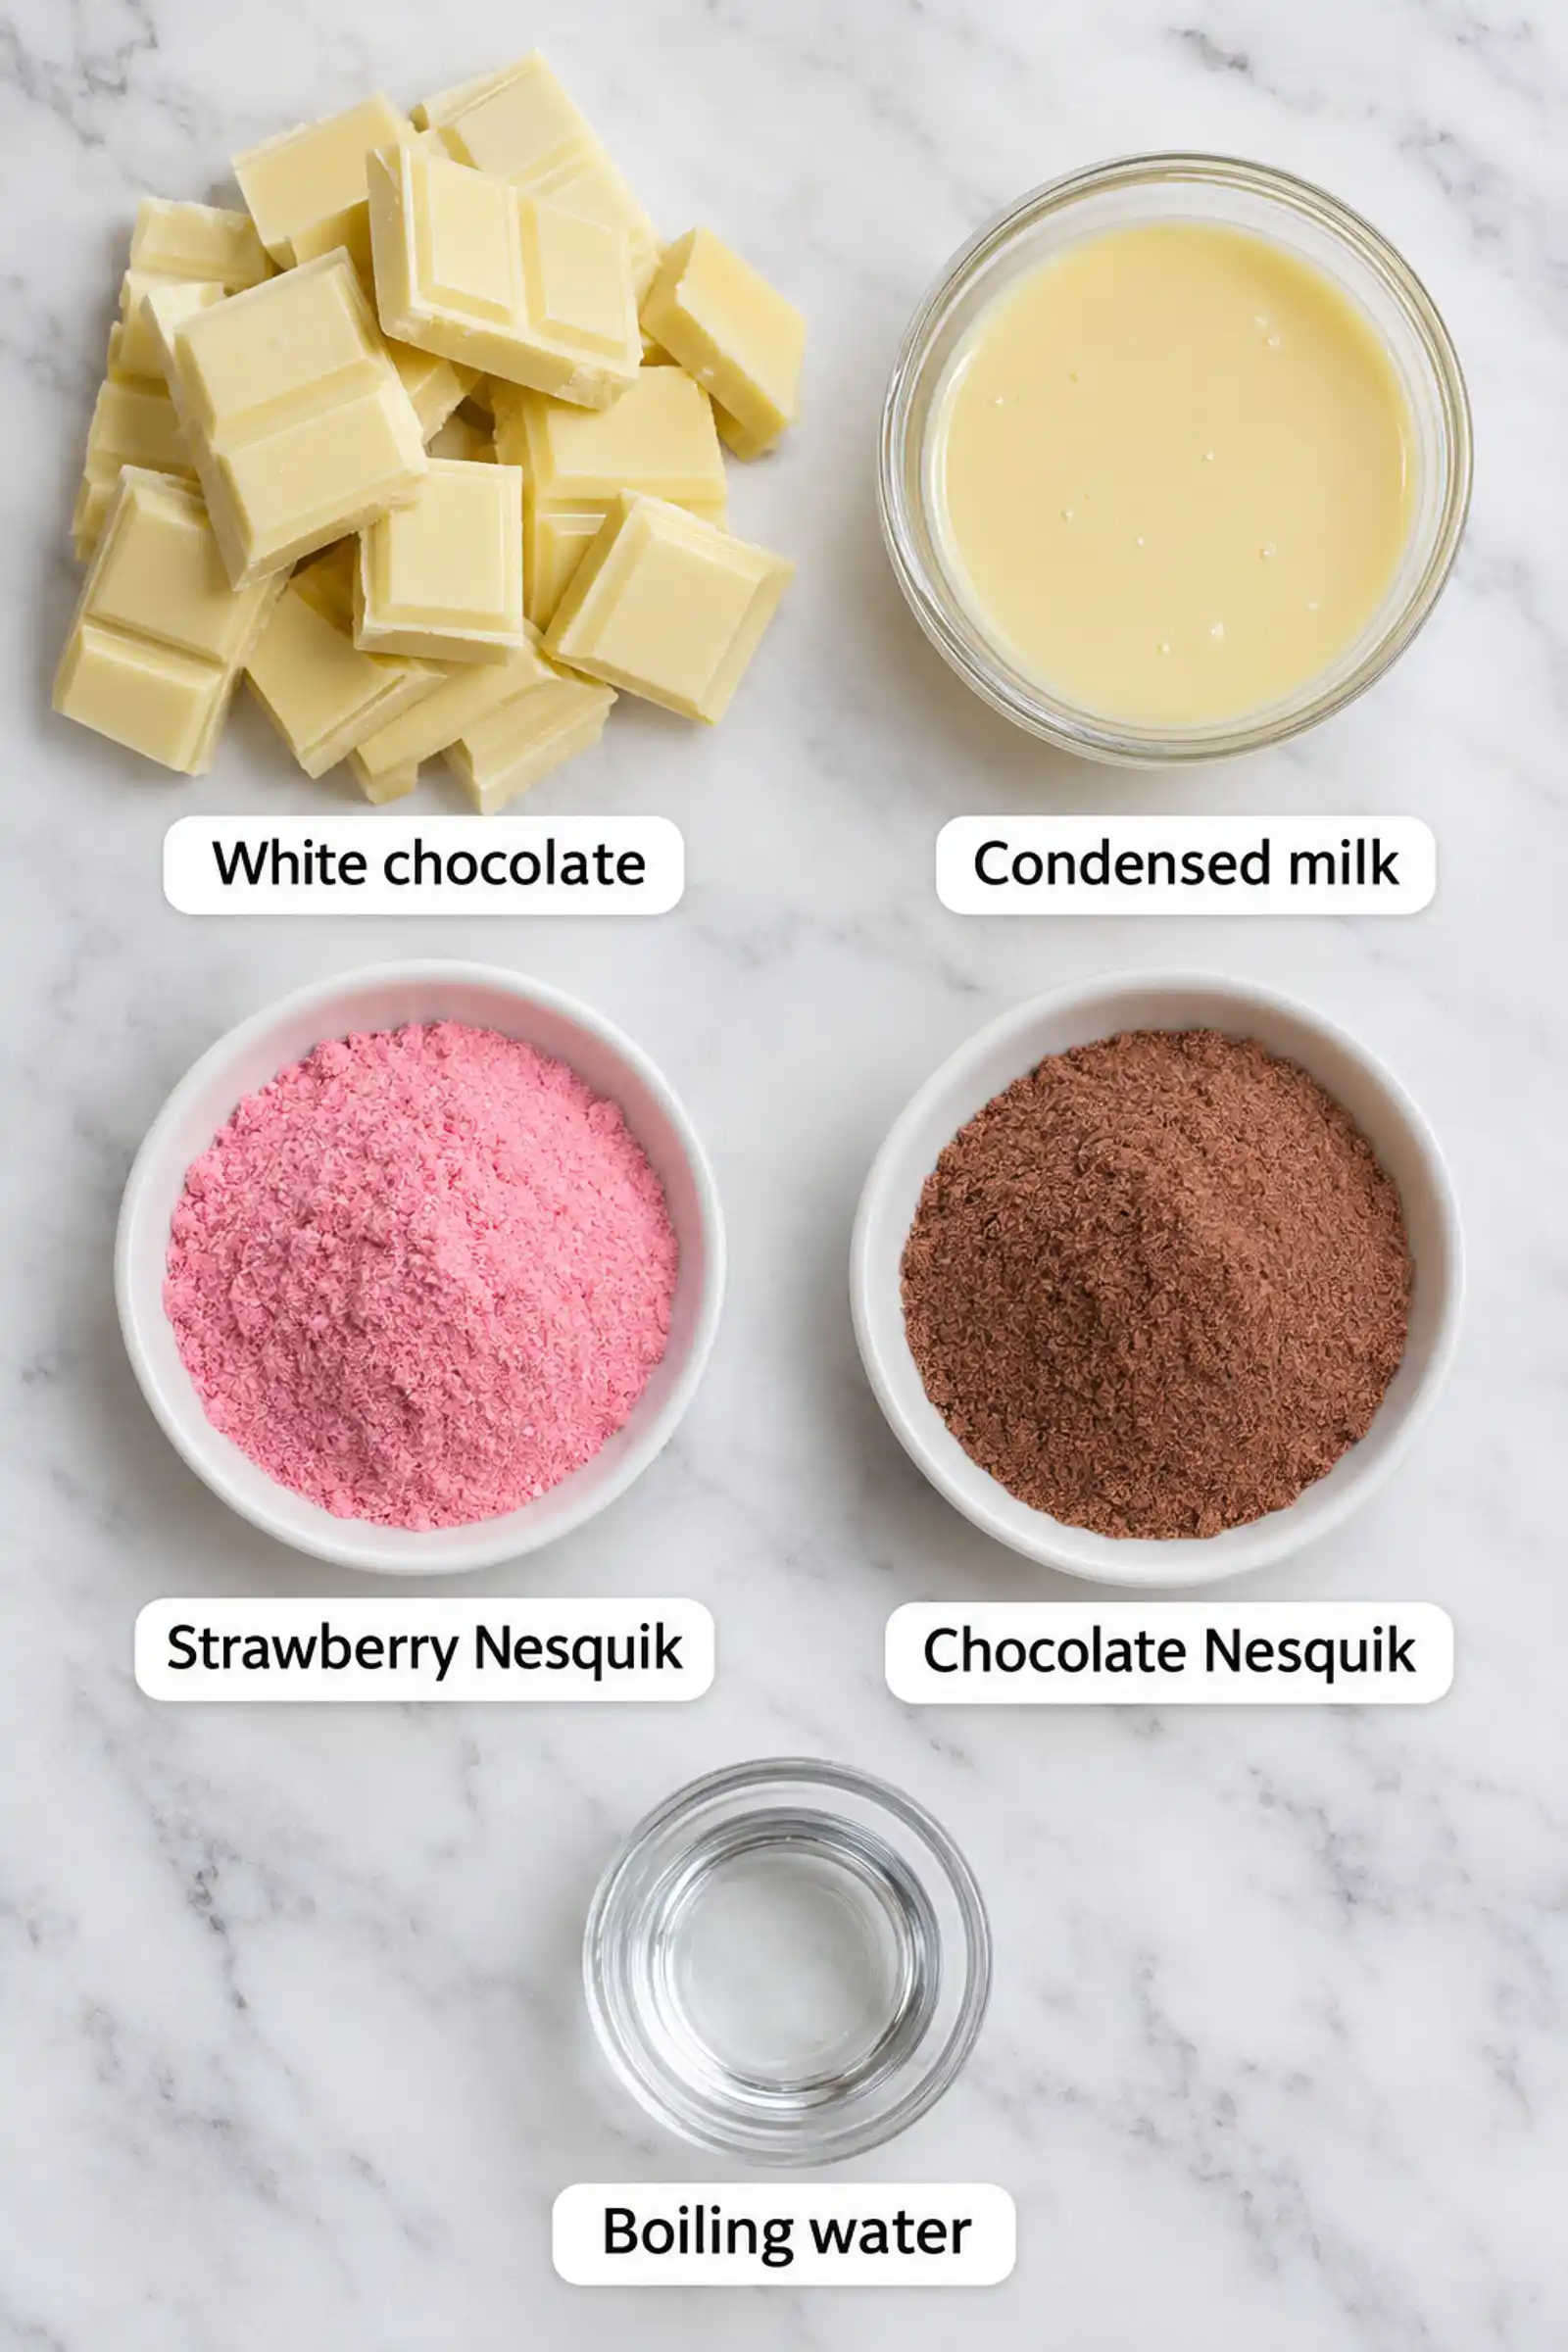
To create the perfect fudge, you’ll need the following ingredients:
Essential Ingredients
- 500 g white chocolate chopped into small, even pieces for smooth melting
- 300 g sweetened condensed milk the base that makes the fudge creamy and sliceable
- 6 tablespoons Nesquik strawberry powder for a bright, fruity flavor
- 6 tablespoons Nesquik chocolate powder for a deep cocoa note that balances the sweetness
- 2 tablespoons boiling water to loosen the mixture and dissolve the powders smoothly
Optional Ingredients
- 1 tablespoon Nesquik strawberry powder reserved for a light dusting over the top before slicing
How to Make the Fudge
Here’s how to make it:
- Melt the White Chocolate: In a microwave-safe bowl, combine the chopped white chocolate and condensed milk. Heat in 30-second bursts, stirring well after each one, until completely smooth, about 2-3 minutes total.
- Stir in the Nesquik Powders: Remove the bowl from the microwave and add the 6 tablespoons of strawberry powder and 6 tablespoons of chocolate powder. Stir vigorously until no dry streaks remain and the mixture looks uniform.
- Loosen with Boiling Water: Pour in the 2 tablespoons of boiling water and stir until the fudge becomes thick, glossy, and easy to spread. Work quickly, as the mixture firms up as it cools.
- Set the Fudge: Line an 8×8-inch pan with parchment paper, leaving an overhang on two sides. Spread the fudge evenly with a spatula, smooth the top, and refrigerate for at least 2 hours until firm.
- Slice and Serve: Lift the fudge out using the parchment overhang and cut it into 16 even squares with a sharp knife dipped in hot water and wiped dry between cuts.
Variations and Customizations
One of the great things about this fudge is its versatility!
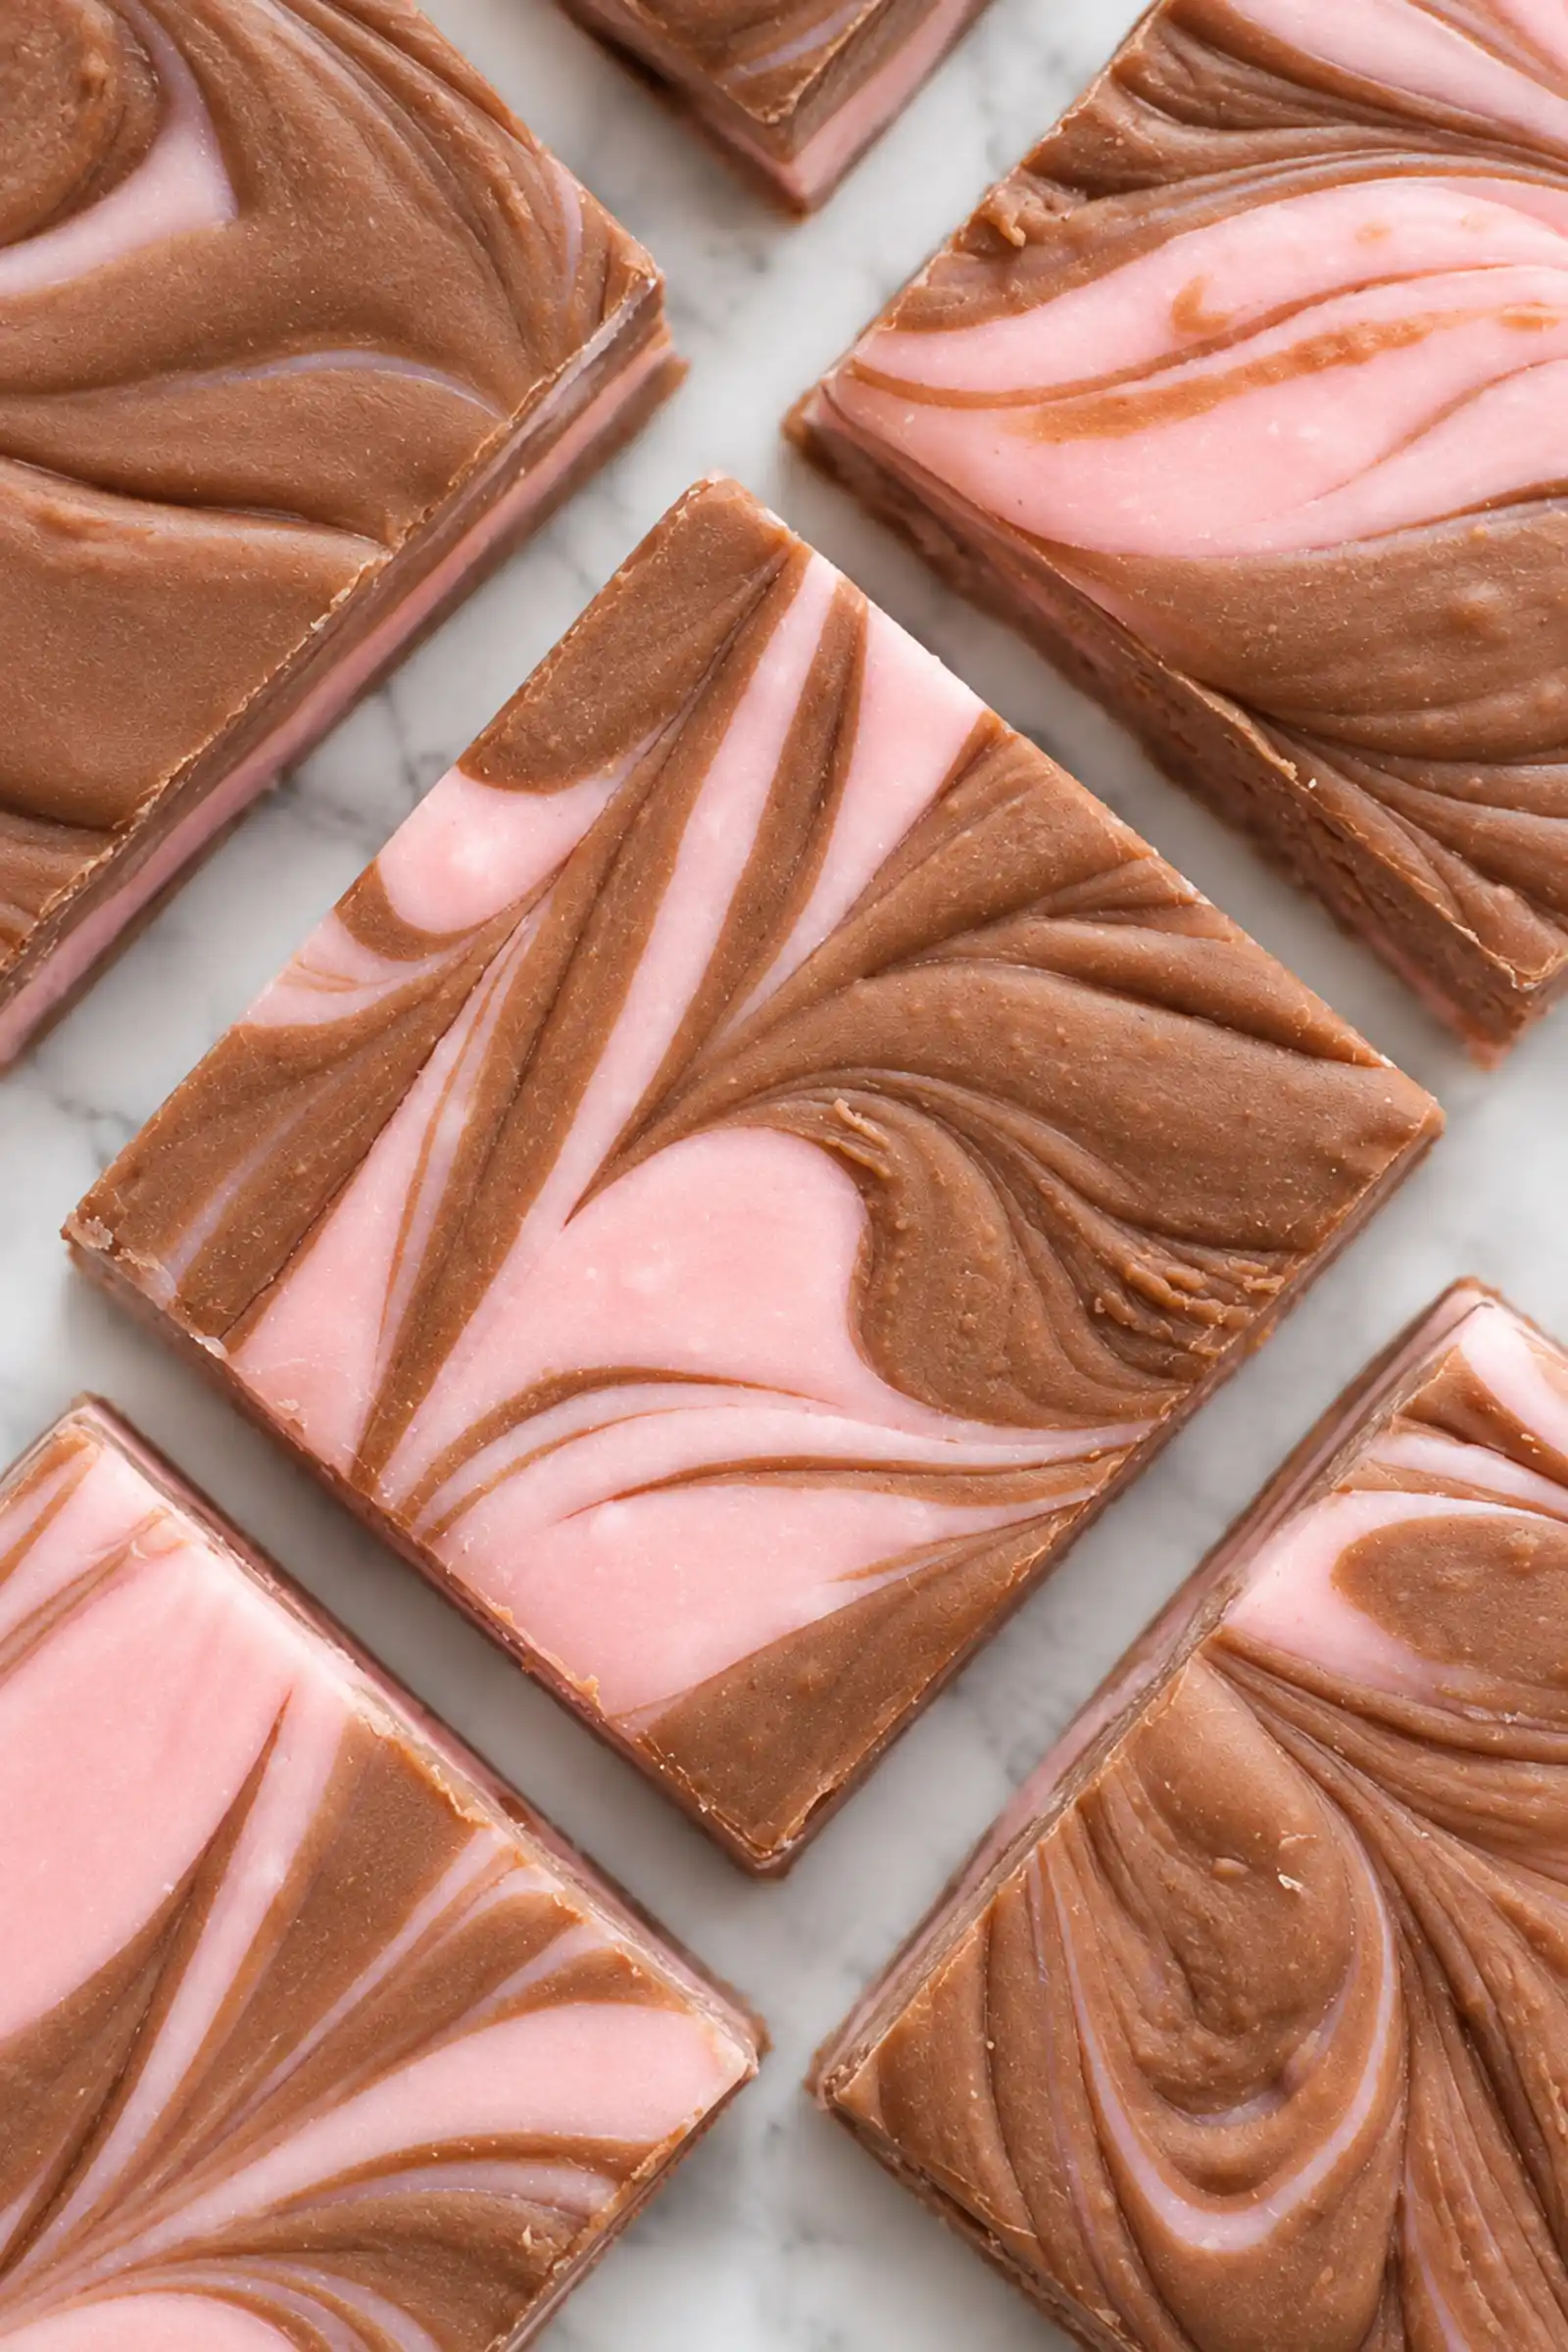
- Marbled Look: Divide the mixture in half before spreading, then pour one half into the pan and the other half on top, swirling gently with a knife for a striped effect.
- Dark Chocolate Twist: Swap half of the white chocolate for good-quality dark chocolate to create a deeper, less sweet fudge.
- Gift-Ready Squares: Cut the fudge into smaller bite-sized pieces and pack them in small candy boxes or cellophane bags for a thoughtful homemade present.
- Extra Strawberry Finish: Dust the top with the reserved tablespoon of strawberry powder right before slicing for a pretty pink finish.
Serving Suggestions
These sweet squares pair beautifully with a few classic dessert options, so consider serving them alongside an easy chocolate cream pie for a dessert spread that’s sure to please a crowd.
For a refreshing beverage pairing, serve the fudge with a cold glass of milk or a cup of hot coffee to balance the sweetness.
Conclusion
In just a few simple steps, you’ve created a creamy, colorful fudge that is sure to become a family favorite.
It’s a perfect answer for weeknight cravings, party desserts, or a make-ahead treat for the week.
Don’t hesitate to get creative with the swirls, toppings, and packaging, because there’s no limit to how you can customize this recipe!
Try it today and experience the deliciousness for yourself!
Recipe FAQ’s
Can I use milk chocolate instead of white chocolate?
Yes, though the fudge will taste more intensely chocolatey and may set a little softer. Keep the same measurements and chill it for the full 2 hours.
How should I store the leftover fudge?
Keep the squares in an airtight container in the refrigerator for up to one week. Let them sit at room temperature for about 10 minutes before serving so the texture softens slightly.
Can I skip the boiling water?
It’s best to keep it, since the hot water helps dissolve the Nesquik powders and gives the fudge a smooth texture. Without it, the mixture may stay grainy and be harder to spread.
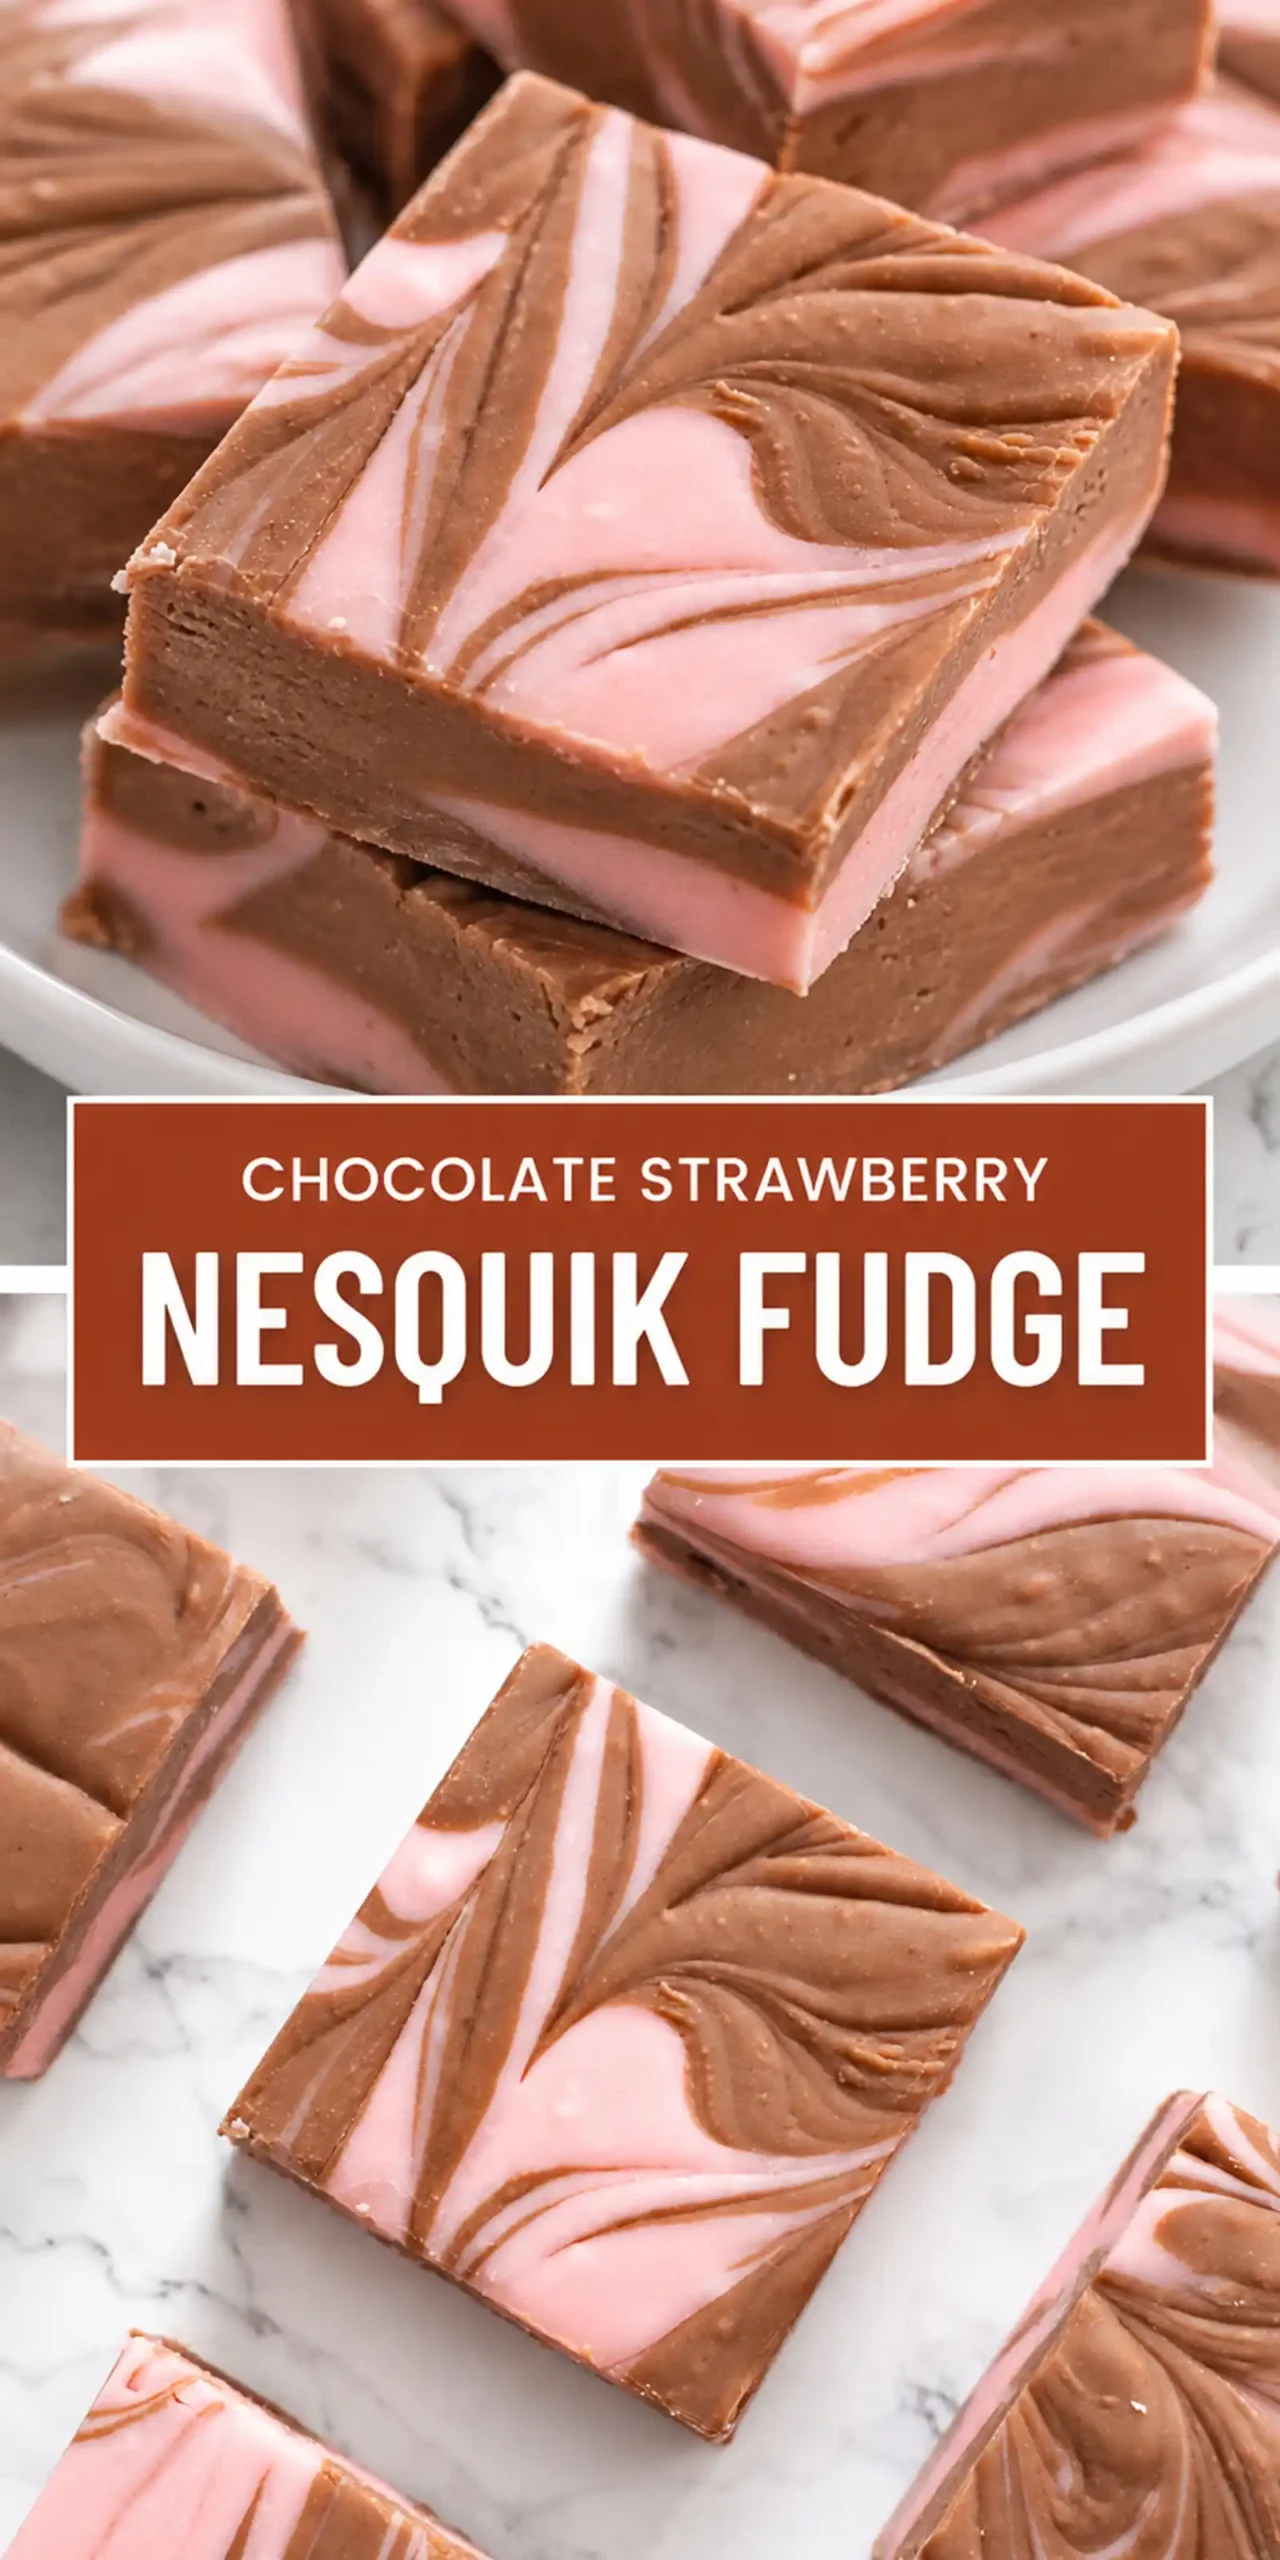
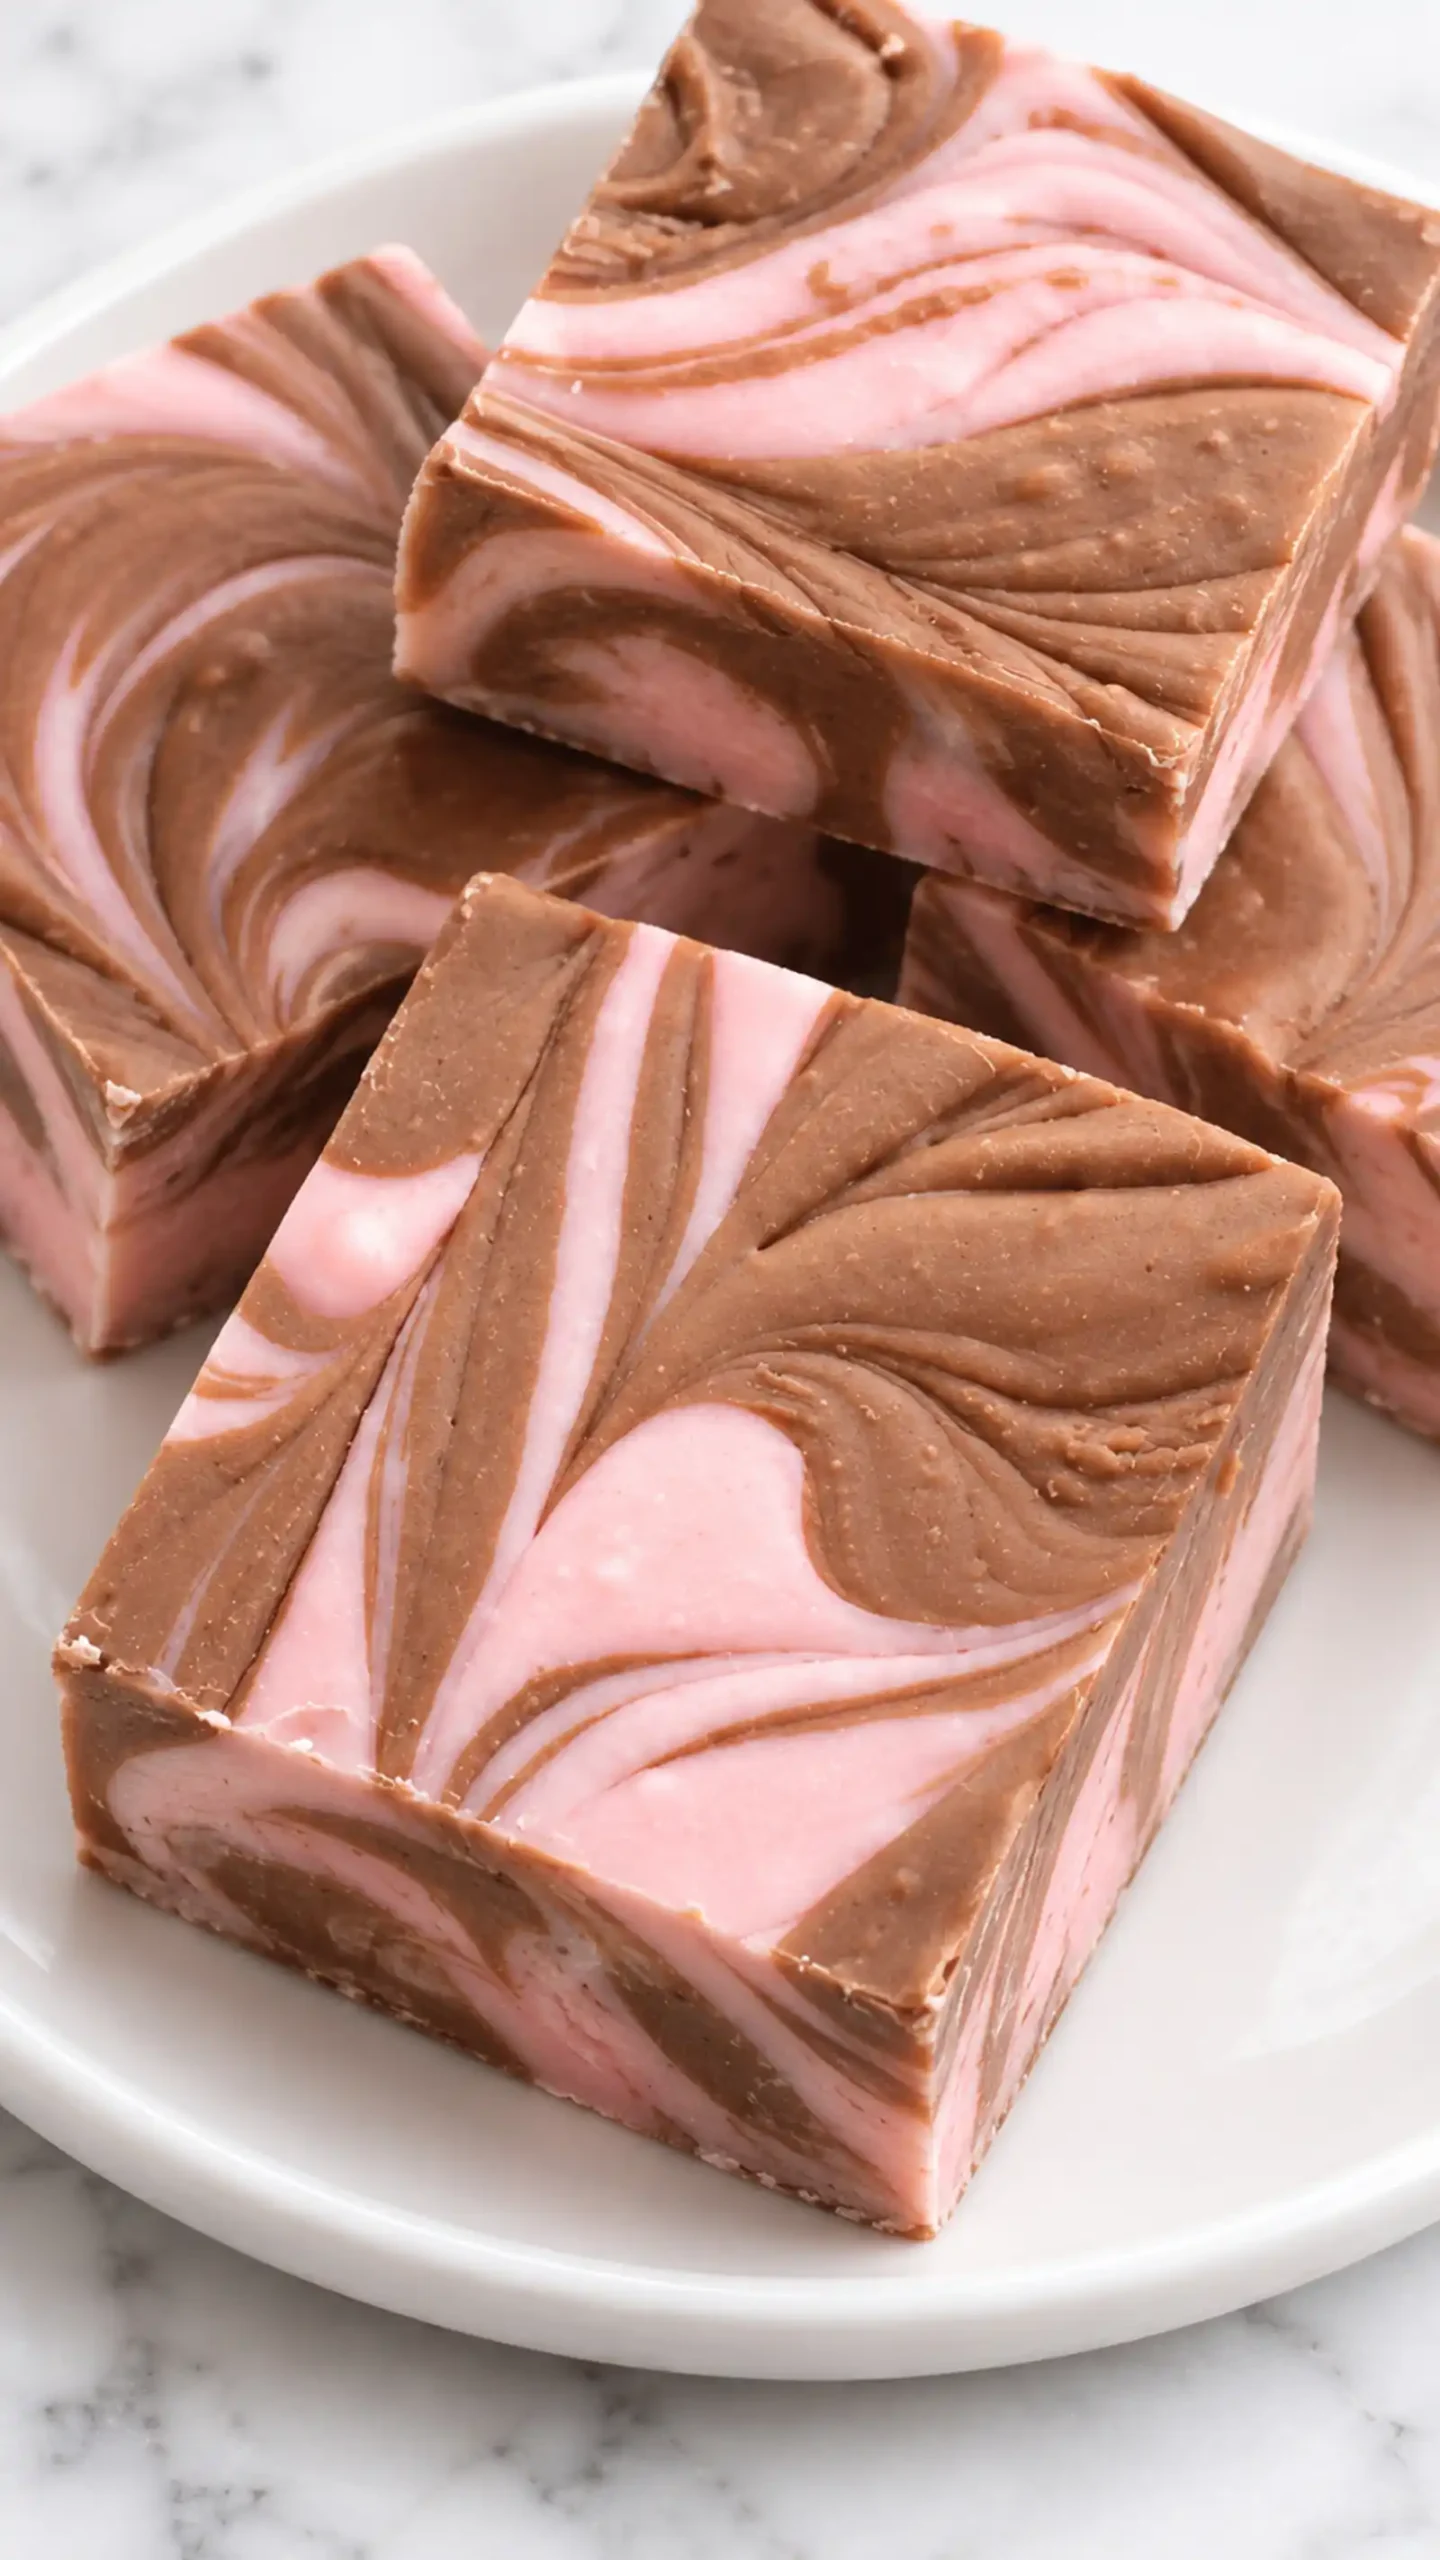
Chocolate Strawberry Nesquik Fudge
Ingredients
- 500 g white chocolate chopped into small, even pieces
- 300 g sweetened condensed milk the creamy base of the fudge
- 6 tablespoons Nesquik strawberry powder for a bright, fruity flavor
- 6 tablespoons Nesquik chocolate powder for a deep cocoa note
- 2 tablespoons boiling water to loosen the mixture and dissolve the powders
- 1 tablespoon Nesquik strawberry powder optional, reserved for dusting the top
Instructions
- Melt the White Chocolate: In a microwave-safe bowl, combine the chopped white chocolate and condensed milk. Heat in 30-second bursts, stirring well after each one, until completely smooth, about 2-3 minutes total.
- Stir in the Nesquik Powders: Remove the bowl from the microwave and add 6 tablespoons of strawberry powder and 6 tablespoons of chocolate powder. Stir vigorously until no dry streaks remain and the mixture looks uniform.
- Loosen with Boiling Water: Pour in 2 tablespoons of boiling water and stir until the fudge becomes thick, glossy, and easy to spread. Work quickly, as the mixture firms up as it cools.
- Set the Fudge: Line an 8x8-inch pan with parchment paper, leaving an overhang on two sides. Spread the fudge evenly, smooth the top, and refrigerate for at least 2 hours until firm.
- Slice and Serve: Lift the fudge out using the parchment overhang and cut it into 16 even squares with a sharp knife dipped in hot water and wiped dry between cuts.