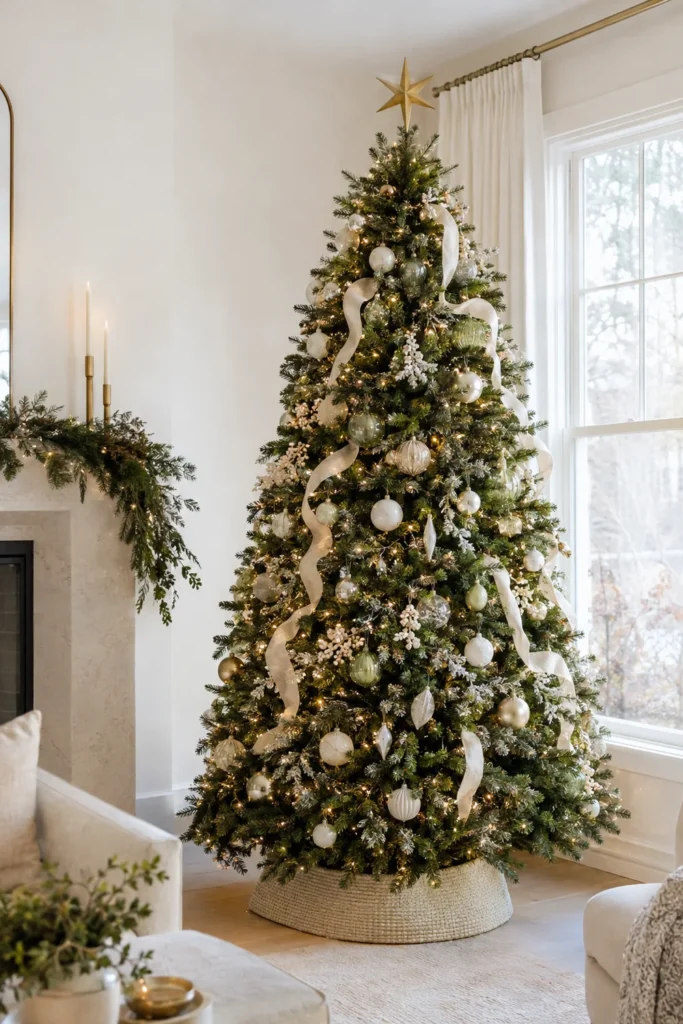
Every year the tree goes up, the boxes come out, and somehow it ends up looking a little thin, uneven or too busy in places. A tree that looks like it belongs in a magazine is not about expensive ornaments. It comes down to the order you decorate in.
Designers follow the same basic sequence every time: shape, lights, ribbon, ornaments, fillers and topper. Once you know it, you can decorate any tree, real or artificial, so it looks full and balanced from every side.
Here is the step by step method, followed by color theme ideas and the safety basics you should not skip.
What You Will Need
- Your tree and a sturdy stand (with water reservoir for real trees)
- Warm white or multicolor string lights
- Wide wired ribbon, 2.5 to 4 inches, about 3 to 4 rolls for a 7 foot tree
- Ornaments in three sizes (large, medium and small)
- Floral picks or sprays (frosted berries, pine, eucalyptus, glitter stems)
- A tree topper
- A tree skirt or tree collar
- Floral wire or pipe cleaners
- Gloves (artificial branches and real needles can scratch)
Step 1: Fluff and Shape the Branches
For an artificial tree, this is the most important step and the one most people rush. Start at the bottom and work up. Separate each tip, bending some up, some down and some to the sides so the branches look full. Plan about 30 to 60 minutes for a 7 foot tree.
For a real tree, cut about half an inch off the trunk before setting it in water, and let the branches settle for a few hours, ideally overnight.
Step 2: Add Plenty of Lights
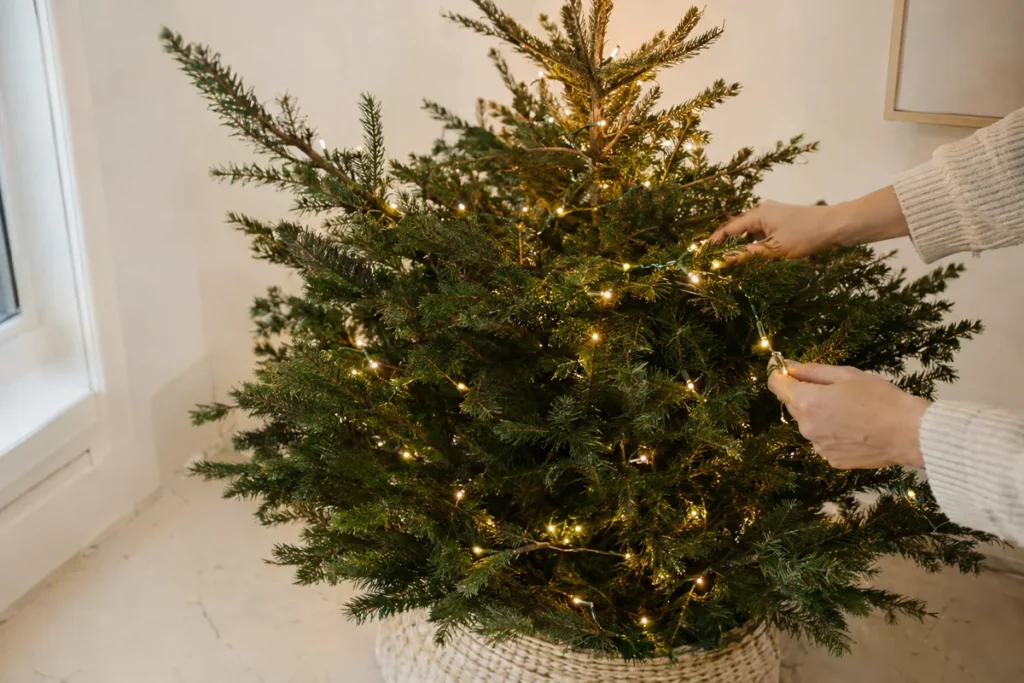
Lights are what make a tree glow, and most trees do not have enough. A common guideline is about 100 lights per foot of tree height. A 7 foot tree looks full with 700 to 1,000 lights. If you love a really bright tree, go higher.
Instead of wrapping lights around the outside in a spiral, weave them into each branch. Start at the trunk, run the strand out along a branch and back in again, then move to the next one. This adds depth and makes the tree glow from inside.
Test every strand before you start.
Step 3: Add Ribbon or Garland
Ribbon gives a tree a finished, styled look. Two popular methods:
- Cascading: cut ribbon into lengths of about 2 to 3 feet, tuck the top into the branches near the top, and let it fall down the tree in loose waves, tucking it in every foot or so.
- Loops: pinch ribbon into loose loops every 8 to 12 inches and push the pinched part into the tree, working around in a gentle diagonal.
Wired ribbon holds its shape and is much easier to work with.
Step 4: Hang Ornaments from Large to Small
- Large ornaments first. Place them deep inside the tree, near the trunk, to add depth and fill gaps.
- Medium ornaments next. Spread them evenly around the tree in a loose zigzag.
- Small and special ornaments last. Hang them toward the branch tips where they catch the light.
Group ornaments in odd numbers (three of the same color together) for a designer look. Keep fragile or sentimental pieces higher up if you have pets or young children.
Step 5: Fill with Picks and Sprays
Picks are what make a tree look lush. Tuck frosted berries, pine sprays, eucalyptus or glittered stems into gaps, angled outward and slightly upward. Bend the stems around a branch so they stay in place.
Step 6: Add the Topper
Secure your topper with floral wire. Stars, a ribbon bow with long tails or a cluster of picks fanning out from the top all work. Add the topper after the lights and before the final edit so you can adjust the balance.
Step 7: Finish the Base
A tree collar (metal, woven or fabric) gives a clean, modern finish. A soft knit or faux fur skirt feels cozy. Either one hides the stand and cords.
Christmas Tree Color Themes to Try
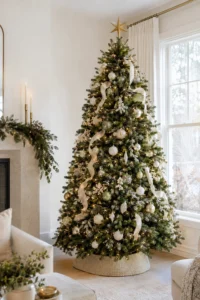
- White and gold: cream ribbon, white and champagne ornaments, warm white lights. Timeless and bright.
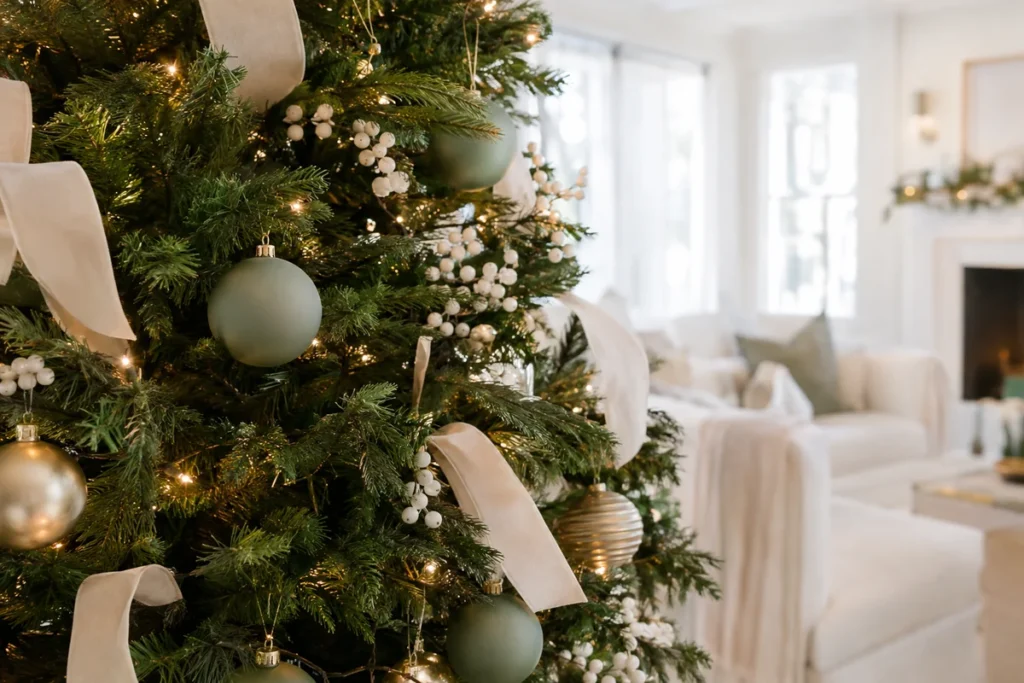
- Sage and cream: matte sage baubles, cream velvet ribbon, frosted picks. Soft and modern.
- Classic red and green: red ribbon, glass ornaments in red and white, natural pine picks.
- All white: white ornaments in many textures (glass, felt, glitter) on a green tree. Calm and wintry.
- Natural: dried orange slices, cinnamon sticks, pinecones and plaid ribbon.
- Blush and silver: soft pink and silver glass with white lights for a playful, feminine tree.
Choose two or three main colors and repeat them all around the tree for a cohesive look.
Christmas Tree Safety
- Water a real tree every day. A dry tree catches fire easily.
- Keep the tree at least 3 feet from fireplaces, radiators, heaters and candles.
- Check light strands for frayed wires or broken bulbs and use only lights rated for indoor use.
- Turn off tree lights when you go to bed or leave the house. A timer makes this easy.
- Anchor tall trees to the wall with fishing line if you have climbing pets or toddlers.
- Keep glass ornaments, tinsel and hooks up high if cats or dogs are around.
A full, glowing tree is less about having the most ornaments and more about following the right order. Put on some music, start with the lights and take your time.
What color theme are you planning for your Christmas tree this year? Tell us in the comments.
Quick Questions
How many lights do I need for a Christmas tree?
About 100 lights per foot of height is a good starting point. A 6 foot tree needs about 600, and a 7.5 foot tree about 750 or more.
Should ribbon or ornaments go on first?
Lights first, then ribbon or garland, then ornaments. This way the ribbon sits within the branches and ornaments do not get crushed.
How do I make an artificial tree look fuller?
Fluff every tip, add more lights, tuck large ornaments deep inside and fill gaps with picks and sprays.