Advent calendars from the store are fun, but they often cost more than they should, the contents rarely change, and the cardboard ends up in the recycling by Christmas morning.
A homemade advent calendar fixes all of that. You choose what goes inside, you reuse it every December, and it looks lovely hanging on a wall or sitting on a shelf. Most of these ideas cost under $25 and come together in an afternoon.
Late October is the perfect time to make one, since December 1st sneaks up quickly. Here are five easy styles, a full tutorial for the simplest, and plenty of ideas for filling the pockets.
1. Paper Bag Garland
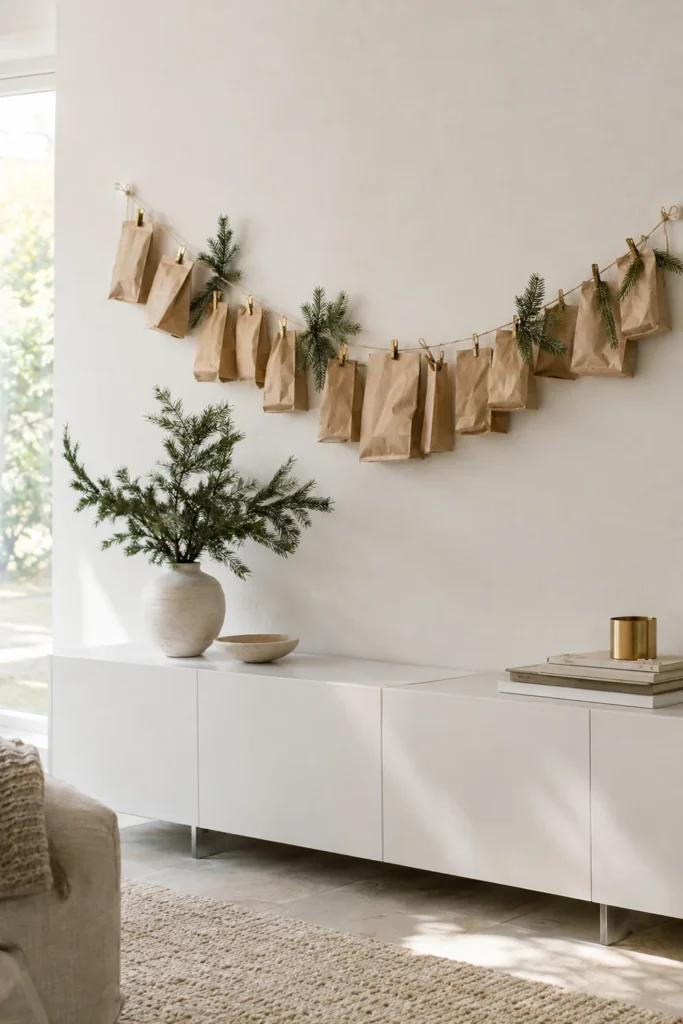
Small kraft paper bags clipped to a cord are clean, modern and very budget friendly. They hang across a wall, a window or a mantel and are easy to fill and refill.
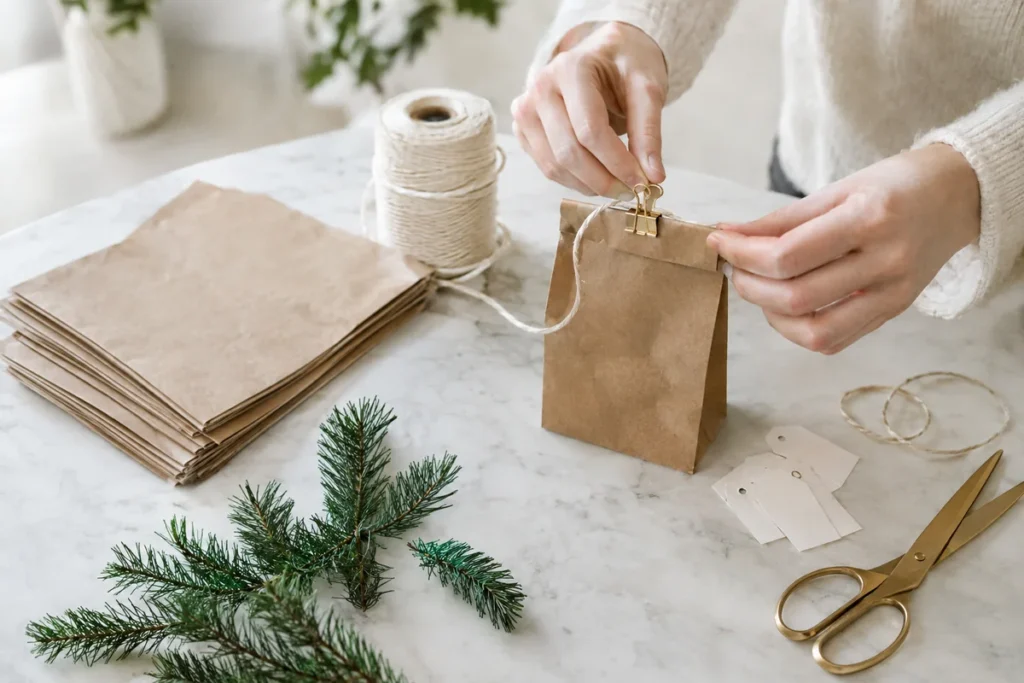
How to Make a Paper Bag Advent Garland
What You Need
- 24 small flat kraft paper bags (about 3 by 5 inches)
- 24 small clips (brass binder clips or mini clothespins)
- About 8 feet of natural cotton cord or twine
- Small paper tags or a stamp set for numbering
- A pencil or fine marker
- Removable wall hooks or two small nails
- Fresh or faux greenery sprigs (optional)
- Your fillers
Steps
- Number the bags. Write or stamp a number from 1 to 24 on each bag or tag. Simple handwriting looks charming, so do not overthink it.
- Fill each bag. Add a small treat, note or activity slip. Keep the heavier items to a minimum so the cord does not sag too much.
- Fold and clip. Fold the top of each bag over about an inch and clip it closed onto the cord.
- Space them out. Leave 2 to 3 inches between bags. Mixing the numbers up looks playful, while keeping them in order is easier for small kids.
- Hang the garland. Attach the ends of the cord to removable hooks on either side of a wall or window, letting it drape slightly.
- Add greenery. Tuck small sprigs of fir or eucalyptus between some bags for a fresh look.
Total time: about 45 minutes, most of it spent filling the bags.
2. Matchbox Drawers
Small matchbox-style boxes from a craft store can be painted white, numbered, and stacked into a little chest or glued in rows to a piece of foam board. They work well for tiny treats and notes, and they look neat on a shelf or desk.
3. Fabric Pouches on a Hoop
Small linen or muslin drawstring bags hung from a large embroidery hoop with ribbon look soft and pretty. Tie the bags at different lengths so they cascade, and hang the hoop from a ceiling hook or a curtain rod. The pouches last for years.
4. Envelopes on a Branch
A bare branch hung horizontally on a wall with ribbon becomes a simple frame. Clip small envelopes to it, each holding a note, a family activity or a flat treat like a sticker sheet. It takes very little space and suits a minimal home.
5. Activity Jar
For a calendar that takes no wall space at all, write 24 activities on folded slips of paper and place them in a large glass jar. Each morning someone picks one. This version is especially good for families who would rather collect memories than more things.
What to Put Inside an Advent Calendar
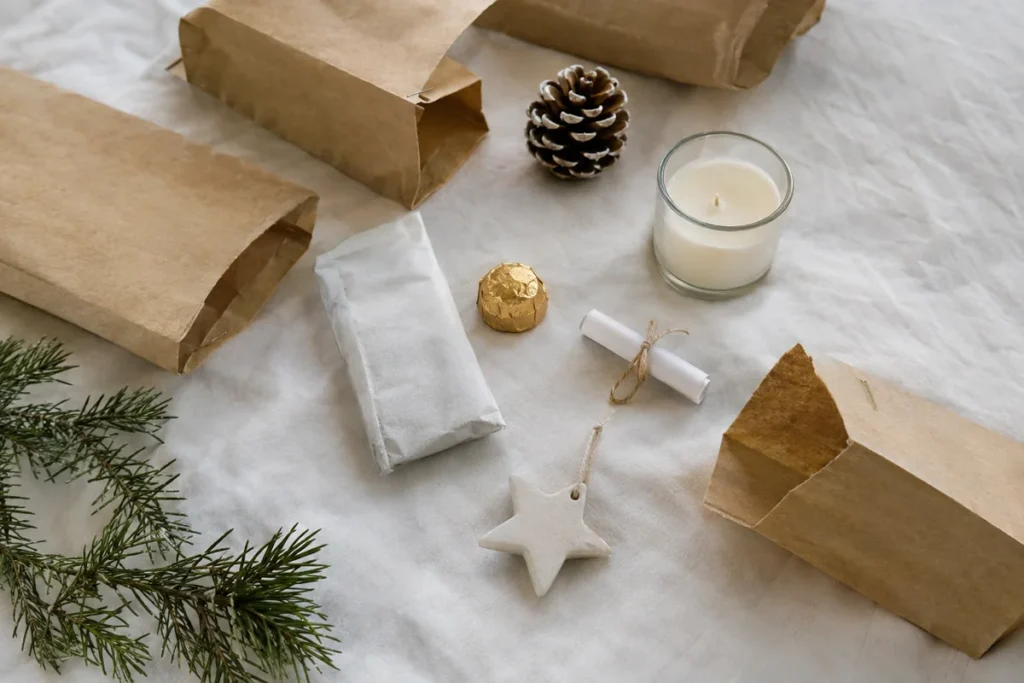
Candy is classic, but a mix keeps it interesting and keeps the sugar in check.
Small treats:
- Wrapped chocolates or a few candies
- A packet of hot cocoa mix
- Mini lip balm or hand cream
- Stickers, hair clips or small erasers for kids
Cozy activities:
- Watch a holiday movie with popcorn
- Bake cookies together
- Drive around to look at lights
- Make paper snowflakes for the windows
- Read a holiday book before bed
- Have a pajama breakfast
Small giving:
- Write a card to a grandparent
- Choose a toy to donate
- Leave a thank you note for a neighbor or delivery driver
Little extras:
- A handmade ornament for the tree
- A mini candle
- A puzzle piece, with the final piece on day 24
Safety and Practical Tips
- Small parts: for children under three, skip small toys, hard candies and round treats that could be a choking hazard.
- Candles: if a mini candle is a filler, an adult lights it and nothing goes near the paper garland.
- Chocolate: keep the calendar away from heaters and sunny windows, and out of reach of dogs, since chocolate is toxic to them.
- Hanging: use removable hooks rated for the weight, and keep cords out of reach of babies and toddlers.
Make It Reusable
Choose sturdy containers like fabric pouches, painted boxes or thick paper bags, and store everything flat in a labeled box after the holidays. Keep a short list of fillers that worked well, and next year the setup takes ten minutes.
A homemade advent calendar does not need to be complicated to feel special. Pick the style that fits your space and your budget, fill it with a mix of small treats and moments together, and let December count down in a way that feels like your own.
Which homemade advent calendar style fits your home best, and what is the one thing you would love to find inside a pocket this year? Tell us in the comments.
Quick Questions
When should I start making a homemade advent calendar?
Starting in October or early November gives plenty of time to gather fillers without rushing. The actual assembly only takes an afternoon.
How much does a DIY advent calendar cost?
The calendar itself usually costs under $25. Fillers vary, but mixing activities with small treats keeps the total low.
What can I put in an advent calendar for adults?
Try tea bags, mini candles, hand cream, a favorite snack, notes, or small activities like a bath night or a walk to see the lights.
Can I reuse a homemade advent calendar?
Yes. Fabric pouches, painted boxes and sturdy paper bags all store flat and last for years. Just refill them each December.