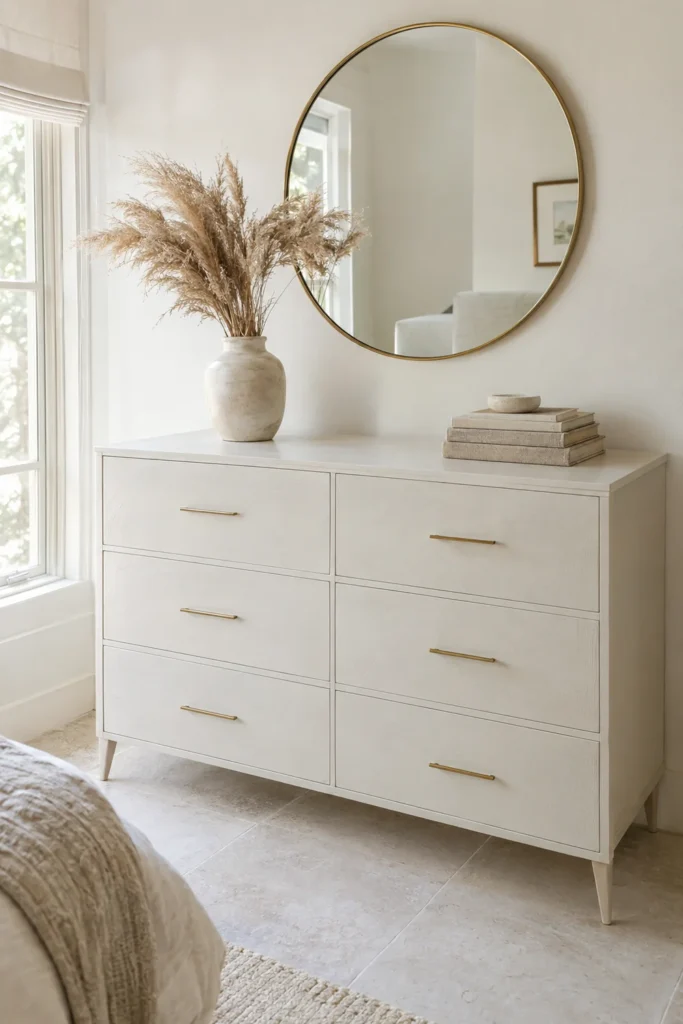
Buying new furniture adds up quickly, and a lot of budget pieces are made of particleboard that sags within a few years. Meanwhile, thrift stores and secondhand marketplaces are full of solid, sturdy dressers with dated finishes and heavy brass handles.
A thrift store furniture flip fixes that gap. With a weekend, a quart of paint and new hardware, a tired dresser can look like it belongs in a bright, modern bedroom. Most flips land well under $100 including the piece itself.
Here is what to look for, what to buy, and every step in the right order.
What to Look for at the Thrift Store
Paint hides color and scratches. It does not hide a wobbly frame or broken drawers. Before buying, check these:
- Solid construction. Open a drawer and look at the corners. Joined corners and thick drawer sides are a good sign.
- Smooth drawers. Pull every drawer in and out. Sticky drawers can often be fixed with a little wax on the runners, but broken runners are a bigger job.
- Sturdy legs and base. Push gently on the top. It should not rock or twist.
- Surface damage you can fix. Scratches, water rings and small dings sand out or fill easily. Peeling veneer over large areas is harder.
- No strong smells. Smoke and mildew odors are tough to remove from inside drawers.
A dresser in the $20 to $60 range is common at thrift stores. Measure your space before you shop so you know the maximum width and height.
What You Need
- A degreasing cleaner or a bucket of warm water with a little dish soap
- Sanding sponges in 120 and 220 grit
- Wood filler and a putty knife
- A tack cloth or damp lint-free rag
- Painter’s tape and a drop cloth
- A bonding primer (stain blocking if the piece is dark or reddish)
- One quart of furniture or cabinet paint in a satin finish
- A 2 inch angled brush and a small foam roller
- Water-based clear topcoat (optional but helpful on tops)
- New knobs or pulls, plus a drill and a drill bit if the hole spacing changes
- A dust mask, safety glasses and gloves
Safety First
Furniture made before 1978 may have lead paint under the finish. Before sanding an older piece, use a lead test kit from the hardware store. If it tests positive, skip sanding and choose a different project or talk to a professional.
For any piece, sand with a dust mask and safety glasses, work in a well ventilated space, and keep kids and pets out of the area while paint and primer dry.
Step by Step: How to Paint a Thrifted Dresser
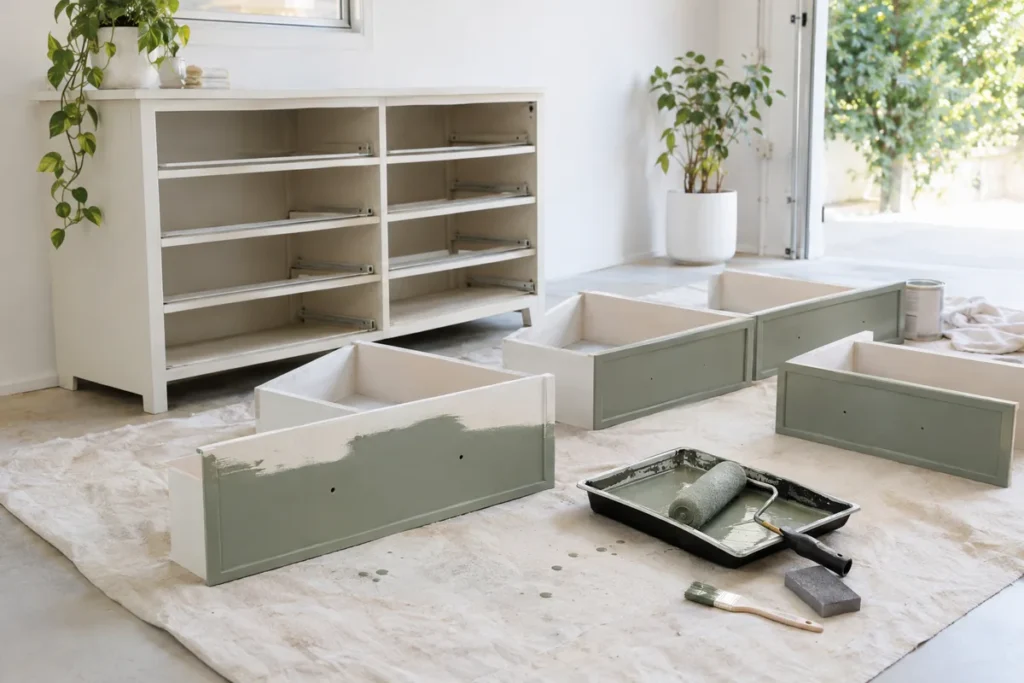
Plan on a weekend. Most of the time is drying time, not work time.
1. Remove Drawers and Hardware
Pull out every drawer and number the inside of each one with a pencil so they go back in the same slots. Unscrew the knobs and keep the screws in a small cup.
2. Clean Thoroughly
Wipe every surface with a degreasing cleaner or warm soapy water. Years of hand oils and dust will stop paint from sticking. Let it dry completely.
3. Repair Dings and Old Hardware Holes
Fill scratches and dents with wood filler. If your new pulls use different hole spacing, fill the old holes now too. Let the filler dry, then sand it flush.
4. Scuff Sand
You do not need to strip the old finish. Lightly sand everything with a 120 grit sponge just to dull the shine, then wipe away all the dust with a tack cloth.
5. Prime
Brush primer into corners and details, then roll the flat areas. One even coat is usually enough. Let it dry according to the can, often about an hour, and give it a quick pass with 220 grit for a smooth base.
6. Paint in Thin Coats
Use the brush for edges and the foam roller for flat drawer fronts and the top. Two or three thin coats look far better than one thick coat. Let each coat dry fully and sand lightly between coats with 220 grit.
7. Seal the Top
The top gets the most wear from lamps, cups and keys. Two thin coats of water-based clear topcoat help the finish hold up. Choose a non-yellowing formula if your paint is white or very light.
8. Let It Cure
Paint can feel dry in hours but stays soft for much longer. Wait at least 2 to 3 days before putting heavy items on top, and handle drawers gently for the first couple of weeks.
Swap the Hardware for a Fresh Look
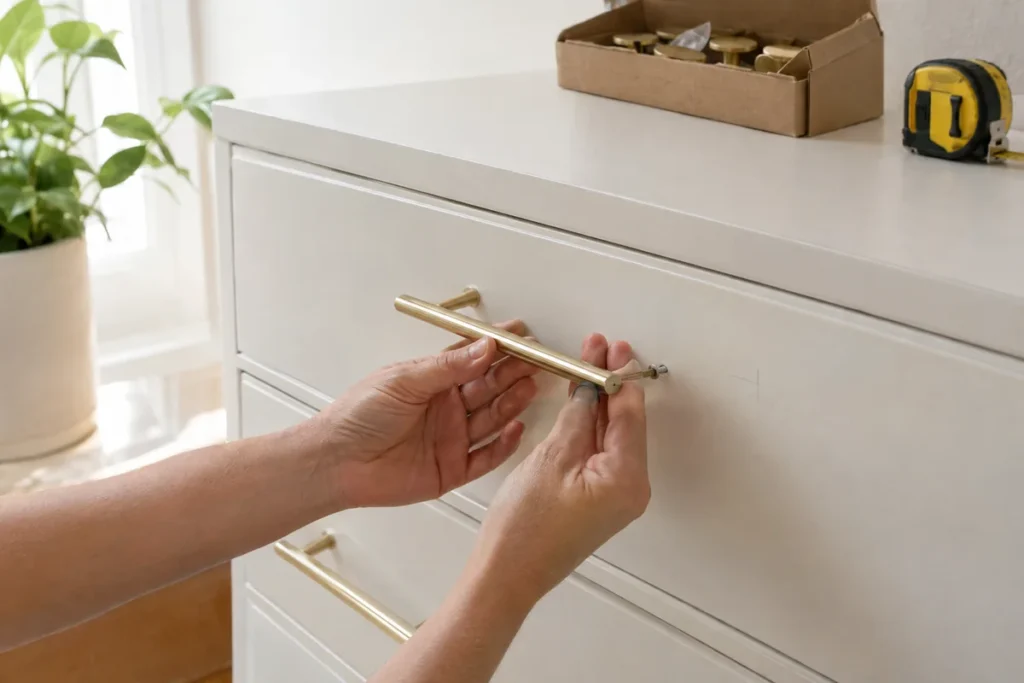
New hardware is the quickest way to make a flip look current. Slim brushed brass pulls, matte black bar handles and simple round knobs all suit a modern room.
- Measure the distance between the existing screw holes, center to center.
- Buy pulls with the same spacing to avoid drilling, or fill the old holes during repairs.
- If drilling, mark the center of each drawer front with a pencil and use a simple paper template so every handle sits at the same height.
- Drill from the front with a piece of tape on the spot to reduce splintering, then screw the hardware in from the inside.
Budget a few dollars per knob. On a six drawer dresser, hardware is often the biggest expense after paint.
Paint Colors That Look Fresh
- Warm white: bright and calm in almost any bedroom.
- Soft sage or eucalyptus green: gentle color that pairs with linen and plants.
- Greige or mushroom: a neutral that hides fingerprints better than white.
- Matte black: bold and modern, especially with brass hardware.
- Pale clay or blush: warm and soft in a nursery or guest room.
Mistakes to Avoid
- Skipping the cleaning step. This is the most common cause of peeling.
- Painting thick coats. Thick paint drips, stays tacky and shows roller marks.
- Rushing the cure. Stacking items on fresh paint leaves dents and rings.
- Painting the drawer sides. Paint on the sides makes drawers stick. Paint only the fronts and the frame.
- No primer on dark pieces. Reddish finishes can bleed through light paint without a stain blocking primer.
A good flip is mostly patience. Clean, sand, prime and paint thin, and that secondhand dresser can look like a brand new piece for a fraction of the price.
What is the first piece of thrifted furniture you would love to flip, and what color are you dreaming of painting it? Tell us in the comments.
Quick Questions
Do I have to sand furniture before painting?
A light scuff sand is enough for most pieces. You only need to dull the shine so primer can grip. Full stripping is rarely necessary for a painted finish.
What kind of paint is best for a dresser?
Furniture or cabinet paint in a satin finish holds up well and wipes clean. Chalk-finish paint is also beginner friendly but needs a protective topcoat on surfaces that get handled.
How long does a dresser flip take?
Plan on a weekend for the work and a few extra days for curing. Active time is usually five to seven hours spread across cleaning, sanding, priming and painting.
How do I fix sticky drawers on an old dresser?
Clean the runners, then rub them with a bar of plain wax or a candle stub. If the drawers still stick, check for loose screws or a swollen runner that needs light sanding.