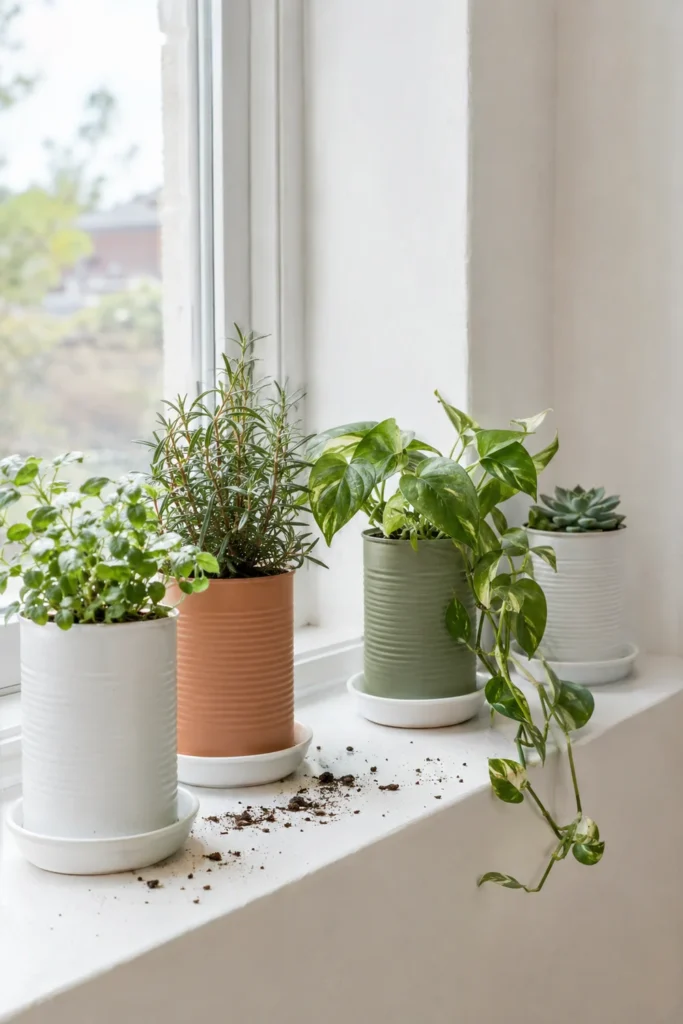
Every week a few cans go into the recycling bin: tomatoes, beans, soup, coconut milk. With a few minutes of work, some of them can become planters instead.
Tin can planters are cheap, quick and surprisingly pretty once they are painted. They fit on a narrow windowsill, line up nicely on a shelf, and make a simple gift with a cutting or a small herb inside. Most of the supplies cost a few dollars, and a set of four takes about an hour of hands-on time plus drying.
Here is how to make them safely so they last, and which plants actually do well in them.
What You Need
- Clean empty food cans with labels removed
- Work gloves
- A can opener that cuts smooth edges, or a sanding sponge and a metal file
- A hammer and a large nail, or a drill with a metal drill bit
- Safety glasses
- Spray primer made for metal
- Spray paint or acrylic craft paint in soft colors
- Clear matte sealer (spray or brush on)
- Small pebbles or a mesh square for drainage
- Potting mix suited to your plant
- Small saucers or a tray to catch water
Safety First
Cut can rims are sharp. Wear work gloves whenever you handle the raw edge, and smooth it before anyone uses the planter. Wear safety glasses when hammering or drilling holes, and spray paint outdoors or in a well ventilated area with a mask. Keep finished planters out of reach of small children if any edge still feels rough.
How to Make Tin Can Planters
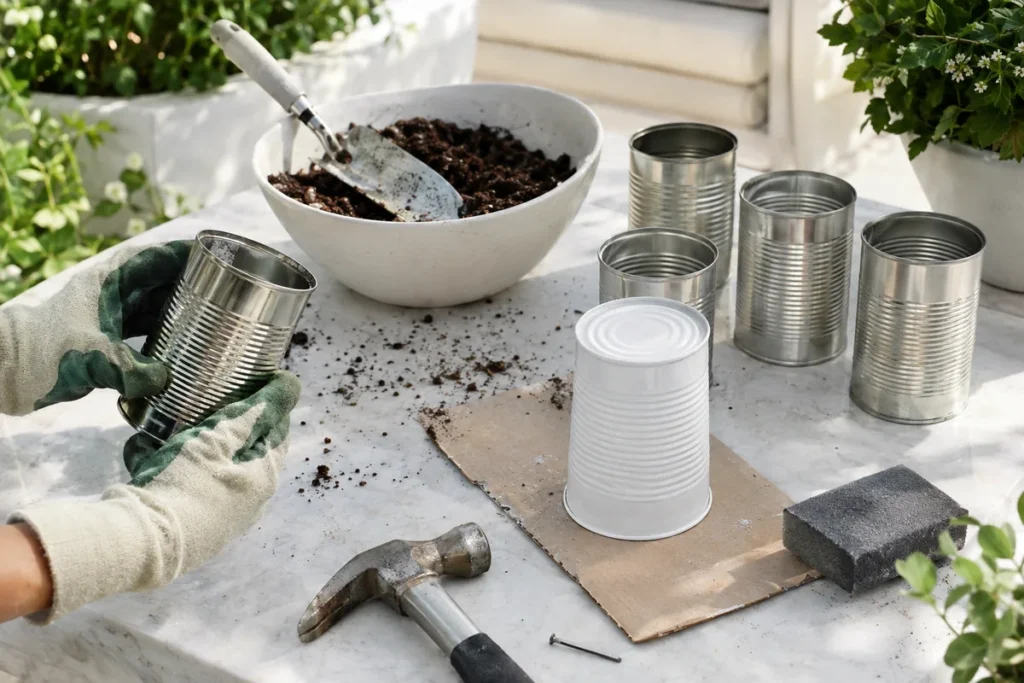
- Remove the label and glue. Soak the can in hot soapy water for 15 minutes, peel the label, and rub off leftover glue with a paste of baking soda and cooking oil. Wash and dry well.
- Smooth the rim. Run a metal file or a coarse sanding sponge around the inside and outside of the top edge until it no longer catches on a cloth. Some can openers cut a smooth, rolled edge from the side, which saves this step.
- Add drainage holes. Place the can upside down over a scrap block or folded towel on a sturdy surface. Tap a large nail through the bottom with a hammer in three to five spots. A drill with a metal bit also works. Drainage keeps roots healthy and is the most important step.
- Prime. Set the cans upside down on cardboard outside and spray a light coat of metal primer. Primer helps paint stick and slows rust. Let it dry for about an hour.
- Paint. Add two thin coats of spray paint or brush on acrylic paint. Soft white, terracotta, sage and pale blue all look fresh together.
- Seal. Finish with a clear matte sealer, inside the top inch of the rim and all over the outside. Let the cans dry overnight.
- Plant. Add a small layer of pebbles or a mesh square over the holes, fill with potting mix, set your plant in, and water gently until water drips from the bottom.
Design Ideas
- Color blocking: tape off the bottom half and paint it a second color.
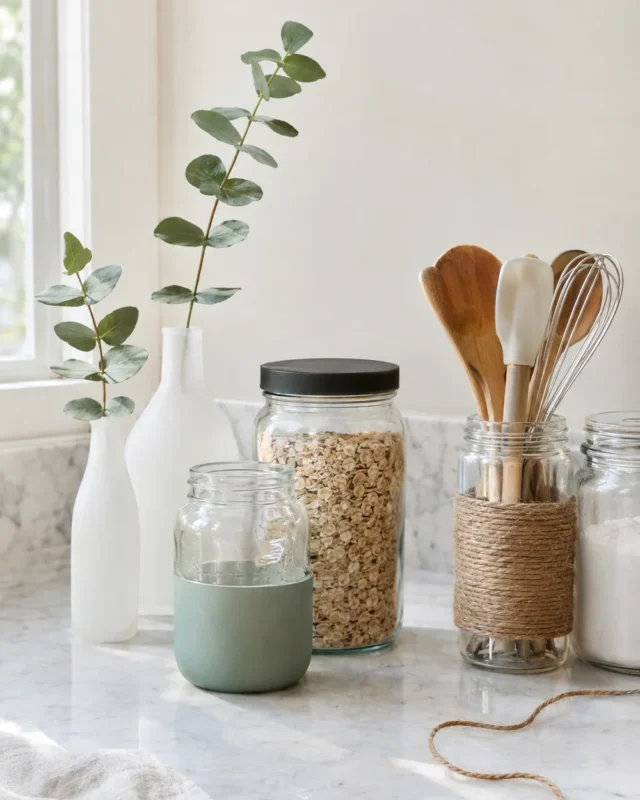
- Rope wrap: glue jute or cotton rope around the outside with a low-temp glue gun for texture.
- Painted dots or stripes: a pencil eraser dipped in paint makes even dots.
- Wall planters: drill two holes near the back rim and hang cans from a rail with S hooks.
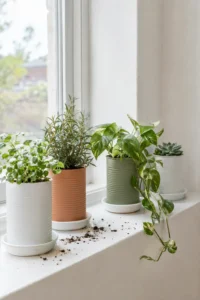
- Herb trio: three matching cans on a small white tray make a neat kitchen herb garden.
Keep the colors to two or three across the set so the cans look like a collection rather than a craft pile.
Best Plants for Tin Can Planters
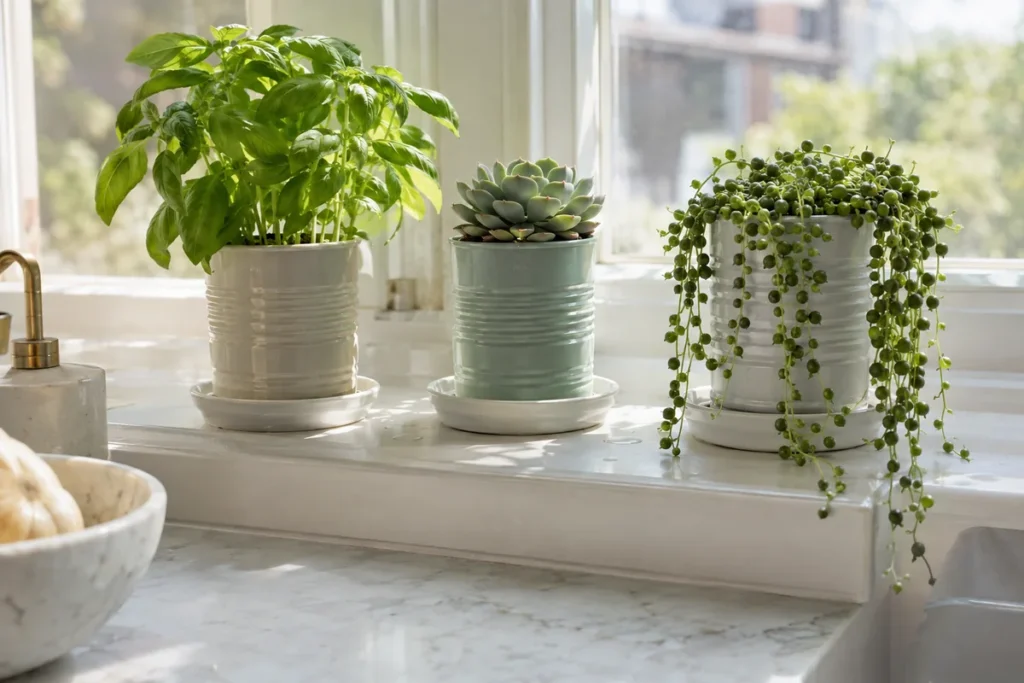
Cans are small and metal heats up in direct sun, so choose plants that are happy in small pots.
Kitchen Herbs
Basil, mint, chives and parsley grow well in cans on a sunny windowsill. They like 6 or more hours of light, regular potting mix, and watering when the top inch of soil feels dry. Snip often to keep them bushy. Mint spreads fast, so it does especially well in its own container.
Succulents
Echeveria, haworthia and small jade plants suit cans perfectly. Use a cactus and succulent mix, give them bright light, and water only when the soil is completely dry, often every 2 to 3 weeks indoors. Drainage holes are essential here, since soggy soil causes rot.
Trailing Plants
Pothos and string of pearls spill beautifully over the edge of a can on a high shelf. Pothos handles medium to bright indirect light and likes water when the top inch dries. String of pearls wants bright light and less frequent watering.
Pet note: Pothos, jade and string of pearls are toxic to cats and dogs if chewed. Keep them on high shelves or choose pet-safe options like haworthia, basil or a spider plant.
Care Tips
- Set each can on a saucer or tray to protect sills and shelves from water and rust marks.
- Check soil moisture with a finger before watering. Small pots dry faster than large ones.
- Move cans out of hot afternoon sun in summer, since metal warms quickly.
- Repot into a bigger container when roots poke out of the drainage holes.
- If a spot of rust appears, sand it lightly and touch it up with paint.
Tin can planters are one of the simplest upcycles there is, and they look sweet lined up on a sill. Start with a few cans from this week’s recycling and one easy herb.
Which plant would you put in your first tin can planter, a kitchen herb, a succulent or something that trails? Tell us in the comments.
Quick Questions
Do tin can planters need drainage holes?
Yes. Without holes, water collects at the bottom and roots rot. A hammer and nail make holes in seconds, and a saucer underneath catches the runoff.
Will tin cans rust when used as planters?
They can over time. Priming and sealing the outside slows rust a lot, and setting the cans on saucers keeps them from sitting in standing water.
What can I use to smooth sharp can edges?
A metal file or coarse sanding sponge works well. Run it around both sides of the rim until a cloth no longer snags. Wear gloves while you work.
Can I grow herbs in tin cans indoors?
Yes, on a bright windowsill. Basil, chives and mint all do well. Water when the top inch of soil is dry and trim them often to keep them full.