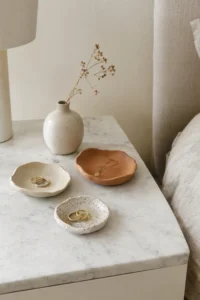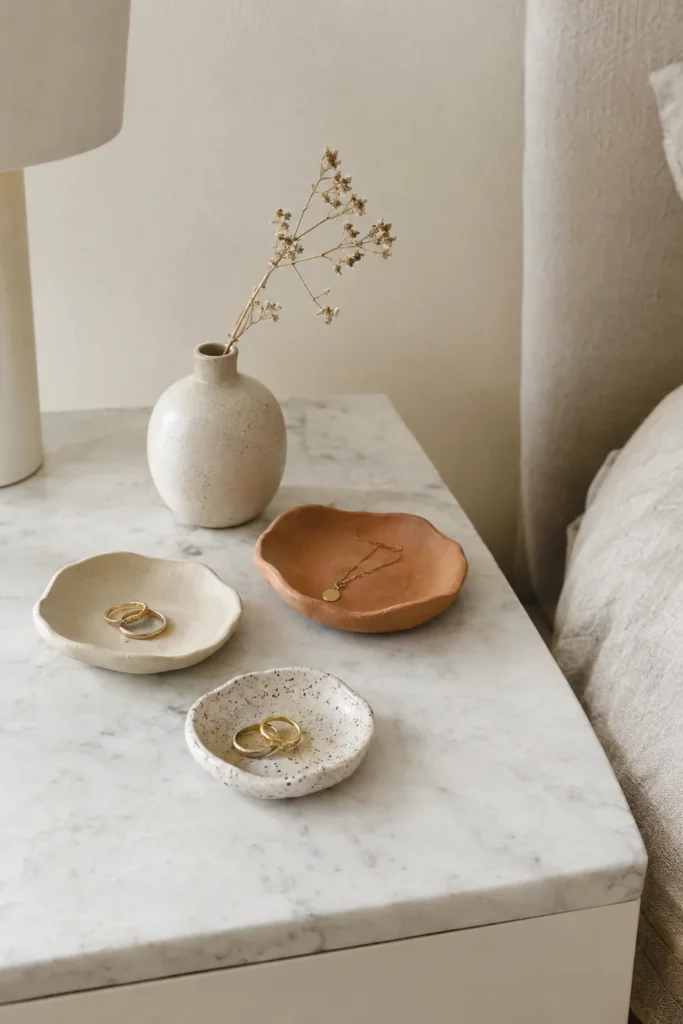
Little things pile up. Rings land on the bathroom counter, earrings end up on the nightstand, and keys disappear into a coat pocket. A small dish gives them a home, and making one yourself is one of the most relaxing crafts you can try.
Air dry clay needs no kiln and no pottery wheel. You shape it at the kitchen counter, let it dry for a day or two, and paint it any color you like. It is forgiving, inexpensive, and a lovely way to spend a quiet afternoon.
What You Need
- Air dry clay, white or terracotta (a 1 to 2 pound pack makes several dishes, usually under $15)
- A small rolling pin or a smooth glass bottle
- Parchment paper or a silicone craft mat
- A small bowl or saucer to use as a mold (shallow is best)
- A round cutter, a jar lid, or a craft knife to cut shapes
- A small cup of water and a soft sponge
- Fine sandpaper (220 to 400 grit)
- Acrylic craft paints and small brushes
- Gold or metallic paint pen (optional, for rims)
- A water based clear sealer or varnish in matte or gloss
- Two thin paint stir sticks or rulers (for even thickness)
Shape Your Dish Step by Step
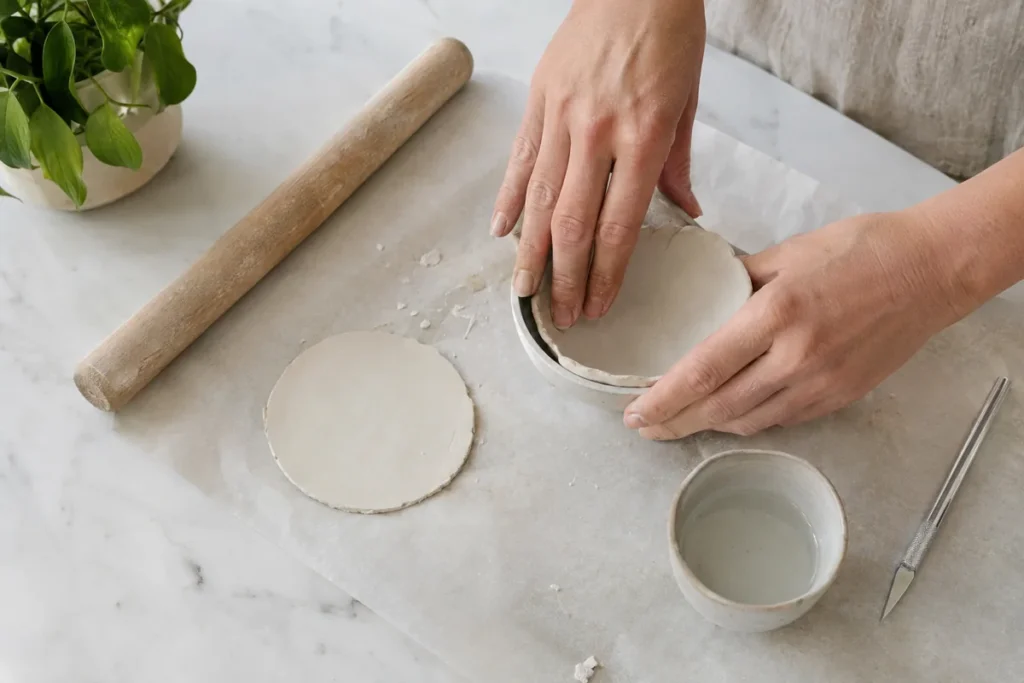
- Condition the clay. Pinch off a piece about the size of a golf ball for a small dish. Knead it for a minute or two until soft and smooth. If it feels dry, dampen your fingers slightly.
- Roll it out. Place the clay on parchment between two stir sticks and roll across them. This gives an even thickness of about 1/4 inch. Too thin and it can crack; too thick and it takes much longer to dry.
- Cut a shape. Press a cutter or jar lid into the clay, or trace around a template with a craft knife. Circles, ovals, scalloped edges and simple leaf shapes all work.
- Smooth the edges. Dip a finger in water and run it around the cut edge to soften it. Do not soak the clay. A light touch is enough.
- Form the dish. Lay the clay circle gently into your bowl mold and press it to the shape. Or, for a freeform dish, pinch the edges up a little with your fingertips all the way around.
- Add texture (optional). Press a lace scrap, a leaf or a stamp into the surface before forming, or speckle it later with paint.
- Let it dry in the mold. Leave it in a dry spot away from heat for 24 hours, then remove it from the mold and let the underside dry another 24 to 48 hours. Thick pieces can take longer.
Tip: turn the dish over halfway through drying so it dries evenly and does not curl.
Fix Cracks and Smooth the Surface
Small hairline cracks are normal as clay shrinks. To fix them:
- Mix a little clay with water into a paste (often called slip)
- Press it into the crack with a fingertip
- Let it dry and sand flush
Once completely dry, sand the rim and any rough spots with fine sandpaper. Wipe away the dust with a barely damp cloth.
Safety note: sand outdoors or near an open window and wear a simple dust mask. Clay dust is fine and best not breathed in.
Paint and Seal for a Finished Look
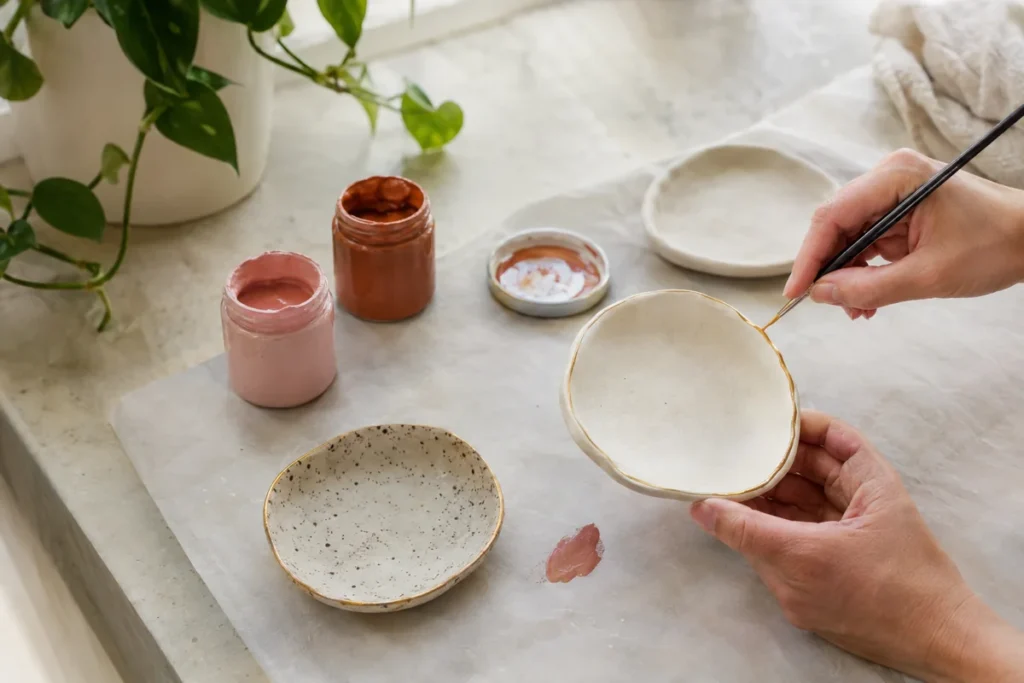
Leave the dish natural for a soft, stone-like look, or paint it. Some ideas that look modern and simple:
- Solid neutrals: cream, oat, soft sage or warm terracotta
- Speckled stone: paint a base color, then flick a stiff brush loaded with thinned brown or black paint over it
- Gold rim: run a metallic paint pen around the edge
- Soft checks or stripes: use thin strips of painter’s tape as a guide
- Simple marble: swirl a thin gray line through wet white paint with a toothpick
Let the paint dry completely, usually an hour or two. Then seal the dish with two to three thin coats of water based sealer, letting each dry between coats.
Sealing is what makes the dish hold up to daily use. Even sealed, air dry clay is not waterproof, so it is best for dry things.
Easy Shape Ideas
- Tiny ring dish: a 3 inch circle with gently raised edges
- Key catchall: a 5 to 6 inch oval for an entryway console
- Scalloped dish: use a fluted cookie cutter for wavy edges
- Leaf dish: cut around a real leaf and press its veins into the clay
- Nesting set: make three sizes that stack together
Make Them as Gifts
A set of two small dishes tied with a linen ribbon makes a thoughtful handmade gift. Pair one with a small candle or a pair of simple earrings. Make several at once, since the drying time is the same whether you shape one or ten.
Air dry clay is about the process as much as the result. Your first dish may be a little lopsided, and that is part of its charm. By your third or fourth, you will have a feel for thickness, smoothing and shape.
What would you keep in your first clay trinket dish: rings, keys or something else? Tell us in the comments.
Quick Questions
Is air dry clay waterproof?
No. Even with sealer, it is water resistant at best. Use your dishes for jewelry, keys, coins or small decor, not for soap, plants or food.
Can I bake air dry clay to dry it faster?
It is not recommended. Heat can cause cracking and warping. A warm, dry room with good airflow is the safest way to speed things up.
Why did my clay dish crack?
Usually it dried too fast, was rolled unevenly, or was very thin in places. Keep thickness even, dry it slowly, and patch small cracks with clay paste.
Is air dry clay food safe?
No. These dishes are decorative only and should never hold food or drinks.