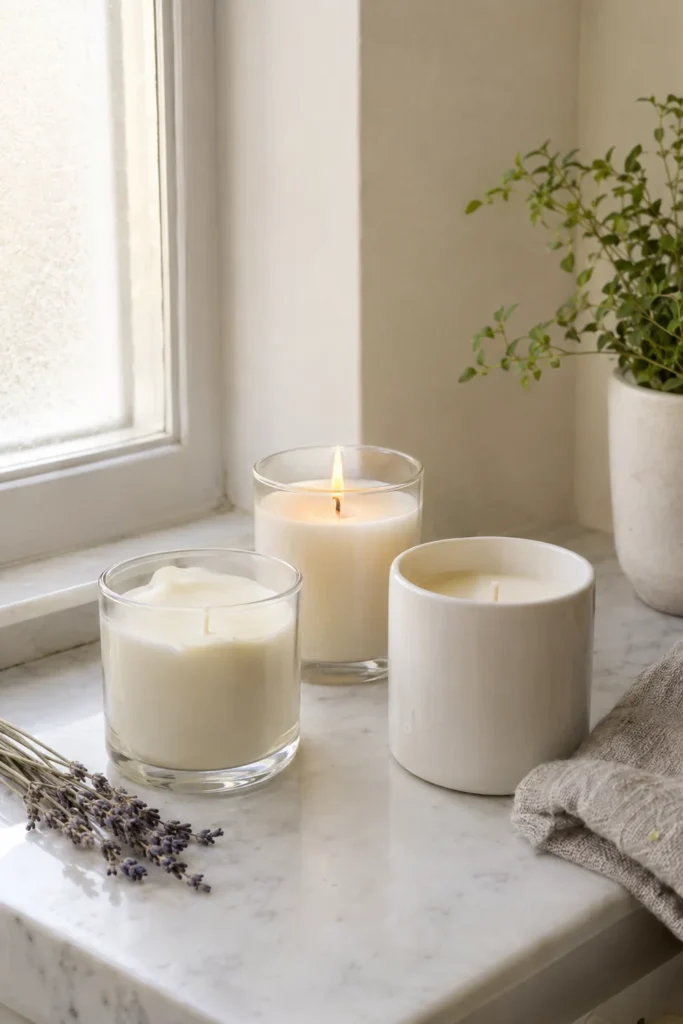
There is something calming about a candle you made yourself. You choose the container, the scent and how strong it is, and the whole project takes about an hour of hands on time.
Soy wax is a good starting point for beginners. It melts at a fairly low temperature, cleans up with warm soapy water, and pours easily. With a few basic supplies and some attention to safety, you can make candles that look and burn well.
What You Need
- Soy container wax (flakes are easiest), about 1 pound per three to four 8 ounce candles
- Pre-tabbed cotton or wood wicks sized for your container width
- Heat safe containers: thick glass jars, ceramic tumblers or tins, roughly 8 ounces each
- Fragrance oil made for candles (not essential oils from the bath aisle unless rated for candle use)
- A metal pouring pitcher and a saucepan for a double boiler
- A digital thermometer
- Wick stickers or a dab of hot glue
- Wick centering clips, clothespins or two chopsticks
- A kitchen scale
- Parchment paper or newspaper to protect the counter
- Wick trimmers or sharp scissors
- Oven mitts
Starter supplies often cost $25 to $40 and make several candles.
Safety note: never melt wax directly over a burner or in a microwave without guidance from the wax label. Always use a double boiler, stay with the wax the entire time it is on the heat, and keep a lid nearby. If wax ever catches fire, turn off the heat and cover it with a lid. Never use water on a wax fire.
Choose the Right Wick
The wick matters more than anything else for a good burn.
- Too small: the candle tunnels, burning a hole down the middle and wasting wax around the edges.
- Too big: the flame is tall, smoky and the container can get dangerously hot.
Wick packages list a recommended container diameter. Measure across the inside of your jar and pick to match. For containers wider than about 3.5 inches, you may need two wicks. When in doubt, make one test candle first.
How to Make Soy Candles Step by Step
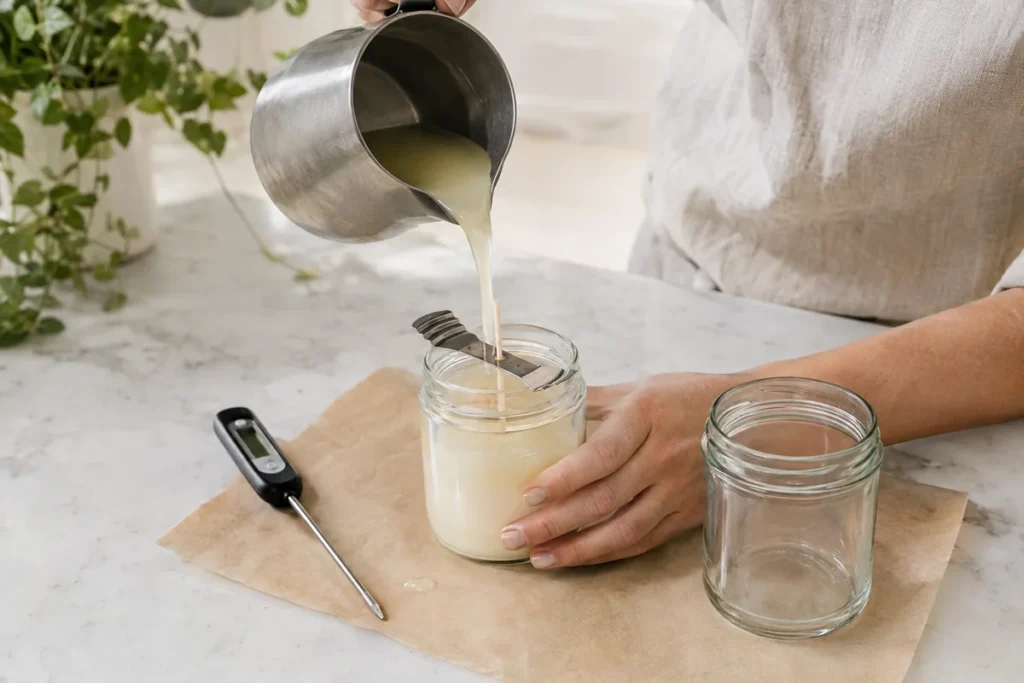
- Prep your space. Cover the counter with parchment. Wash and dry containers so they are completely clean.
- Attach the wicks. Press a wick sticker or a small dot of hot glue on the metal tab and center it firmly in the bottom of each container.
- Weigh the wax. A rough guide is that an 8 ounce container holds about 6 to 7 ounces of wax by weight.
- Melt the wax. Put the wax in the pouring pitcher and set it in a saucepan with a few inches of simmering water. Stir gently and heat to the temperature on the wax label, often around 180 to 185 degrees F.
- Add fragrance. Remove the pitcher from heat. Let the wax cool slightly to the fragrance temperature listed on the label (often around 175 to 185 degrees F), then add fragrance oil. A common load is 6 to 10 percent of the wax weight, or roughly 1 ounce per pound. Stir slowly for two full minutes so it binds.
- Cool before pouring. Let the wax cool to around 130 to 140 degrees F, or as the wax label suggests. Pouring cooler helps prevent cracks and rough tops.
- Pour slowly. Pour into the container, leaving about 1/2 inch of space at the top. Save a little wax for touch ups.
- Center the wick. Lay a centering clip or two chopsticks across the rim to hold the wick straight.
- Let it set. Leave the candles undisturbed at room temperature for at least 24 hours. Avoid drafts and cold windows, which cause cracks and sinkholes.
- Fix the tops. If the surface is bumpy or has a dip near the wick, warm the reserved wax and pour a thin top layer, or pass a hair dryer briefly over the surface.
- Trim the wick to about 1/4 inch.
Cure and Burn Your Candles the Right Way
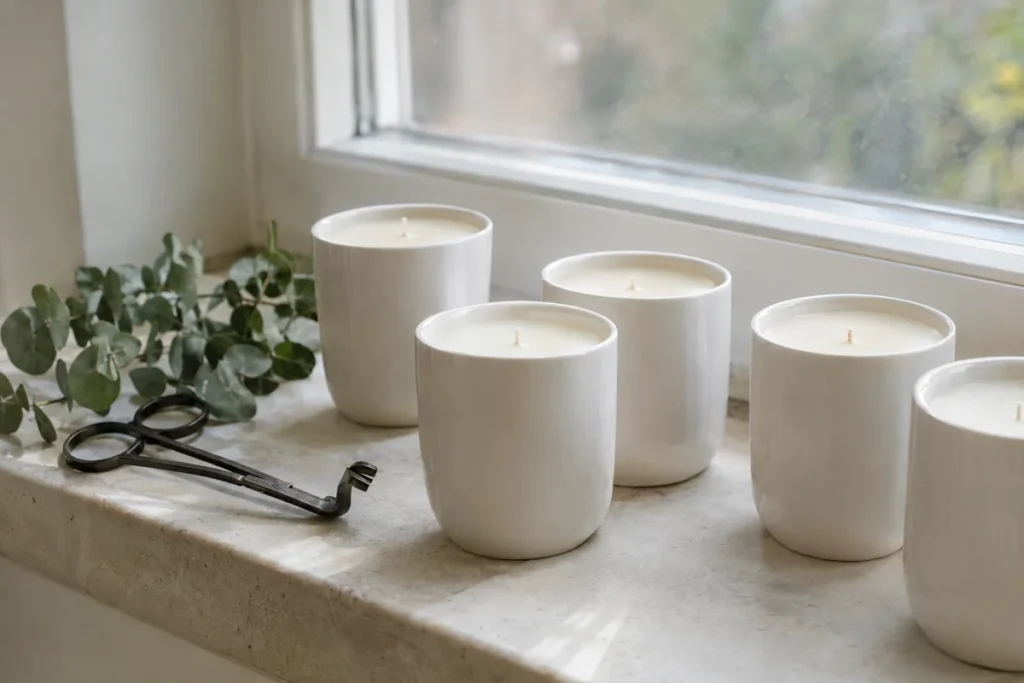
Soy candles smell stronger after curing. Leave them, covered if possible, in a cool, dark spot for at least three days, and ideally one to two weeks.
The first burn sets the pattern for the whole candle:
- Let it burn until the melted pool reaches the edges of the container, usually one hour per inch of diameter.
- Never burn for more than four hours at a time.
- Trim the wick to 1/4 inch before every burn.
- Stop using the candle when about 1/2 inch of wax remains.
Safety note: never leave a burning candle unattended, keep it away from curtains, children and pets, and always set it on a heat safe surface.
Scent Ideas to Try
Mix one or two fragrance oils for simple, cozy blends:
- Clean linen: a single fresh cotton scent
- Garden: lavender with a little eucalyptus
- Kitchen: lemon with a touch of basil
- Fall: apple with cinnamon
- Winter: pine with a soft vanilla
Write down your recipe (wax weight, fragrance amount, temperatures) so you can repeat what works.
Make Them Gift Ready
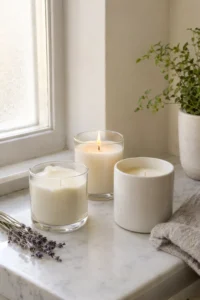
Plain white ceramic tumblers or clear jars look clean and modern. Add a simple lid, tie a ribbon around the neck, and tuck a small card with burning tips. A pair of matching candles makes an easy holiday or hostess gift.
Candle making rewards patience more than skill. Watch your temperatures, pick the right wick, and let the candles cure, and they will burn evenly and smell lovely.
What scent would you choose for your very first homemade candle? Tell us in the comments.
Quick Questions
Why does my candle have a hole down the middle?
That is called tunneling. The wick is usually too small for the container, or the first burn was too short. Try a larger wick next time and let the first burn reach the edges.
Why is my soy candle not very fragrant?
Usually the fragrance was added at too high a temperature, not stirred long enough, or the candle has not cured. Give it a full week before judging the scent.
Can I use essential oils in candles?
Only those labeled safe for candle making. Many essential oils have low flash points and lose scent when heated. Candle fragrance oils are more reliable for beginners.
Can I reuse old candle jars?
Yes. Freeze the jar for a few hours, pop out the leftover wax, then wash the jar in hot soapy water. Only reuse thick, heat safe glass with no chips or cracks.