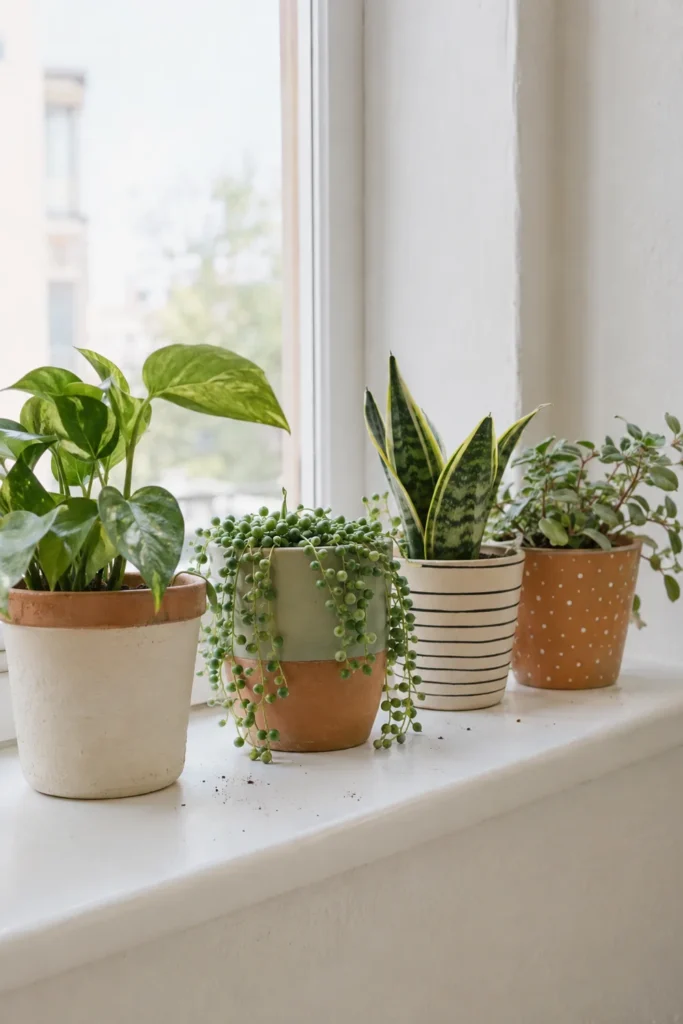
Terracotta pots are a gardener’s favorite for good reason. They are inexpensive, breathable and sturdy. The plain orange clay does not suit every room, though, especially a bright, neutral one. Paint changes that in an afternoon.
The trick is prep. Terracotta is porous, which means it soaks up water from the soil and pushes it outward. Without sealing, paint can bubble, peel or grow a chalky white film. A few extra minutes of prep keeps your designs looking crisp for a long time.
What You Need
- Terracotta pots and saucers in any size (small pots often cost $1 to $3 each)
- A stiff brush and warm water
- A water based clear sealer, or a terracotta sealer, for inside and outside
- Acrylic craft paint or outdoor acrylic paint in your chosen colors
- Flat brushes (1/2 inch and 1 inch) and a small round detail brush
- Painter’s tape or thin washi tape
- Cotton swabs and a pencil eraser for dots
- A clear water based topcoat in matte or satin
- Parchment paper or a drop cloth
- Fine sandpaper (optional, for smoothing rough spots)
Safety note: use spray sealers outdoors only, wear a mask, and keep pets and kids away until the spray dries. Even water based brush-on products are best used with a window open.
Prep and Seal the Pots
- Clean them. Scrub new pots with warm water to remove dust and stickers. For used pots, soak in warm soapy water, scrub off mineral crust and old soil, then rinse well.
- Dry completely. Let pots dry for at least 24 hours. Terracotta holds water and needs time.
- Seal the inside. Brush clear sealer over the inside walls. This stops moisture from passing through the clay to your paint. Leave the drainage hole clear.
- Seal the outside (optional base). A thin coat of sealer on the outside gives paint a smoother surface and helps colors look even.
- Let it dry as the label recommends, often one to two hours.
How to Paint Terracotta Pots Step by Step
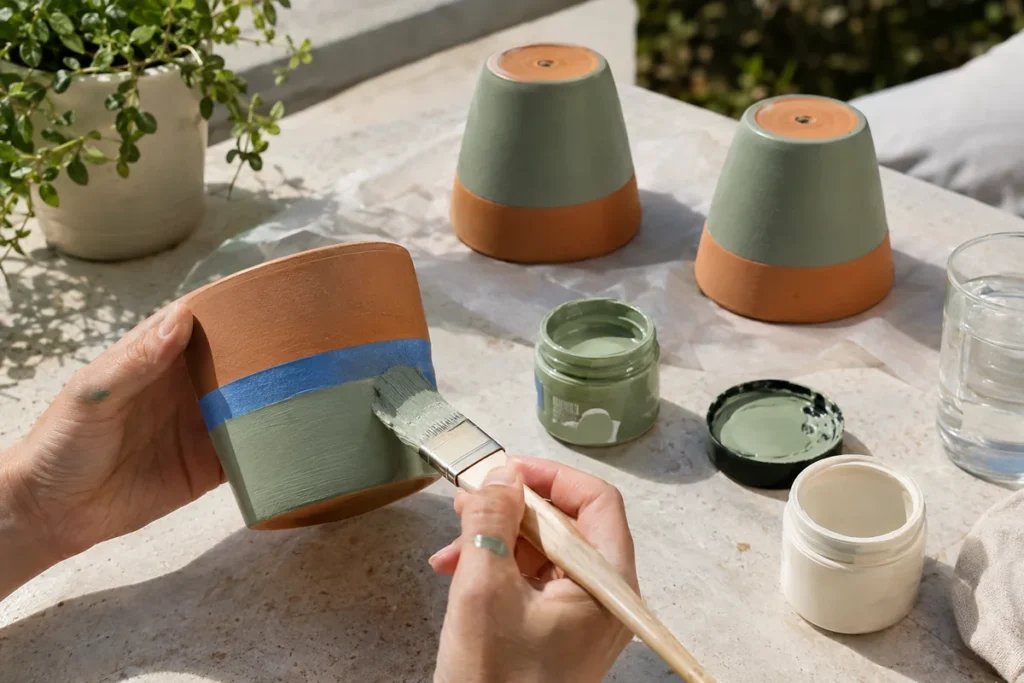
- Plan your design. Sketch it lightly with a pencil, or mark lines with tape.
- Tape clean edges. Press painter’s tape firmly so paint does not bleed underneath. Run a fingernail along the edge to seal it.
- Base coat. Paint the main color with a flat brush, working in one direction. Thin coats are better than one heavy coat.
- Second coat. Let the first coat dry (about 30 minutes for most acrylics), then add a second for full coverage.
- Remove tape while slightly damp. Pull it off slowly at an angle for the cleanest line.
- Add details. Use the small round brush for lines, a cotton swab for medium dots and a pencil eraser for perfect small dots.
- Seal the design. Once fully dry, add two thin coats of clear topcoat to protect the paint, especially for outdoor pots.
- Cure before planting. Wait at least 24 hours, ideally a few days, before adding soil and water.
Tip: painting pots upside down on a jar or can makes it easier to reach every side without smudging.
Easy Design Ideas
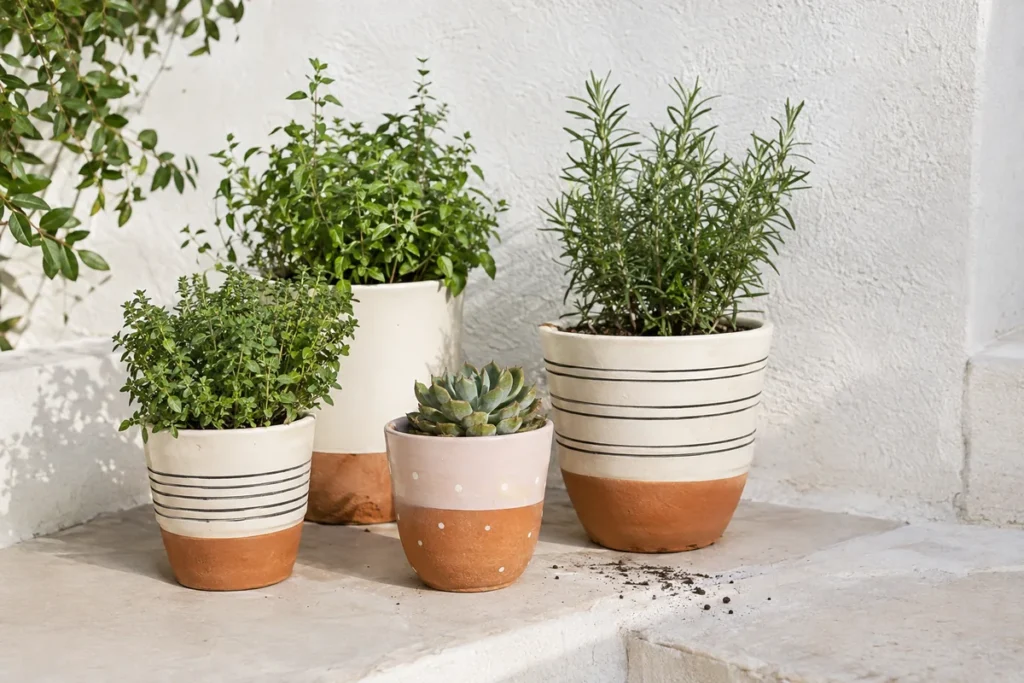
These designs look modern and need no artistic skill:
- Color block: tape a line around the middle and paint only the top or bottom half, leaving raw clay showing.
- Dipped rim: paint just the rim in a soft color, like blush or sage, for a subtle accent.
- Thin stripes: use narrow tape to create horizontal or vertical lines in black or white.
- Polka dots: dot white paint over a cream or clay base with a pencil eraser.
- Simple arches: paint a soft rounded shape on one side in a muted tone.
- Tone on tone: paint the pot cream and the saucer a slightly darker shade.
- Speckled stone: flick thinned dark paint over a light base with a stiff brush for a ceramic look.
For a calm, cohesive look, stick to two or three colors across a group of pots. Neutral tones with one accent color tend to look the most polished.
Indoor or Outdoor: What Changes
Indoor pots do well with standard acrylic craft paint and a clear topcoat. Place a saucer underneath and empty it after watering.
Outdoor pots need outdoor rated acrylic paint and a weather resistant topcoat. Even then, terracotta can crack in freezing weather when wet. In cold climates, bring painted pots into a garage or shed for the winter.
Which Plants Suit Terracotta
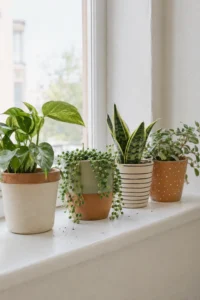
Terracotta dries out faster than plastic or glazed pots, which makes it a great match for plants that like to dry between waterings:
- Succulents and cacti: bright light, water only when the soil is fully dry
- Snake plant: low to bright indirect light, water every two to three weeks
- Herbs like rosemary, thyme and oregano: full sun on a sunny sill or patio, water when the top inch is dry
- Pothos: medium to bright indirect light, water when the top inch or two is dry
Thirsty plants, like ferns, may need more frequent watering in clay pots.
Pet note: pothos and snake plants are toxic to cats and dogs if chewed. Keep them on high shelves if you have curious pets.
Painted terracotta pots are a small, inexpensive craft that makes plants look styled and intentional. Seal well, paint in thin coats, and your designs will stay fresh season after season.
Which design would you try first on your terracotta pots: color blocking, stripes or dots? Tell us in the comments.
Quick Questions
Why is my paint peeling off terracotta?
Moisture from the soil is moving through the clay and pushing the paint off. Sealing the inside of the pot before painting is the best fix.
What paint works best on terracotta?
Acrylic craft paint is easy and comes in many colors. For outdoor pots, choose an outdoor acrylic or patio paint and finish with a weather resistant clear coat.
Can I paint the inside of a terracotta pot?
You can seal it, but it is best not to paint where soil touches. Sealer is enough to protect your outside design.
What is the white film on my painted pots?
That is mineral salt from water and fertilizer moving through the clay. Sealing prevents most of it. Wipe off any that appears with a damp cloth before resealing.