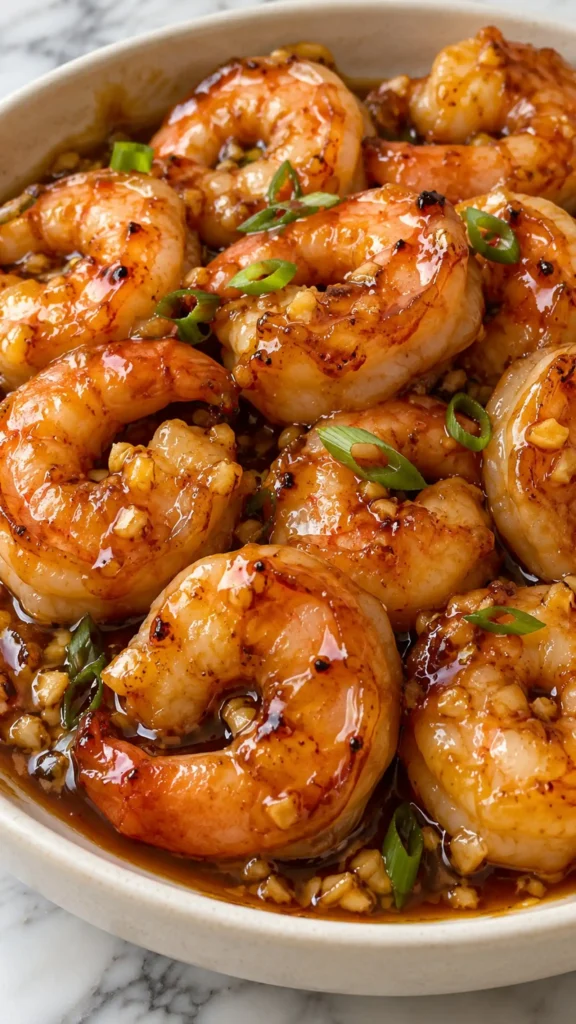
If you’re looking for a quick seafood dinner with big flavor, look no further than the Easy Honey Garlic Shrimp, a sticky, savory alternative to your usual garlic butter chicken!
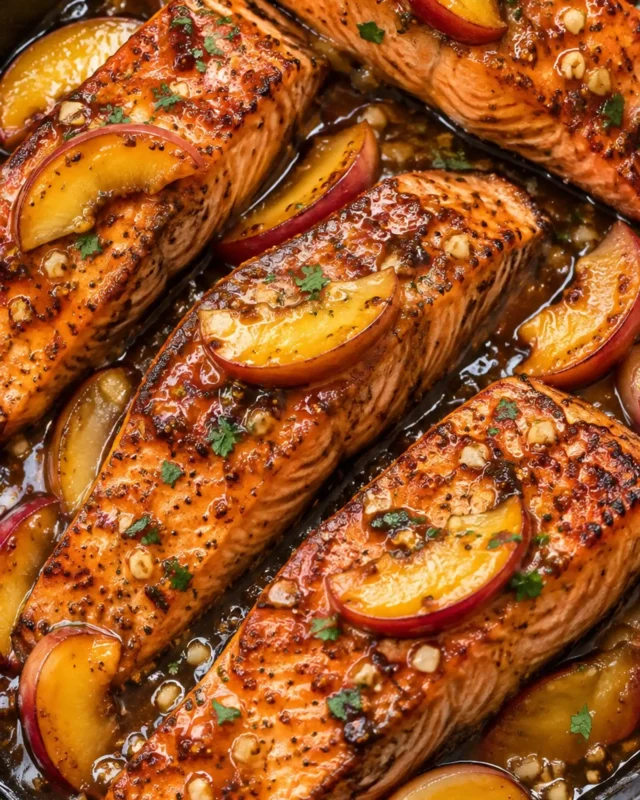
Incredibly easy to prepare, this skillet recipe is a go-to for busy weeknights, especially if you’re a fan of the sweet glaze in hot honey salmon.
Did you know that shrimp cooks in just a few minutes, making it one of the fastest proteins for a weeknight dinner? With a handful of pantry staples and one skillet, you can whip up a meal that will impress your family and friends, and you can explore more seafood ideas with these crispy coconut shrimp.
Let’s dive into the ingredients, the simple cooking method, and some tips to make this dish truly shine!
Ingredients for Easy Honey Garlic Shrimp
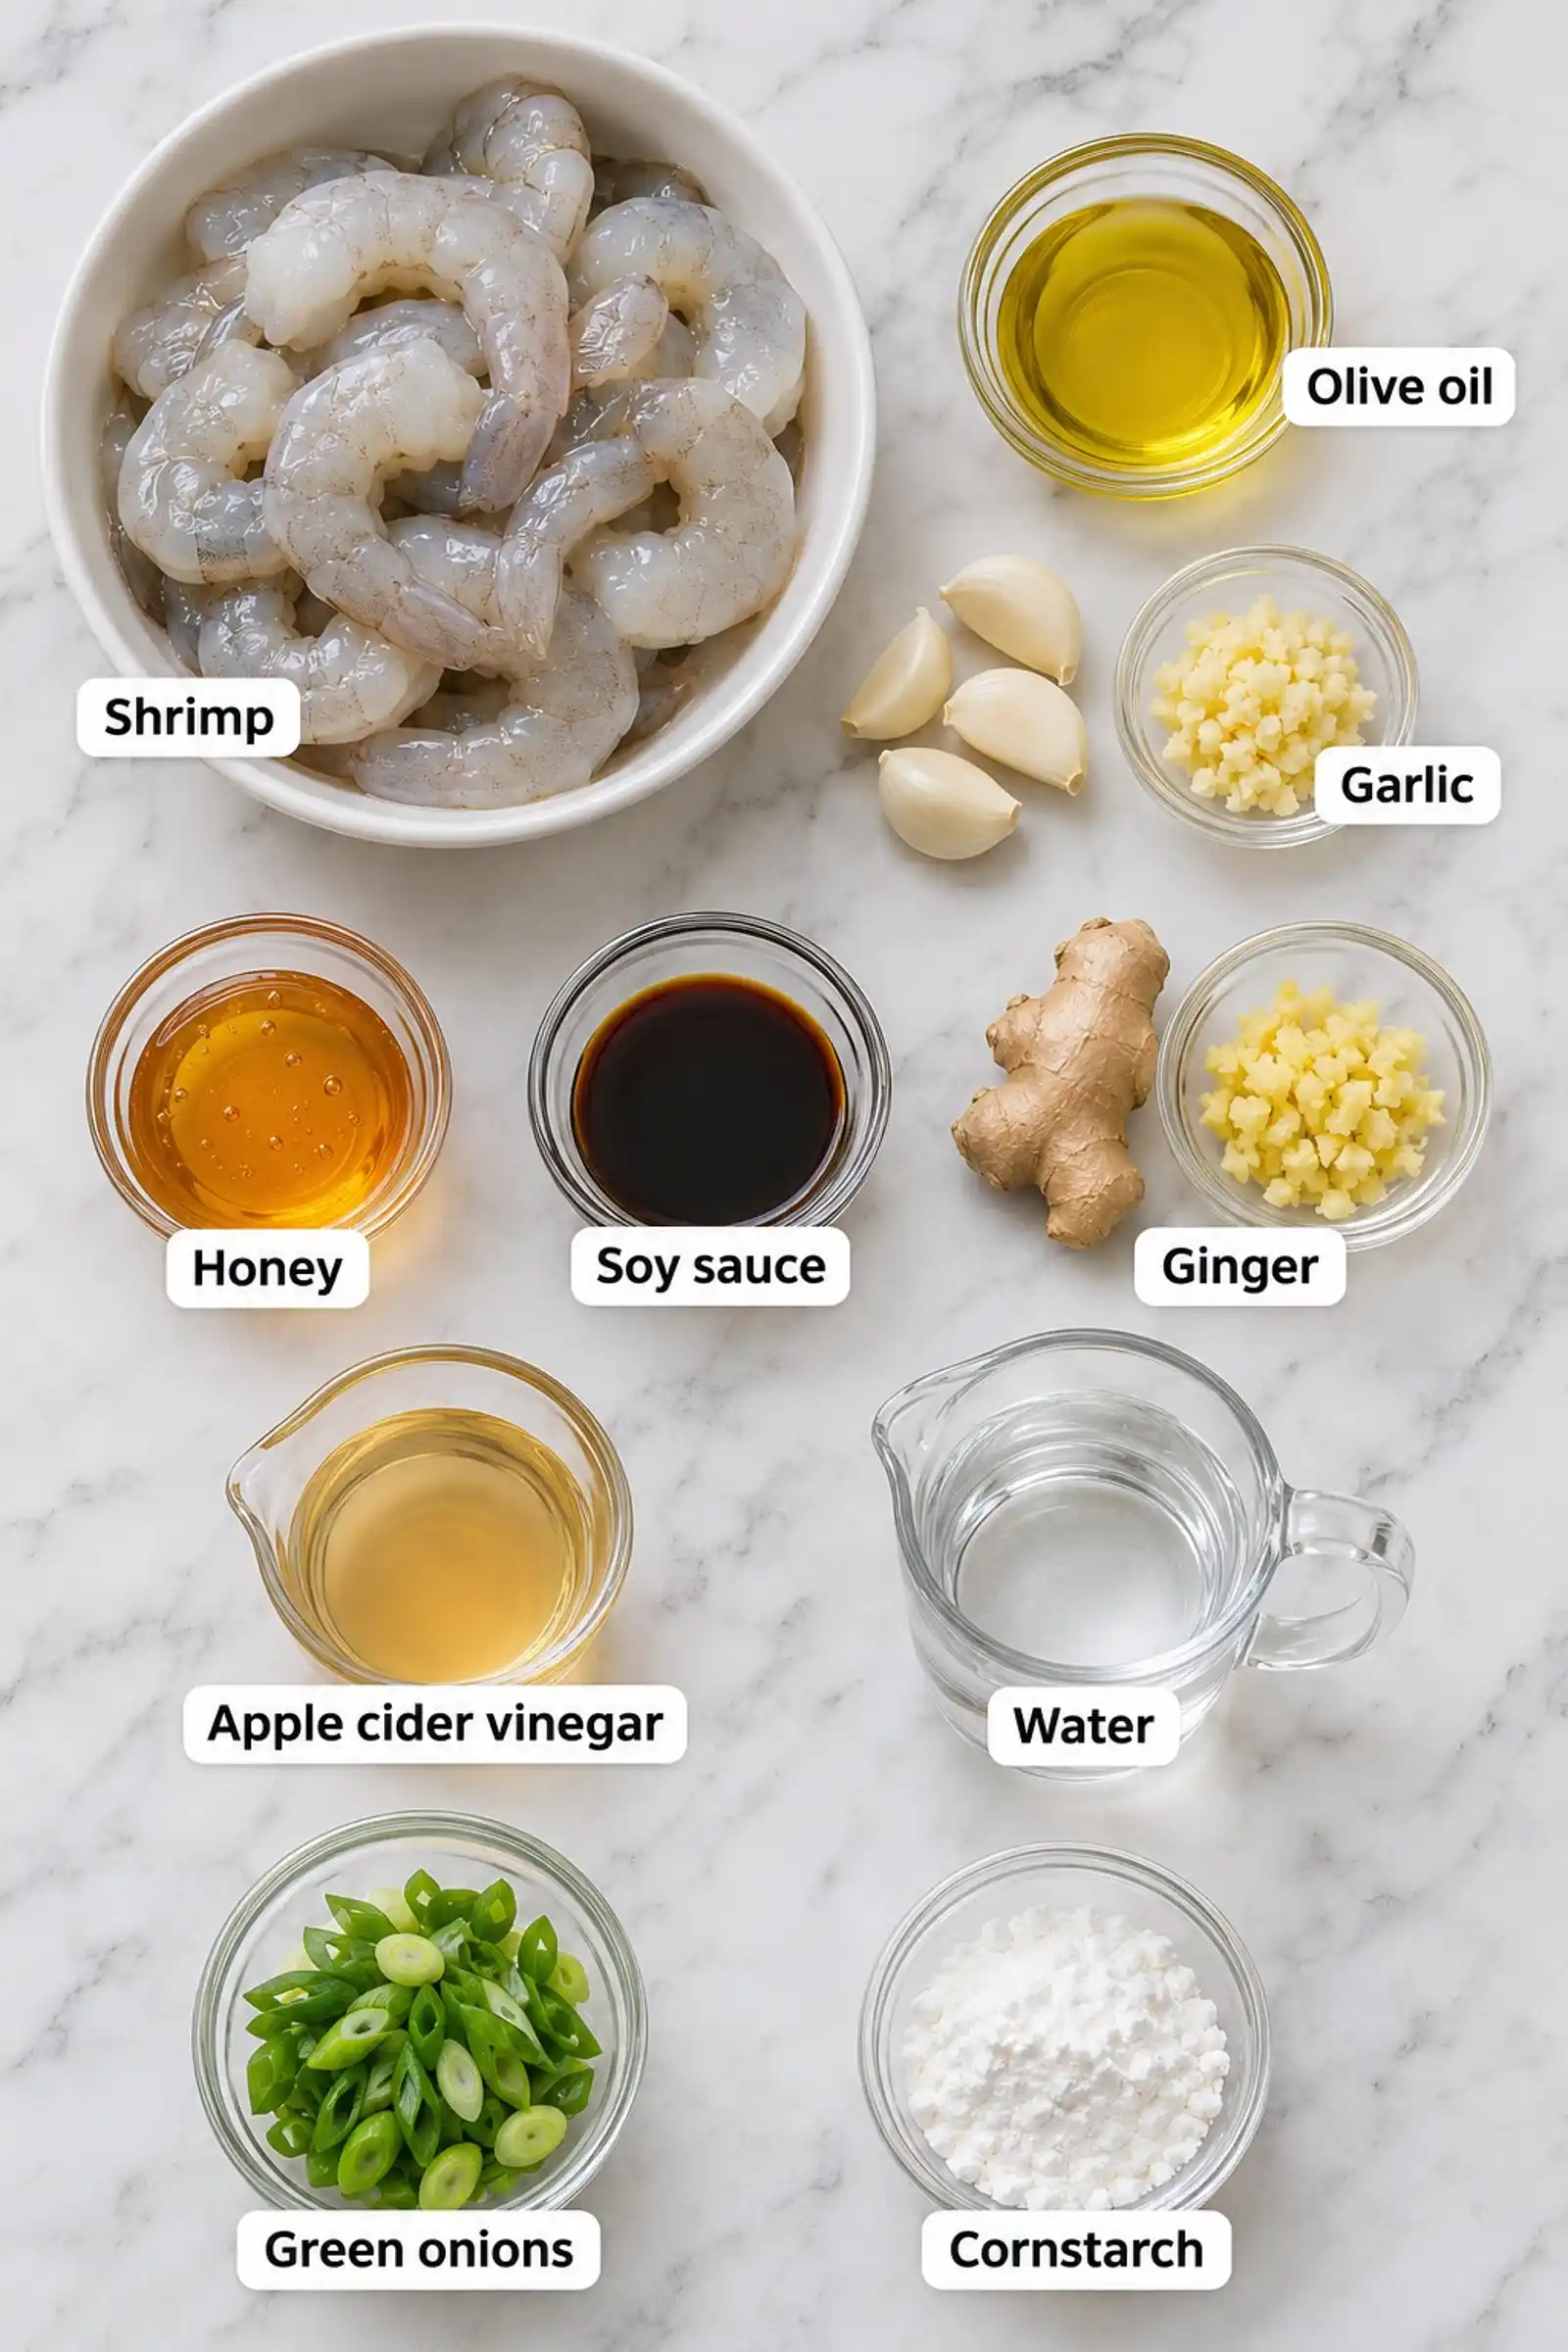
To create the perfect honey garlic shrimp, you’ll need the following ingredients:
Essential Ingredients
- 1 pound large shrimp peeled and deveined
- 2 tablespoons olive oil for searing
- 4 cloves garlic minced
- 1 tablespoon ginger minced
- 1/4 cup honey for sweetness and body
- 2 tablespoons soy sauce or tamari for gluten-free
- 2 tablespoons apple cider vinegar for balance
- 1 cup water divided, plus more as needed
- 2 tablespoons cornstarch for thickening the glaze
Optional Ingredients
- Green onions sliced, for garnish
How to Make the Honey Garlic Shrimp
Here’s how to cook the shrimp and build the glaze in one skillet:
- Sear the Shrimp: Heat the olive oil in a large skillet over medium-high heat for about 1 minute. Add the shrimp in a single layer and cook 1-2 minutes per side until pink and just opaque, then transfer them to a plate.
- Build the Sauce: Reduce the heat to medium, add the minced garlic and ginger, and stir for 30 seconds until fragrant. Pour in 3/4 cup of the water, then whisk in the honey, soy sauce, and apple cider vinegar.
- Simmer the Sauce: Bring the mixture to a gentle simmer and cook for 3-4 minutes until slightly reduced.
- Thicken the Glaze: In a small bowl, whisk the cornstarch with the remaining 1/4 cup water until smooth, then stir it into the simmering sauce. Cook 1-2 minutes until glossy and thick enough to coat a spoon, adding 1 tablespoon of water at a time if it gets too thick.
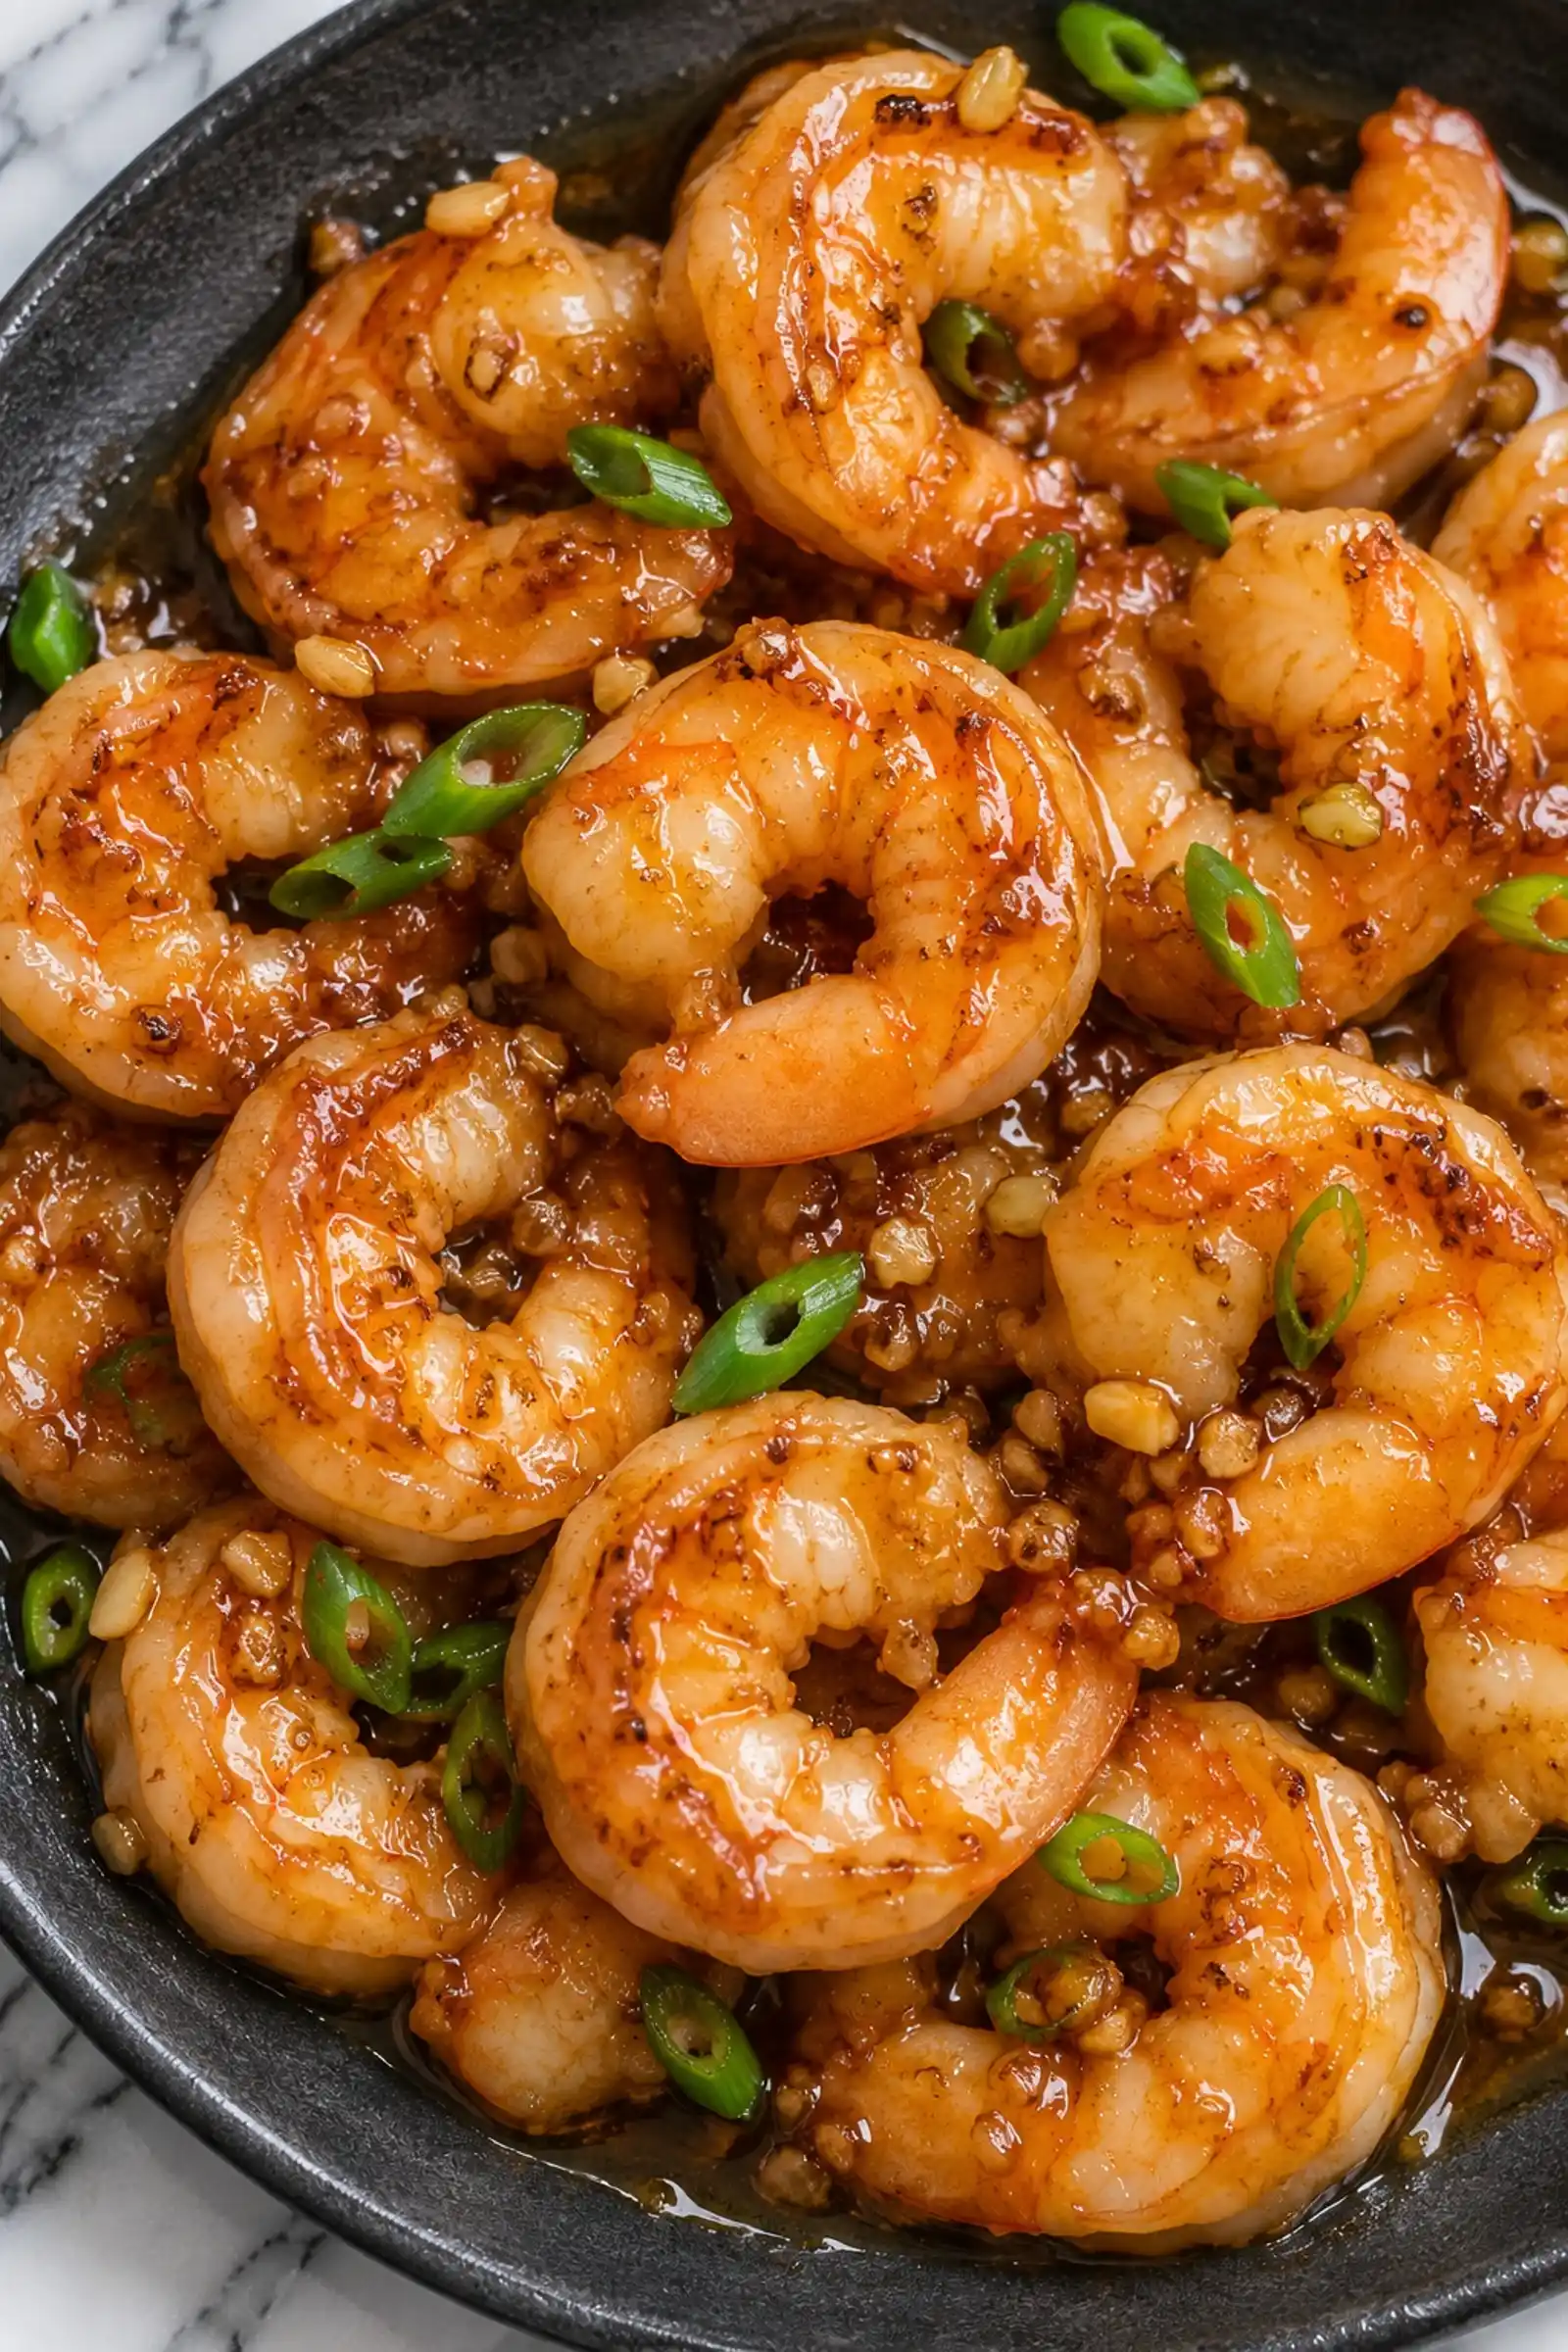
- Coat the Shrimp: Return the shrimp and any juices to the skillet and toss for about 1 minute until fully coated and heated through. Sprinkle with sliced green onions and serve right away.
Variations and Customizations
One of the great things about honey garlic shrimp is its versatility!
- Vegetable Additions: Add broccoli florets or snap peas to the sauce during the simmer and cook 3-4 minutes until tender-crisp.
- Alternative Proteins: Swap the shrimp for bite-sized chicken pieces, cooking them through before you add the glaze.
- Heat Lovers: Stir a small pinch of chili flakes into the sauce in step 2 for a gentle kick.
- Make It a Bowl: Spoon the finished shrimp over rice or noodles and top with extra green onions for a complete meal.
Serving Suggestions
Serve the shrimp over steamed rice to soak up every drop of glaze, and pair it with a crisp Japanese cucumber salad for a fresh contrast.
For drinks, a chilled glass of sparkling water with lime or a light, crisp white wine pairs nicely with the sweet and savory glaze.
Conclusion
In just a few simple steps, you’ve created a sticky, flavorful shrimp dinner that is sure to become a family favorite.
This recipe is ideal for busy weeknights, and it also reheats well for a quick lunch the next day.
Don’t hesitate to get creative with your add-ins and proteins. There’s no limit to how you can customize this recipe!
Try it today and experience the deliciousness for yourself!
Recipe FAQ’s
Can I use frozen shrimp instead?
Yes, thaw it overnight in the refrigerator or under cold running water, then pat it dry before searing so it browns properly.
What should I serve with honey garlic shrimp?
Steamed rice, noodles, or a crisp cucumber salad all pair well with the sweet glaze.
How can I store leftovers?
Refrigerate them in an airtight container for up to 2 days and reheat gently in a skillet over medium-low heat.
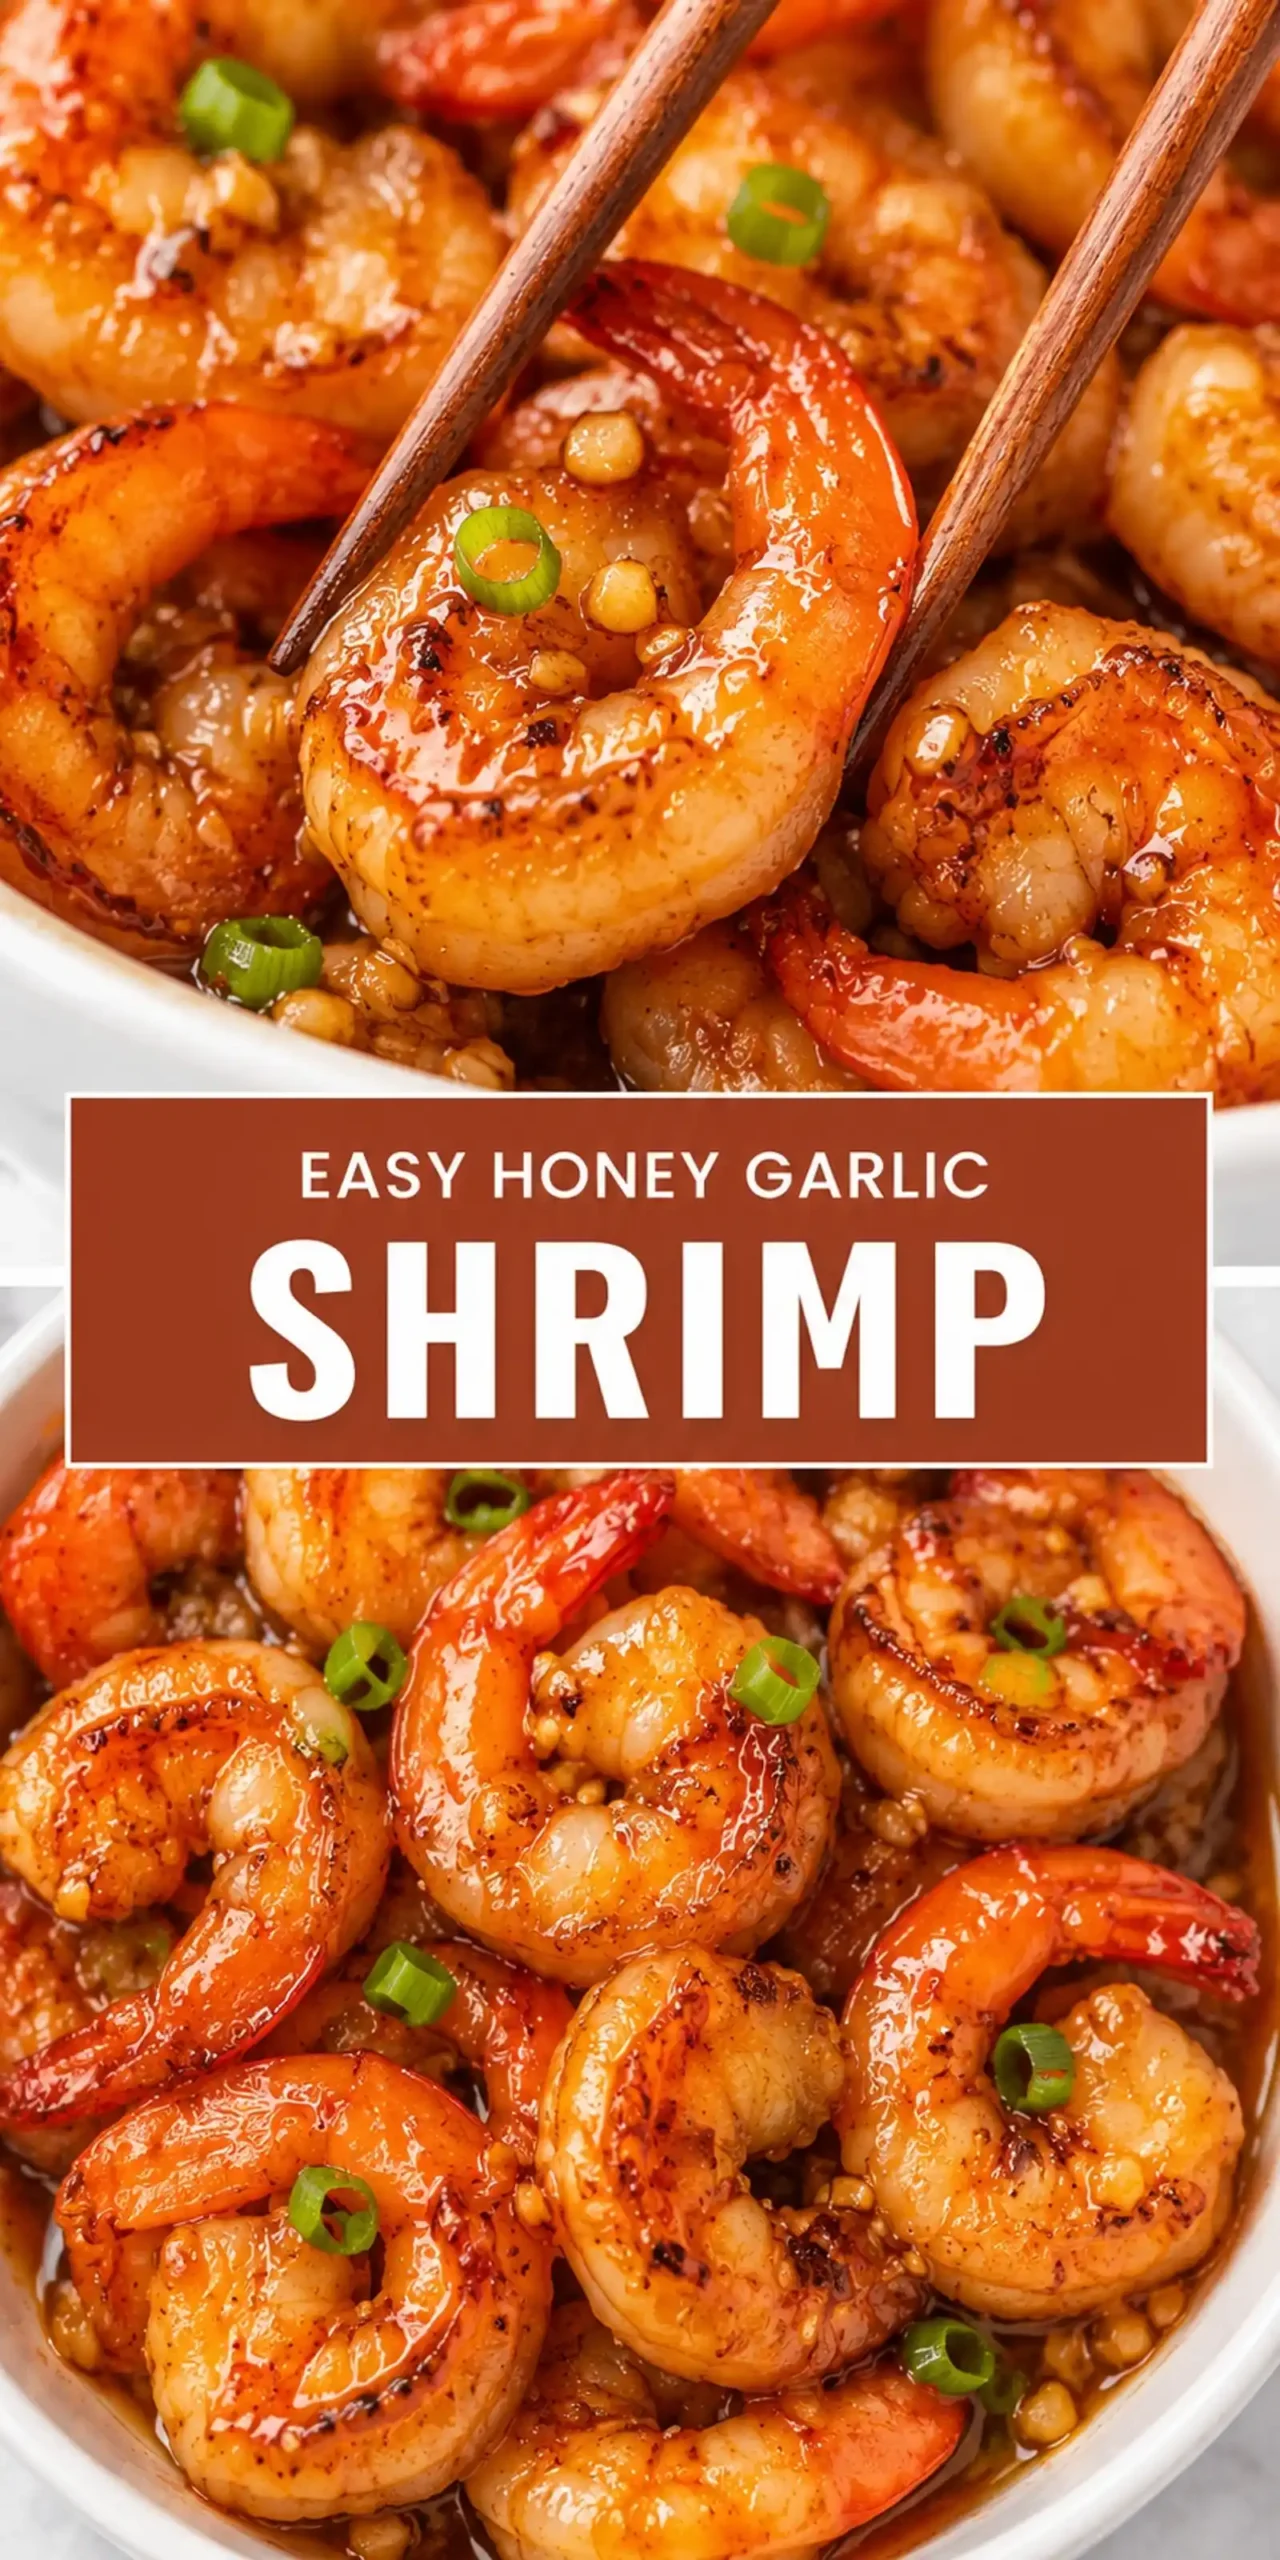
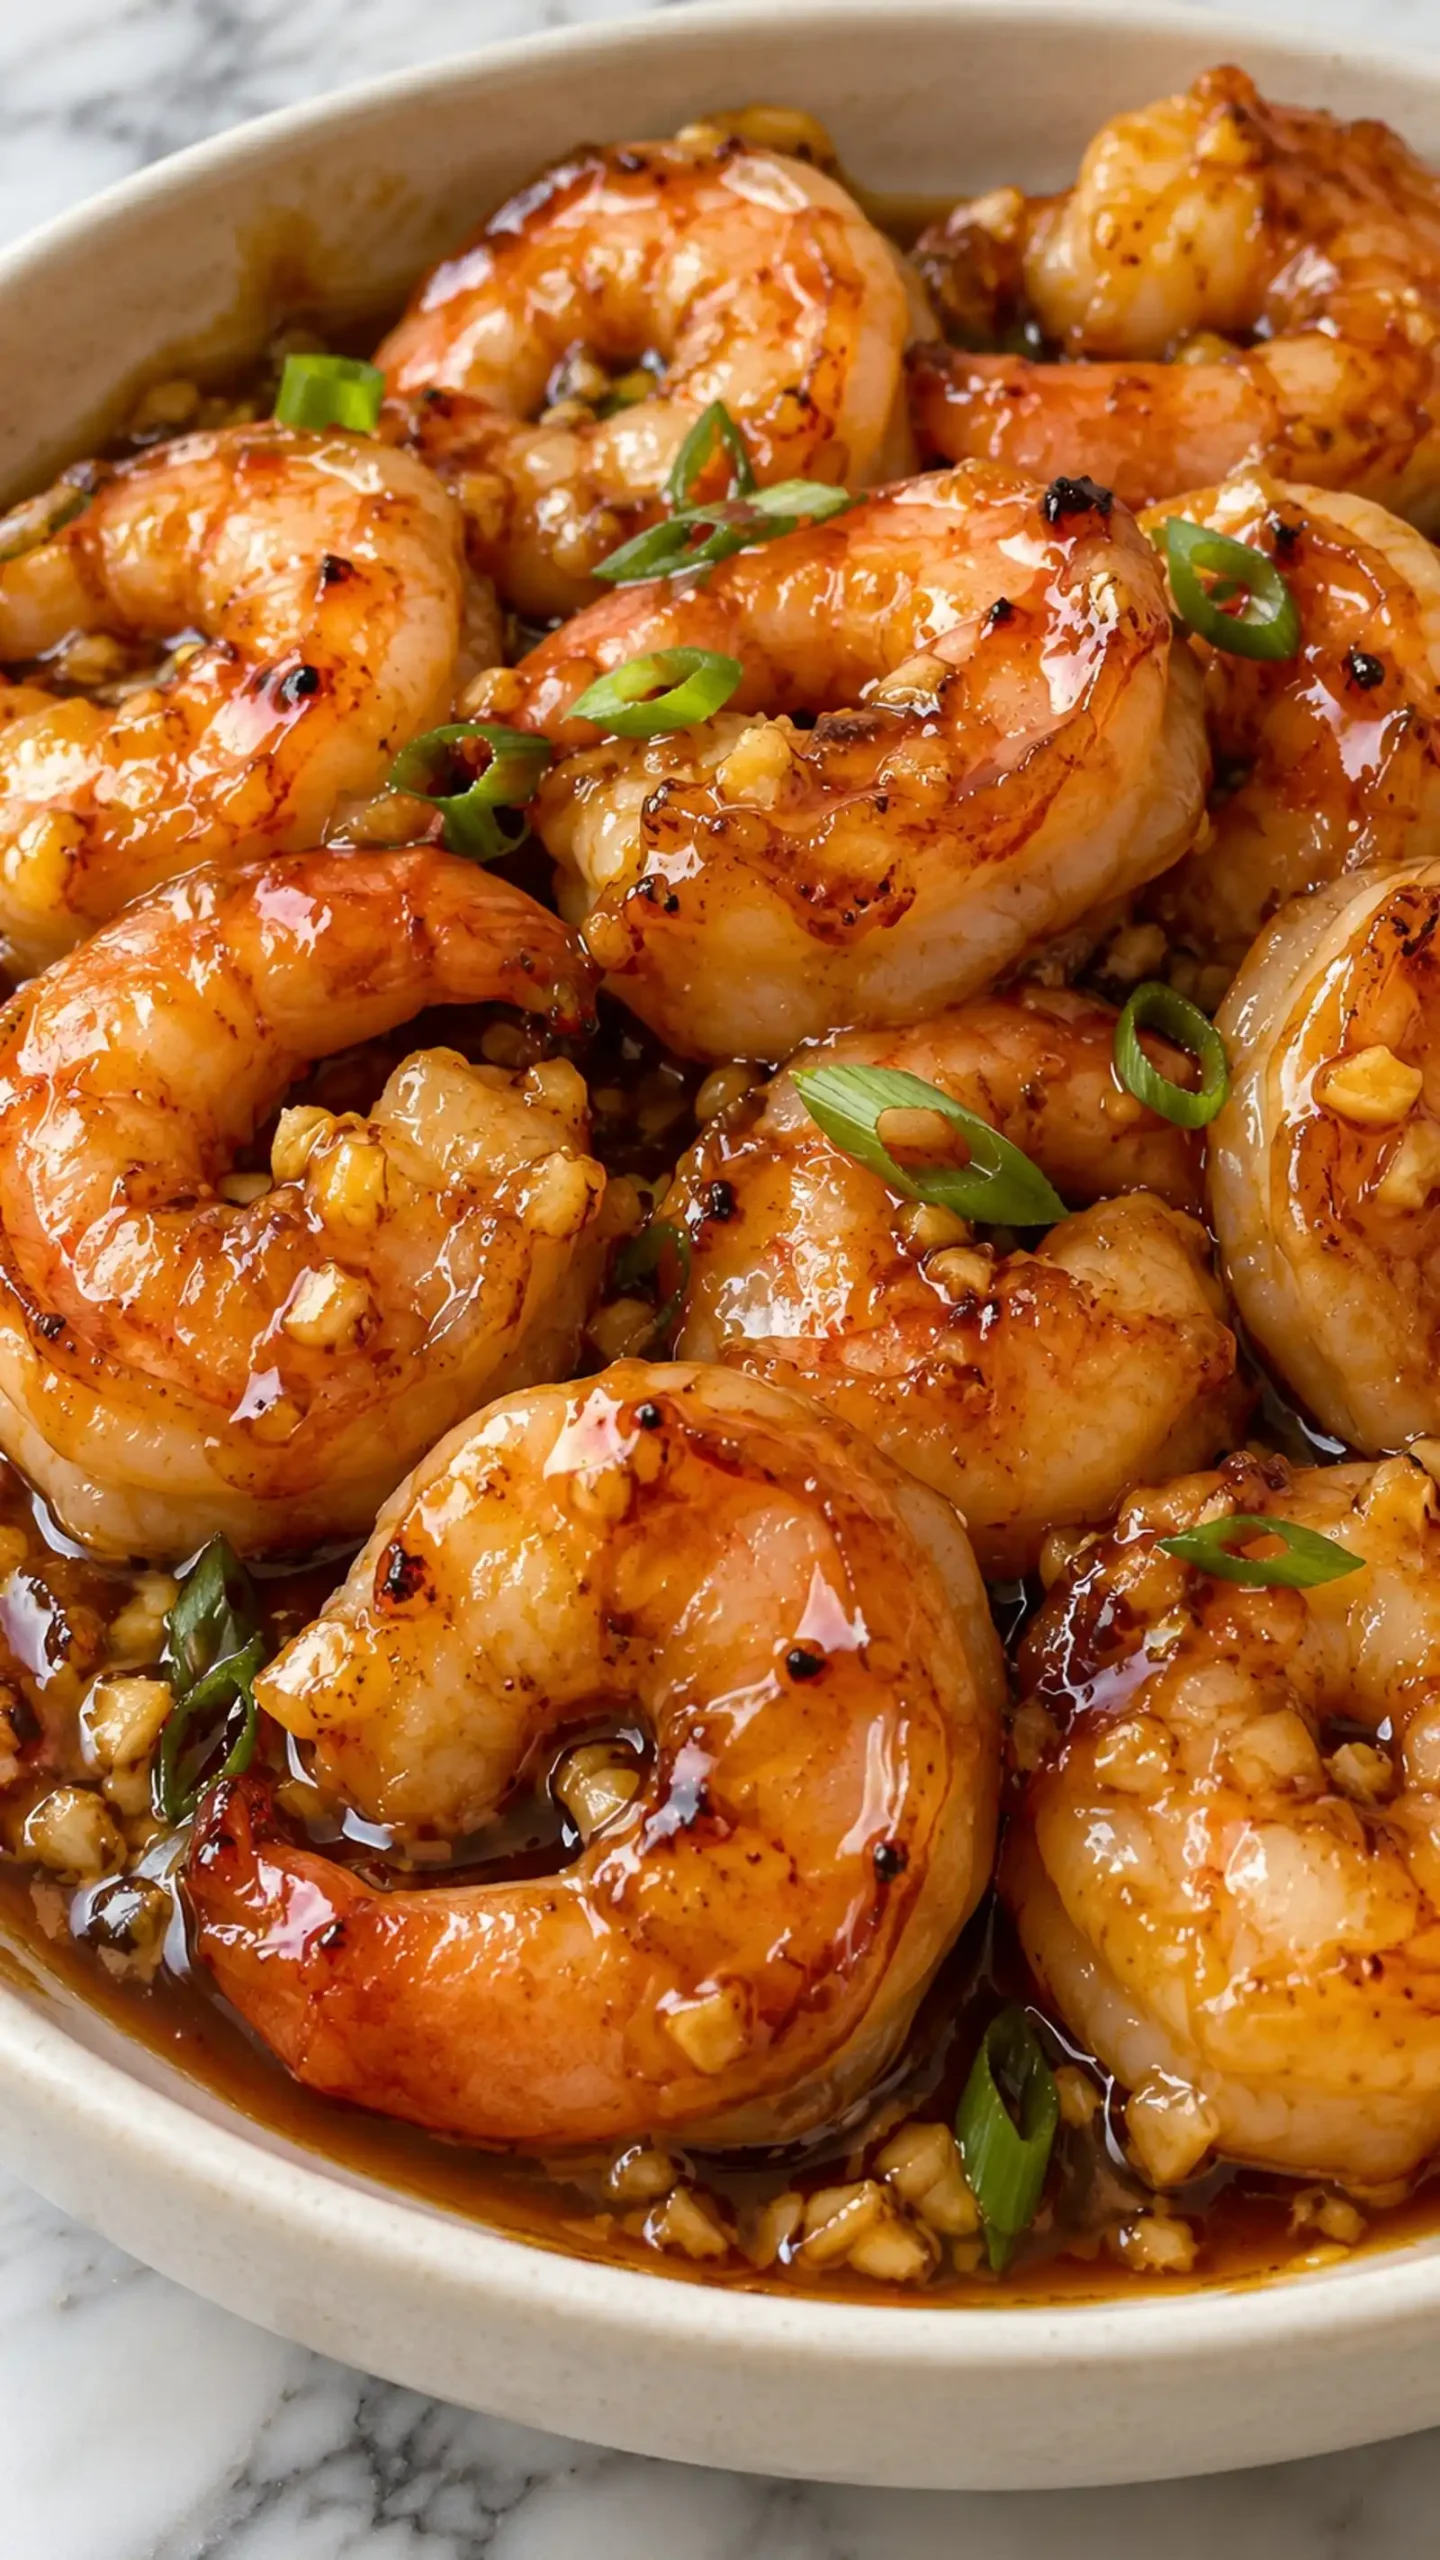
Easy Honey Garlic Shrimp
Ingredients
- 1 pound large shrimp peeled and deveined
- 2 tablespoons olive oil for searing
- 4 cloves garlic minced
- 1 tablespoon ginger minced
- 1/4 cup honey for sweetness and body
- 2 tablespoons soy sauce or tamari for gluten-free
- 2 tablespoons apple cider vinegar for balance
- 1 cup water divided, plus more as needed
- 2 tablespoons cornstarch for thickening the glaze
- green onions sliced, for garnish (optional)
Instructions
- Sear the Shrimp: Heat the olive oil in a large skillet over medium-high heat for about 1 minute. Add the shrimp in a single layer and cook 1-2 minutes per side until pink and just opaque, then transfer them to a plate.
- Build the Sauce: Reduce the heat to medium, add the minced garlic and ginger, and stir for 30 seconds until fragrant. Pour in 3/4 cup of the water, then whisk in the honey, soy sauce, and apple cider vinegar.
- Simmer the Sauce: Bring the mixture to a gentle simmer and cook for 3-4 minutes until slightly reduced.
- Thicken the Glaze: In a small bowl, whisk the cornstarch with the remaining 1/4 cup water until smooth, then stir it into the simmering sauce. Cook 1-2 minutes until glossy and thick enough to coat a spoon, adding 1 tablespoon of water at a time if it gets too thick.
- Coat the Shrimp: Return the shrimp and any juices to the skillet and toss for about 1 minute until fully coated and heated through. Sprinkle with sliced green onions and serve right away.