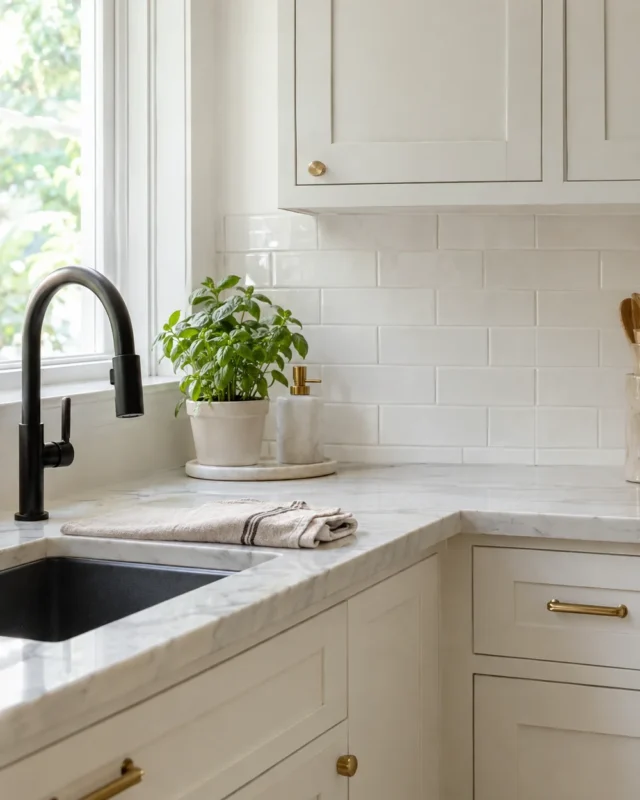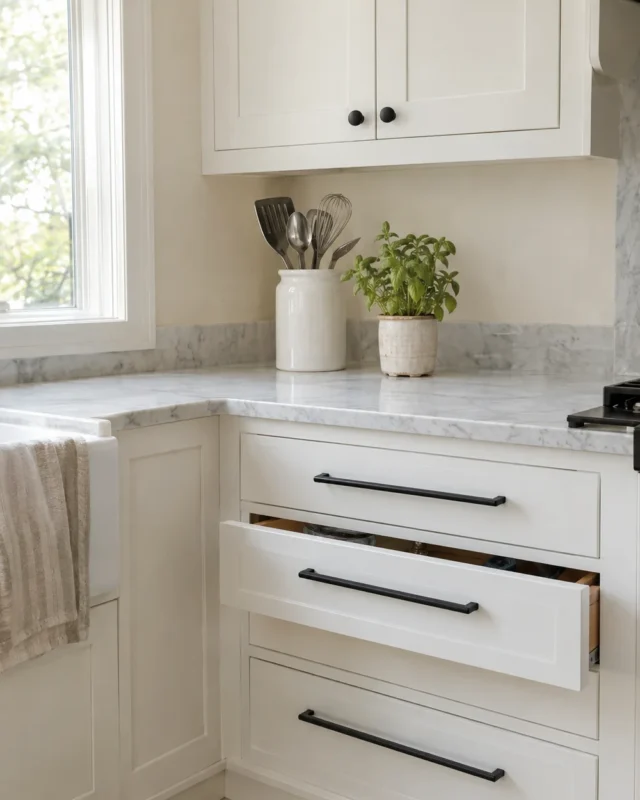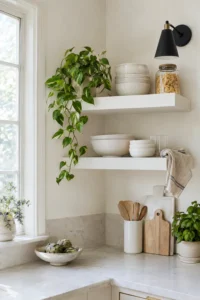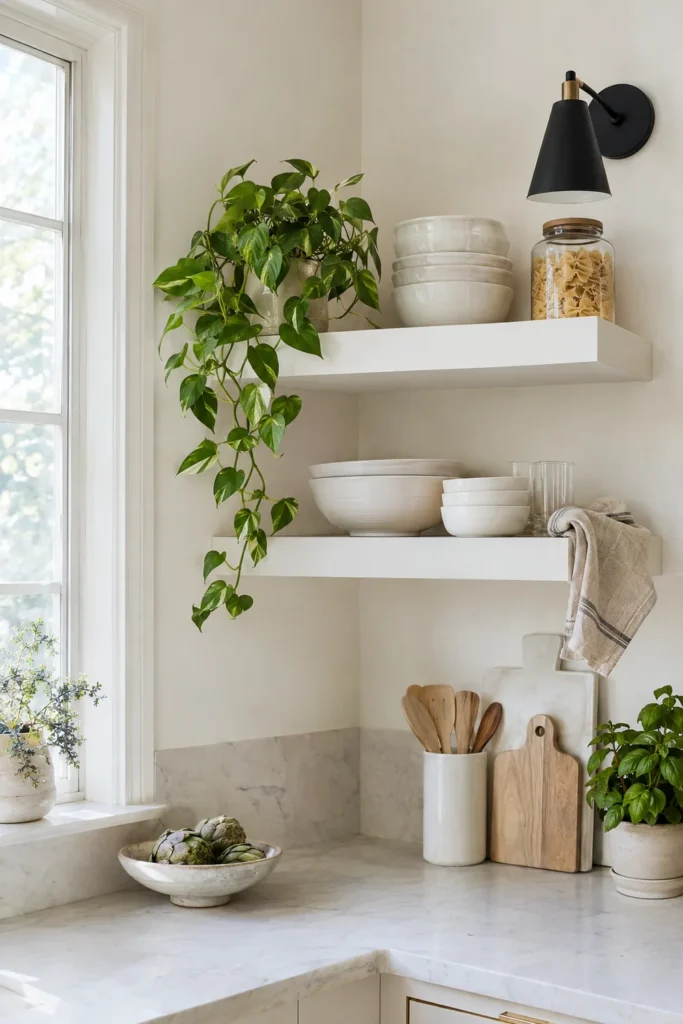
Floating shelves are one of those details that make a room look designed. There are no visible brackets, just a clean ledge for plates, plants, books or towels. Store bought versions can be pricey, though, and many cheap ones sag after a few months.
Building and hanging your own is a very doable weekend project. The keys are a solid hidden bracket, screws that go into studs, and a little patience with the level. This guide walks through the whole process.
Choose Your Shelf Style
There are two easy routes for beginners:
- Hidden bracket kit plus a shelf board. You buy a steel floating shelf bracket (rods that stick out from a wall plate) and drill matching holes into the back of a solid board. This is the sturdiest option and the one covered below.
- Hollow box shelf over a cleat. You build a hollow box and slide it over a strip screwed to the wall. It looks chunky and modern but takes more cutting and assembly.
For the board, a solid piece around 1.5 to 2 inches thick works best, since the bracket rods need to be fully hidden inside. Many hardware stores will cut a board to length for you for little or no fee. Paint it white or a soft neutral to match your wall, or choose a light, smooth finish for a clean look.
What You Need
- A floating shelf bracket for each shelf, sized to your shelf length (usually $15 to $35 each)
- A solid shelf board, 8 to 10 inches deep and 1.5 to 2 inches thick
- A stud finder
- A cordless drill with a long drill bit sized to the bracket rods
- A drill guide or a steady hand and a square
- A 2 foot level and a pencil
- A measuring tape
- Screws rated for the bracket (often included) and heavy duty wall anchors only for spots without a stud
- Fine sandpaper (220 grit), primer and paint or a clear water based sealer
- Safety glasses and a dust mask
- A sturdy step stool
Safety note: before drilling, scan the wall for electrical wires and pipes. Avoid drilling directly above or below outlets and switches, where wires usually run, and behind sinks, where pipes do. Wear safety glasses whenever you drill.
Prepare the Shelf Board
- Sand and finish. Smooth all faces and edges with fine sandpaper, wipe off the dust, then prime and paint or seal. Let it dry fully. Finishing before you drill keeps paint out of the holes.
- Mark the rod holes. Hold the bracket against the back edge of the board and mark the center of each rod. They should sit in the middle of the board’s thickness.
- Drill the holes. Drill straight and level, just a touch deeper than the rod length. A drill guide helps keep the bit from wandering. Go slowly and back the bit out often to clear dust.
- Test fit. Slide the board onto the bracket on a table or the floor. It should go on snugly without forcing.
Step by Step: Hanging the Shelves
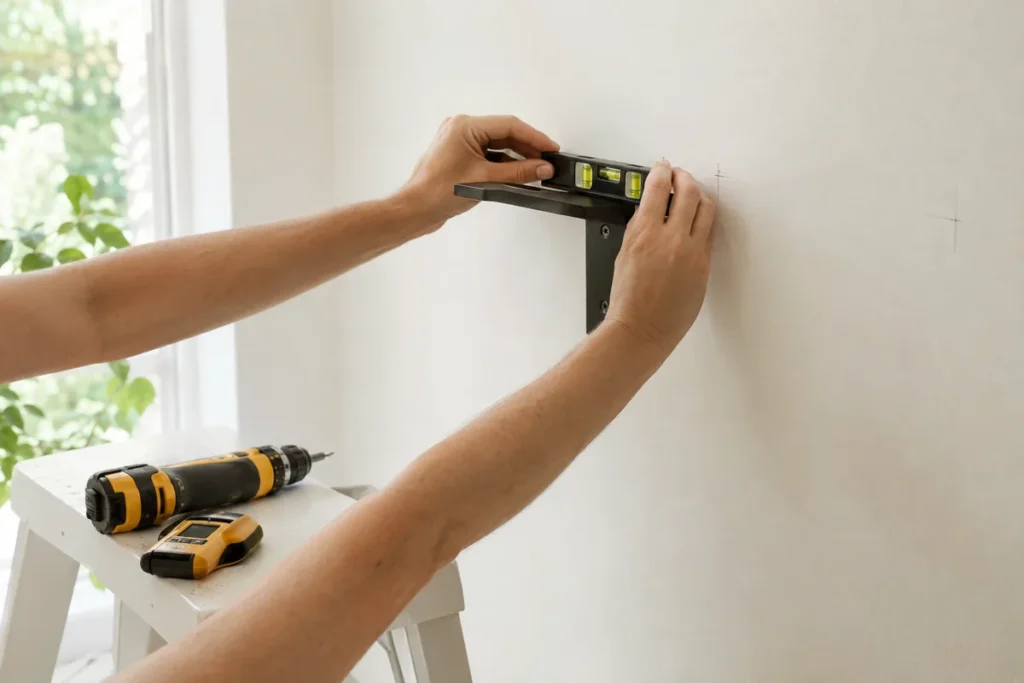
- Find the studs. Run the stud finder along the wall and mark each stud with a small pencil line. Studs are usually 16 inches apart.
- Pick your height. Above a counter, 18 to 20 inches above the countertop is a common starting point. For stacked shelves, leave 12 to 16 inches between them.
- Draw a level line. Use the level to draw a light line where the top of the bracket plate will sit.
- Mount the bracket. Hold the bracket on the line, check it with the level, and mark the screw holes. Drill pilot holes, then drive screws into every stud you can reach. Use heavy duty anchors only for holes that miss a stud.
- Check again. Set the level on the rods themselves. If they tilt slightly downward, many brackets allow a small adjustment, or you can add a thin shim behind the bottom of the plate.
- Slide on the shelf. Push the board onto the rods until it sits flush with the wall. Some kits include a small screw from the top or bottom to lock the board in place.
- Touch up. Fill any pencil marks or scuffs and touch up the paint.
How Much Weight Can Floating Shelves Hold?
It depends on the bracket, the board depth and whether you hit studs. As a loose guide:
- Screwed into two or more studs: many kits are rated for 50 to 100 pounds or more per shelf
- Anchors only: much less, often light decor only
- Deeper shelves: hold less, because weight further from the wall puts more strain on the bracket
Always follow the weight rating on your bracket. Stacks of dinner plates are heavier than they look, so keep heavy items close to the wall and near the studs.
How to Style Floating Shelves
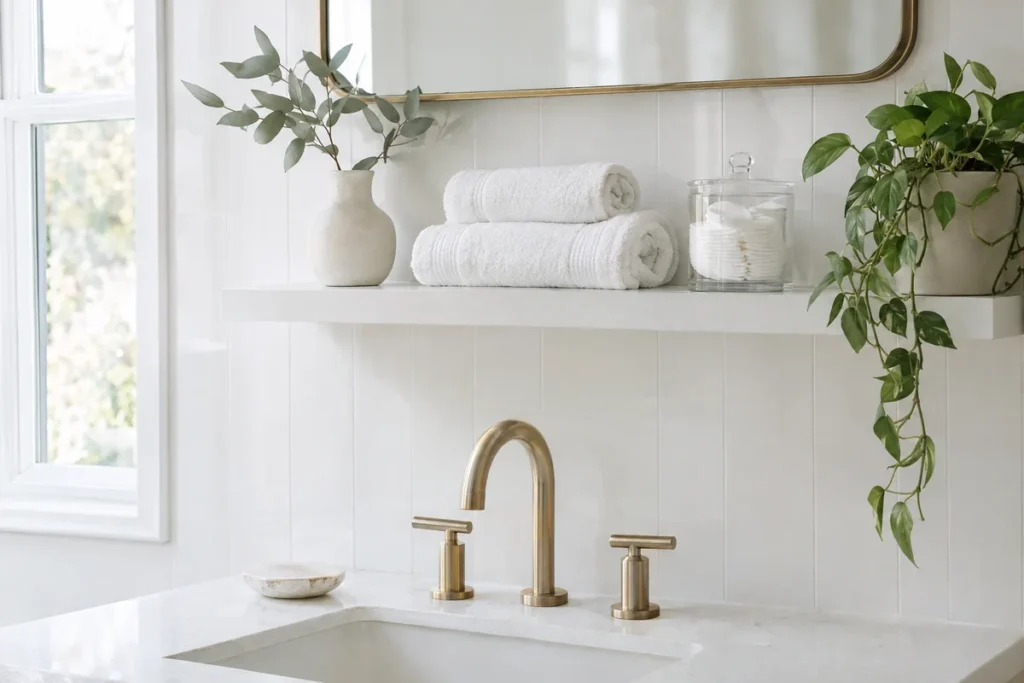
A few simple rules keep shelves from looking cluttered:
- Group in odd numbers. Three items together tend to look more natural than two or four.
- Mix heights. Pair a tall vase with a low bowl and a short stack of plates.
- Add something living. A trailing plant softens straight lines.
- Repeat colors. Stick to two or three tones, like white, glass and green.
- Leave breathing room. Empty space is part of the look.
In a kitchen, keep everyday dishes and glasses at the front and within reach. In a bathroom, folded towels, a small plant and a few glass jars work well.
Floating shelves add storage and polish at the same time. Take your time finding the studs, check the level twice, and you will have shelves that stay straight for years.
Which room in your home could use a pair of floating shelves first? Tell us in the comments.
Quick Questions
Can I hang floating shelves without studs?
You can for light decor using heavy duty drywall anchors, but they will not hold much weight. For dishes or books, at least one or two screws should go into studs.
Why are my floating shelves sagging?
Usually the bracket is not screwed into studs, the shelf is too deep for the bracket, or it is overloaded. Re-mounting into studs and using a heavier bracket typically fixes it.
Can I put floating shelves in a bathroom?
Yes. Seal every side of the board, including the back and the drilled holes, so humidity does not cause swelling.
What size should floating shelves be?
Eight to 10 inches deep works for most uses. For length, 24 to 36 inches is a common choice that can reach two studs.