That dated dresser or tired nightstand is probably solid, useful and perfectly sized. It just looks wrong. Paint can fix that in a weekend, but the thought of sanding every surface (the dust, the noise, the sore arms) is what keeps most pieces sitting in the corner unchanged.
Here is the good news. For most furniture, you can skip heavy sanding entirely. The secret is not a magic paint. It is good cleaning, a chemical deglosser and a bonding primer that grips glossy surfaces. Follow the steps below and you will get a smooth, durable finish with prep that takes minutes.
When You Can Skip Sanding (and When You Cannot)
No-sand painting works well on:
- Factory finished wood and wood veneer in decent shape
- Laminate and melamine (the smooth, plastic-like surfaces on flat pack furniture)
- Previously painted pieces where the old paint is firmly stuck
- Metal side tables and bed frames, with a primer made for metal
You still need some sanding or scraping when:
- Old paint is peeling, flaking or bubbling
- There are deep scratches, gouges or water rings you want gone
- The surface is rough, raw or splintered wood
A quick test helps. Press a strip of painter’s tape firmly onto the old finish, then rip it off. If flakes come off with the tape, scrape and sand those areas first.
Safety note: furniture painted before 1978 may have lead paint. Use an inexpensive lead test swab from a hardware store before you scrape or sand anything old, and do not disturb paint that tests positive.
What You Need
- A degreasing cleaner or a mix of warm water and a few drops of dish soap
- A liquid deglosser (sometimes sold as liquid sander) and lint free rags
- Bonding primer (a shellac based or water based bonding primer for glossy surfaces)
- Furniture paint or interior latex paint in satin or semi-gloss, about one quart for a dresser
- A water based clear topcoat in matte or satin (optional, but recommended for tabletops)
- A 2 inch angled synthetic brush and a 4 inch foam roller with fine foam covers
- Painter’s tape, a drop cloth and a screwdriver
- Wood filler and a putty knife for small dings
- Nitrile gloves
- A fine sanding sponge (220 grit) for quick touch ups between coats
Budget: roughly $40 to $70 if you are buying everything new, less if you already own brushes and a drop cloth.
Step by Step: Painting Without Sanding
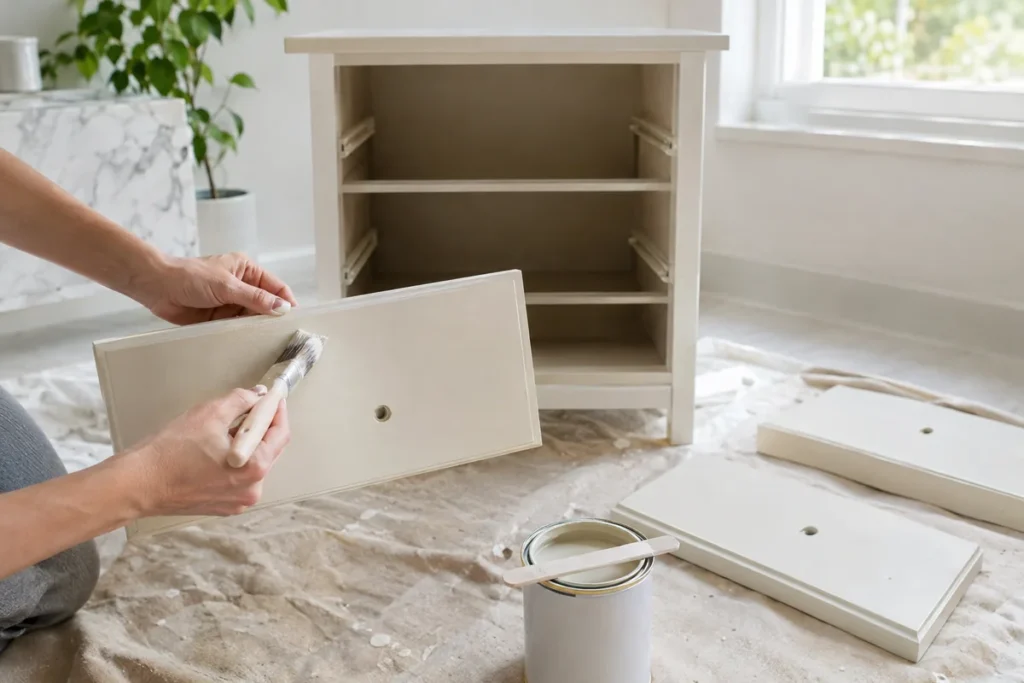
- Remove the hardware and drawers. Take off knobs and pulls and keep the screws in a small bowl. Pull out the drawers and set them face up on the drop cloth.
- Clean thoroughly. Wipe every surface with the degreasing cleaner. Kitchen and bedroom furniture often carries a film of oils and lotion you cannot see, and paint will not grip it. Rinse with a damp cloth and let it dry.
- Fill any dings. Press wood filler into small chips with the putty knife, let it dry, and smooth it with the sanding sponge. This is the only sanding you need.
- Apply the deglosser. Wearing gloves and working with a window open, wipe the deglosser on with a rag, following the label for wait time (usually 10 minutes or so). It dulls the shine so primer can bite in.
- Tape off what stays unpainted. Drawer sides, inside edges and any glass get a neat line of painter’s tape.
- Prime. Brush primer into corners and details, then roll the flat areas with the foam roller for a smooth surface. One thin coat is enough on most pieces. Shellac based primer dries in under an hour. Water based primer usually needs one to two hours.
- Paint in thin coats. Use the same brush and roll method. Thin coats look better and dry harder than one thick coat. Plan on two coats, about four hours apart, or as the can recommends.
- Smooth between coats. Once a coat is dry, run the sanding sponge lightly over any bumps or drips, wipe the dust and continue.
- Seal high touch surfaces. For tops and drawer fronts, add two thin coats of water based topcoat. Skip oil based topcoats on light colors because they can yellow.
- Reattach hardware. Wait at least a full day before putting drawers back and screwing on knobs.
Tip: keep a wet edge. Work one surface at a time from one end to the other, and do not go back over areas that have started to dry. That is what causes streaks.
Let It Cure Before You Use It
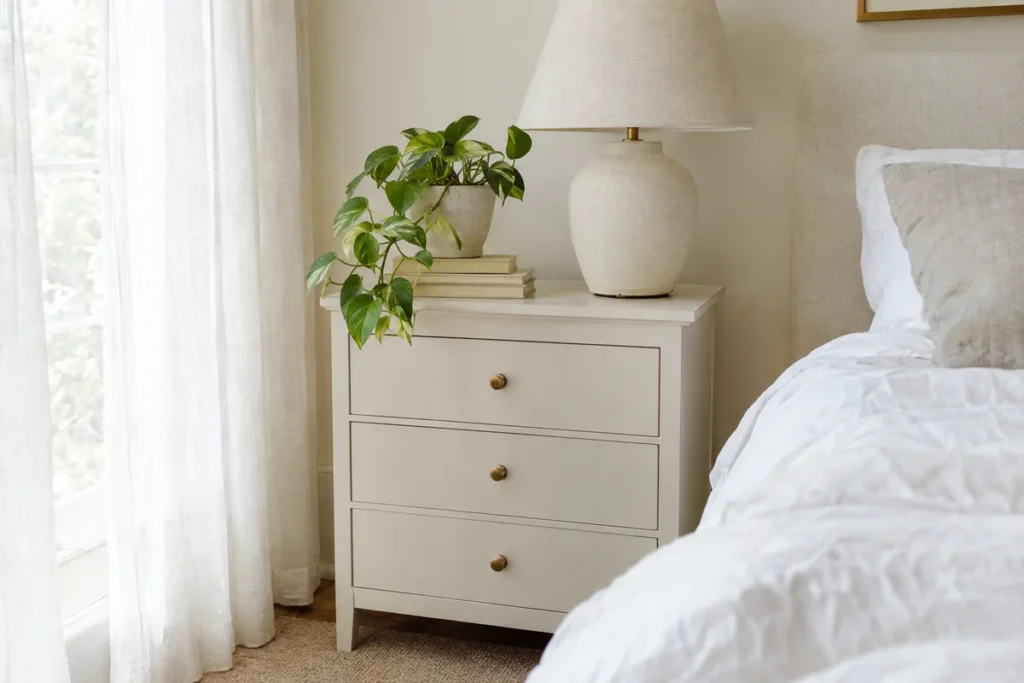
Paint feels dry in an hour or two, but it is not fully hard. Most latex paints take two to three weeks to cure completely. During that time:
- Use the piece gently and avoid sliding heavy items across the top
- Do not set a damp glass or a hot mug down without a coaster
- Leave drawers slightly open for the first day so they do not stick
- Wait about a week before putting a lamp or decor back on a painted tabletop
If you need the piece in service sooner, a topcoat helps, and so does good airflow and a warm room.
Choosing Colors That Look Current
A few color directions that tend to look fresh and work in most rooms:
- Soft white or warm cream for nightstands and bedroom dressers
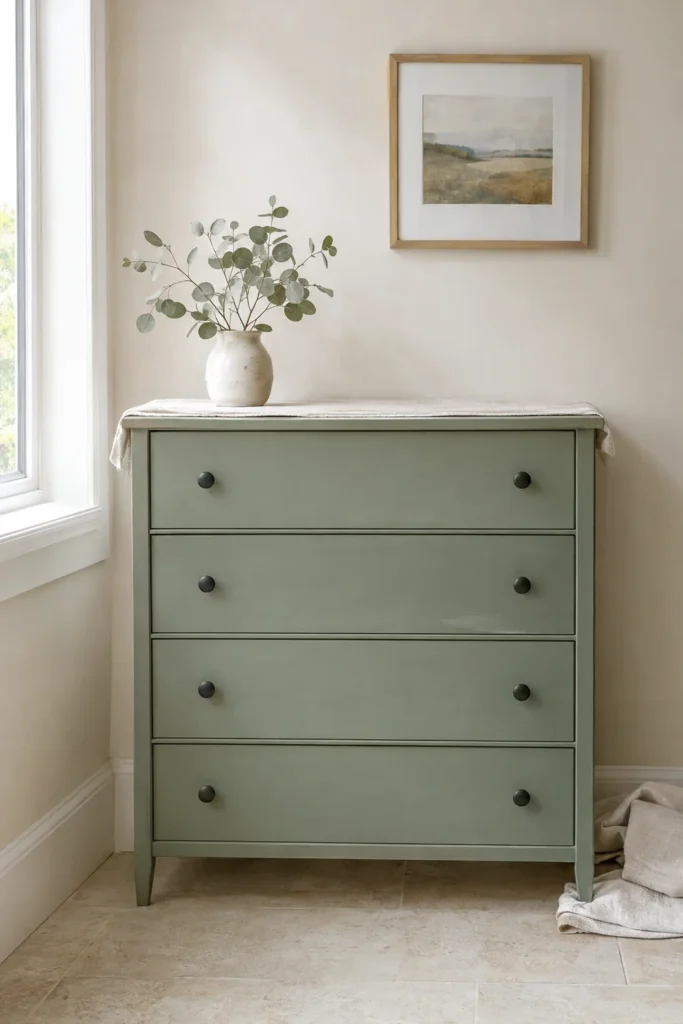
- Muted sage or eucalyptus green for a calm, natural feel
- Greige and mushroom tones that blend with light floors
- Deep navy or soft black for a single statement piece
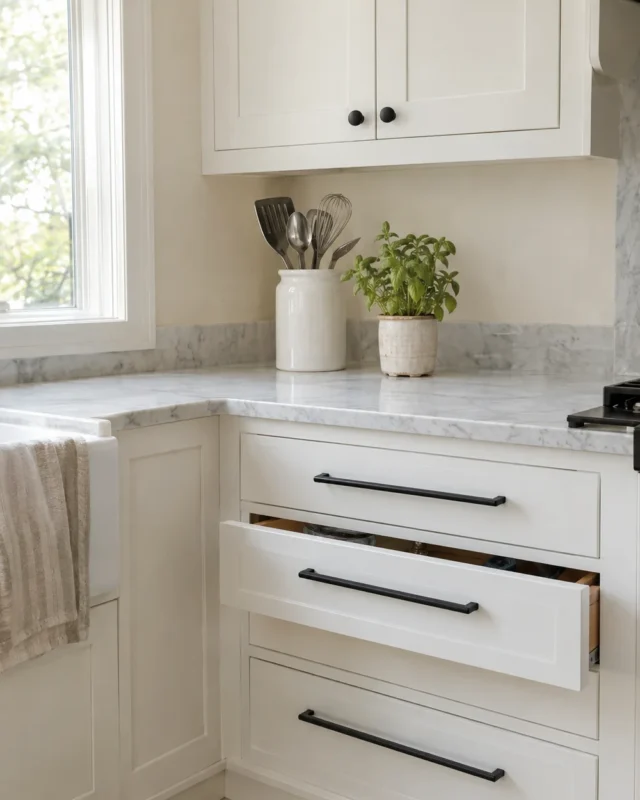
Pair light paint with matte black or brushed brass hardware for a polished look. New knobs usually cost a few dollars each and change the piece as much as the paint does.
Common Mistakes to Avoid
- Skipping the cleaning step. This is the number one reason paint peels.
- Using the wrong primer. Standard primer does not grip laminate or glossy finishes well. Look for “bonding” on the label.
- Painting in a cold or humid garage. Most paint wants temperatures between about 50 and 85 degrees F.
- Rushing the second coat. Tacky paint drags and leaves marks.
A painted piece is one of the most satisfying budget projects you can do. Give yourself a weekend, keep the coats thin, and let it cure before you load it up again.
Which piece of furniture in your home is first in line for a fresh coat of paint? Tell us in the comments.
Quick Questions
Can I use chalk paint without sanding?
Yes. Chalk style paint grips most surfaces without primer, which is why it is popular. It does need a wax or clear topcoat for durability, and it gives a flat, matte look rather than a smooth satin finish.
Do I really need primer if I use paint and primer in one?
On glossy wood, laminate or anything previously varnished, yes. Paint and primer products work on clean, dull surfaces, but a dedicated bonding primer is what keeps paint from scratching off a slick finish.
How do I get rid of brush strokes?
Use a quality synthetic brush, a foam roller on flat areas, and thin coats. A paint conditioner (a small bottle sold near the paint) also slows drying so marks level out on their own.
Can I paint laminate furniture?
Absolutely. Clean it well, degloss it, and use a bonding primer. Laminate is one of the surfaces where no-sand methods work best.