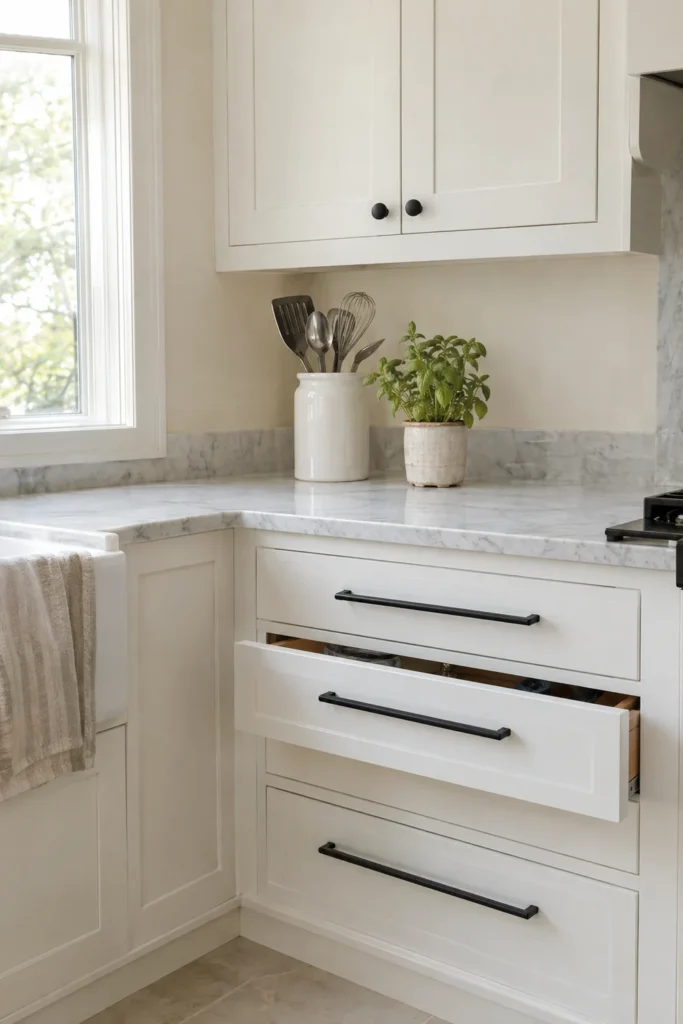
If your kitchen feels dated but a full remodel is not in the budget, look at the hardware. Small, shiny knobs from another decade can make even clean, solid cabinets feel tired. Swapping them for modern pulls is one of the quickest changes you can make.
The job itself is simple. The part that trips people up is measuring, so this guide focuses on getting sizes right and lining everything up neatly.
Swap or Start Fresh?
Before you shop, decide which kind of update you are doing.
- Direct swap: new hardware uses the same holes as the old. This is the easiest option and needs no drilling. You just need to match the hole spacing exactly.
- New layout: you are switching from knobs to pulls, or changing sizes. This means drilling new holes and filling old ones, which takes longer but gives you more freedom.
To check, remove one existing pull and measure from the center of one screw hole to the center of the other. This is called the center to center measurement, and it is printed on almost every pull you will find in stores. Common sizes are 3 inches, 96 mm, 128 mm and 160 mm.
How to Choose Hardware Sizes
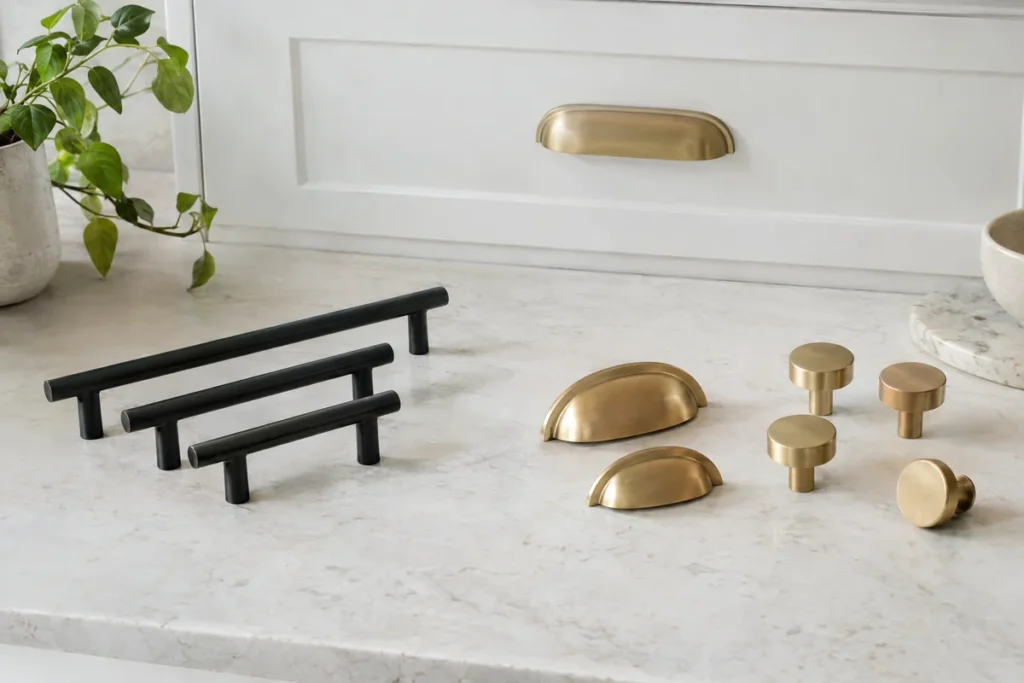
A few loose guidelines that look balanced on most cabinets:
- Upper doors: small knobs or short pulls, 3 to 4 inches
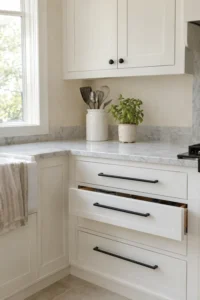
- Standard drawers (up to about 24 inches wide): pulls around 5 to 6 inches
- Wide drawers (over 24 inches): longer pulls, roughly one third of the drawer width, or two smaller pulls
- Pantry and tall doors: a longer pull, 8 to 12 inches, is easier to grab
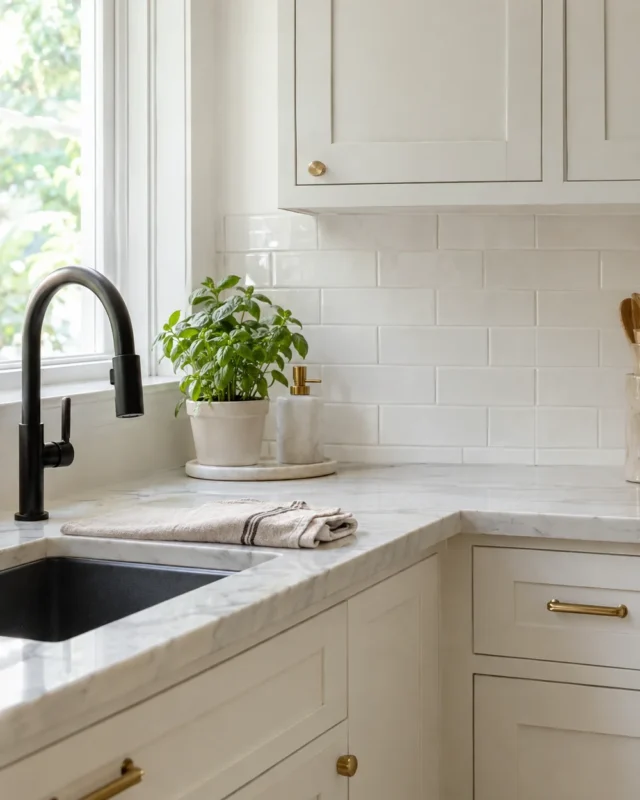
Matte black, brushed brass and satin nickel all look current. Matte black suits white and light gray cabinets. Brushed brass warms up white, green or navy cabinets. Mixing two finishes (for example brass on lower cabinets and black on the island) can look intentional if you keep the shapes consistent.
Tip: buy one sample pull and hold it up before ordering the full set. Hardware often looks smaller in person than online.
What You Need
- New knobs and pulls (budget pulls start around $2 to $5 each in multipacks)
- A screwdriver
- A measuring tape and a small ruler
- A pencil and painter’s tape
- A cordless drill with a bit sized to your screws (often 3/16 inch)
- A scrap of thin cardboard or a store bought cabinet hardware jig
- Wood filler and a putty knife, plus matching touch up paint, if you are changing layouts
- Screws in a few lengths (drawers and doors can differ in thickness)
- Safety glasses
Fill the Old Holes (If Needed)
- Remove the old hardware.
- Press wood filler into each unused hole, slightly overfilling it.
- Let it dry fully, then smooth flush with fine sandpaper.
- Prime and paint over the patch so it blends with the cabinet.
If your new pull is long enough to cover the old holes, you can sometimes skip this step entirely.
How to Install New Pulls Step by Step
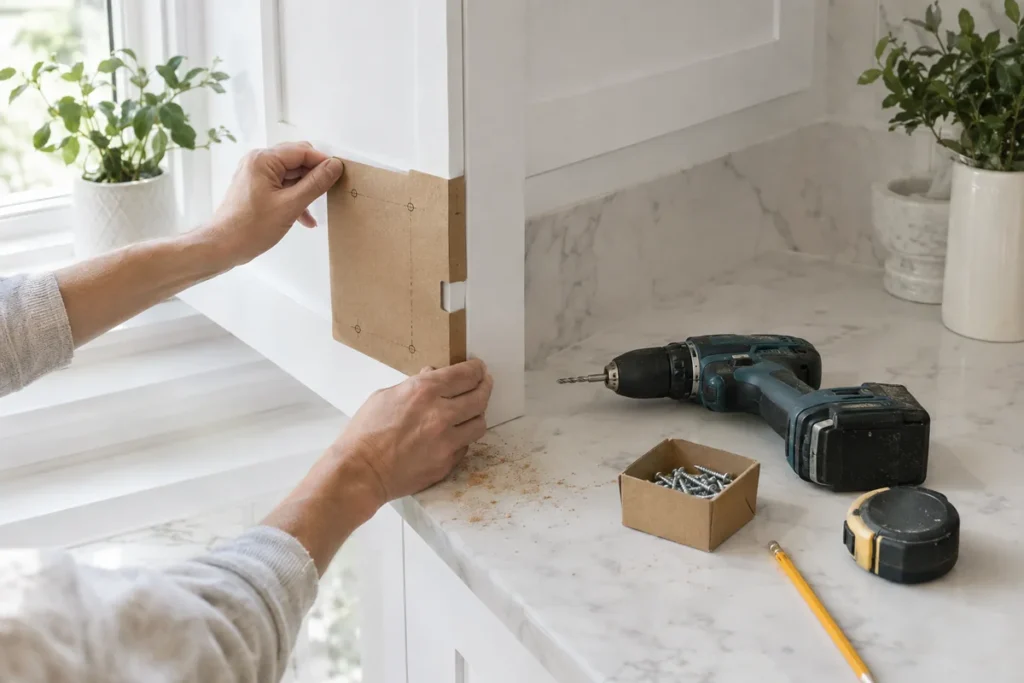
- Decide on placement. On shaker style doors, knobs usually sit about 2 to 3 inches from the corner on the stile (the flat frame part), near the bottom of upper doors and near the top of lower doors. On drawers, center pulls side to side and either center them top to bottom or align them on the top rail.
- Make a template. Cut a piece of cardboard to fit the corner of a door or the top of a drawer. Mark the exact screw hole positions on it and poke holes with a nail. Label which side goes up.
- Mark each cabinet. Hold the template in place, tape it if needed, and mark through the holes with a pencil. Using one template for every door is what keeps everything aligned.
- Protect the face. Put a small square of painter’s tape where you will drill. It reduces chipping on painted finishes.
- Drill straight. Drill from the front with the drill held level. Ease up as you near the back so the wood does not splinter. A scrap block held against the back helps too.
- Check the screw length. Thread a screw through and test. If it is too long, the pull will not tighten. If it is too short, it will not grab.
- Attach the hardware. Tighten firmly, but do not overtighten, which can strip the threads or crack the cabinet.
- Step back and check. Look at the row from across the room. If one sits crooked, a slightly loosened screw and a nudge usually fixes it.
Safety note: wear safety glasses when drilling, and empty drawers before you work on them so they are lighter and nothing breaks if they slip.
Small Extras That Help
- Add soft close bumpers. Small clear dots inside doors stop slamming and cost very little.
- Tighten hinges while you are there. Loose doors make new hardware look crooked.
- Clean the cabinet faces. A quick wipe with warm soapy water makes everything look newer.
New hardware will not replace your cabinets, but it can make them look intentional and modern again. Spend most of your time on the template and the result will look professionally done.
Are you team matte black, brushed brass or something else for your cabinet hardware? Tell us in the comments.
Quick Questions
Can I put pulls where knobs used to be?
Yes. You will need to drill one new hole and fill the old one, or choose a pull where one screw lines up with the old knob hole and drill only the second.
Should knobs and pulls be the same finish?
They do not have to be, but keeping the same finish throughout a single run of cabinets looks the most cohesive. Mixing finishes works best by area, like the island versus the perimeter.
What if my new pulls do not match the old holes?
Choose a backplate (a small decorative plate that sits behind the pull) to hide the old holes, or fill the holes and drill new ones.
How many pulls do I need?
Count every door and drawer, then add one or two extras in case a screw strips or a piece arrives damaged.