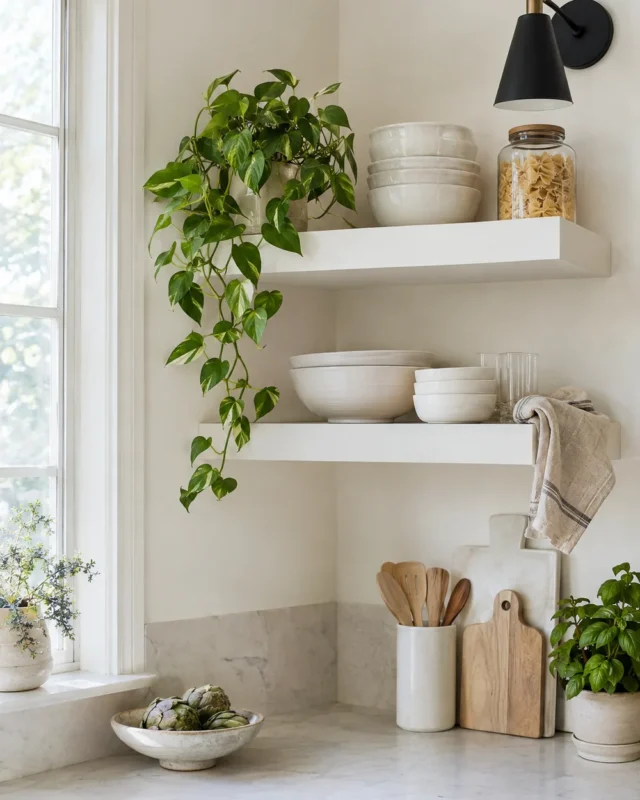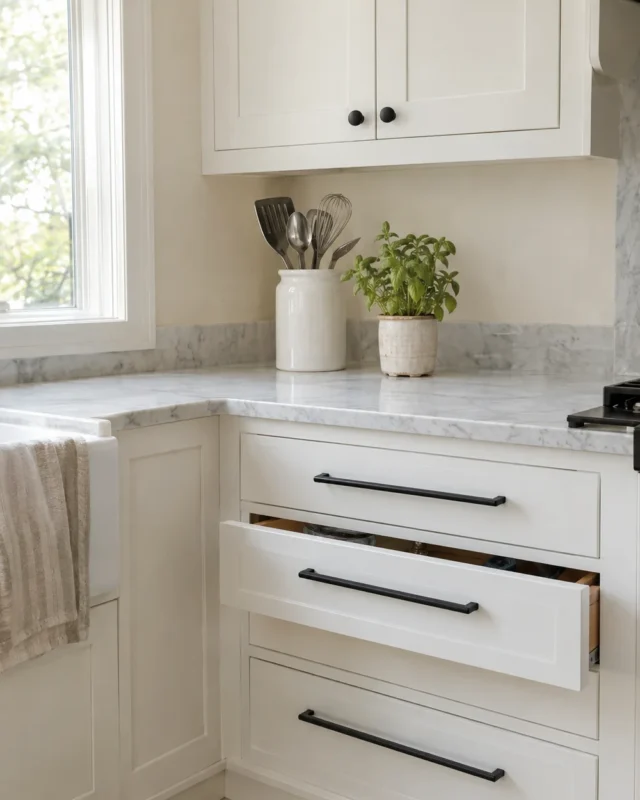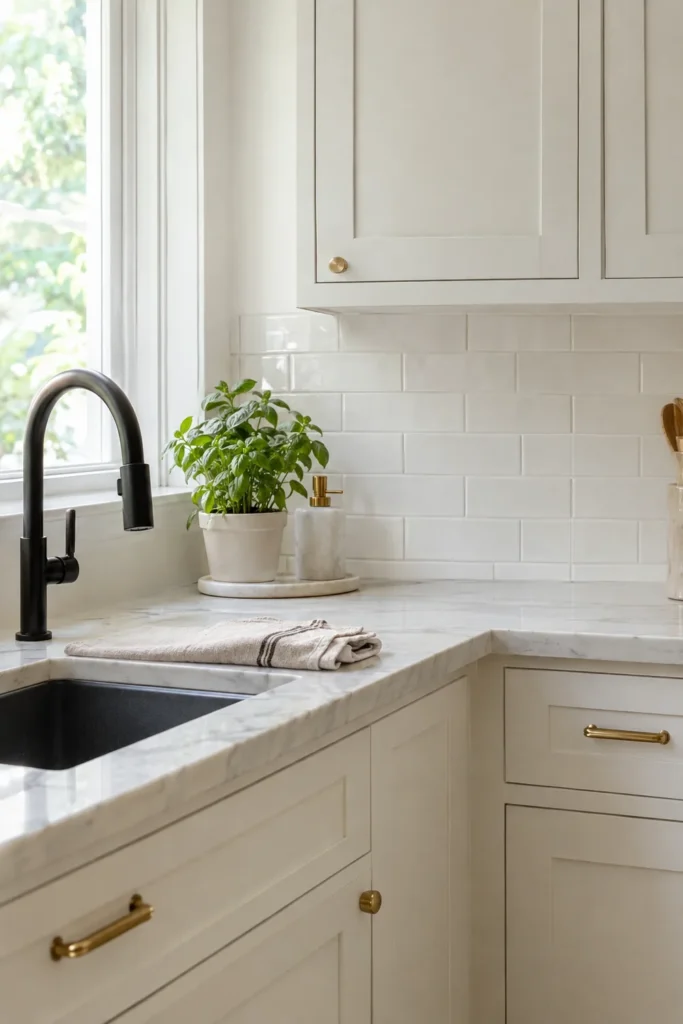
A backsplash is one of the quickest ways to make a kitchen look finished. The trouble is that real tile means grout, a tile saw, mortar and a lot of mess, plus it is permanent, which is a problem if you rent.
Peel and stick backsplash tiles solve most of that. The better ones are thick, slightly dimensional and surprisingly convincing once they are on the wall. With careful prep and a sharp blade, most people can finish a standard kitchen in an afternoon.
Is Peel and Stick Right for Your Kitchen?
Peel and stick works best on smooth, painted drywall or existing smooth tile. It is a good fit if you:
- Rent and need something removable
- Want a quick update before selling
- Have a small backsplash area (most are 20 to 40 square feet)
- Are working with a tight budget, often $3 to $10 per square foot
It is not a great fit for textured walls, fresh paint (less than two to four weeks old), or the wall directly behind a gas range where heat is intense. Most products recommend leaving a gap of several inches around a cooktop or using a heat resistant panel there instead. Always check the label.
What You Need
- Peel and stick tiles, plus about 10 percent extra for cuts and mistakes
- A measuring tape and pencil
- A small level
- A sharp utility knife with fresh blades, and a metal straightedge
- A plastic smoothing tool or a clean, flat credit card style scraper
- A cutting mat or a scrap of cardboard
- Degreasing cleaner and a soft cloth
- A screwdriver for removing outlet covers
- Clear or white silicone caulk for the edges (optional but recommended)
- Outlet box extenders (a few dollars each) if covers will not sit flat afterward
Safety note: turn off power to the outlets at the breaker before working around them, and keep your utility knife blade fresh. Dull blades slip, and slipping blades cause injuries.
Measure and Plan Your Layout
- Measure each section. Write down width and height for every wall area, then multiply to get square feet. Add them up and add 10 percent.
- Find your starting point. Most people start at the bottom left of the most visible wall, with the bottom edge resting just above the countertop. If your counter is uneven, draw a level pencil line and follow that instead.
- Plan around focal points. If you have a window or range hood, dry fit a sheet so the pattern is centered and the cuts land at the edges where they are less noticeable.
- Check the pattern direction. Sheets usually interlock on two sides. Lay a few on the counter first to see how they fit together.
Prep the Wall So the Tiles Actually Stick
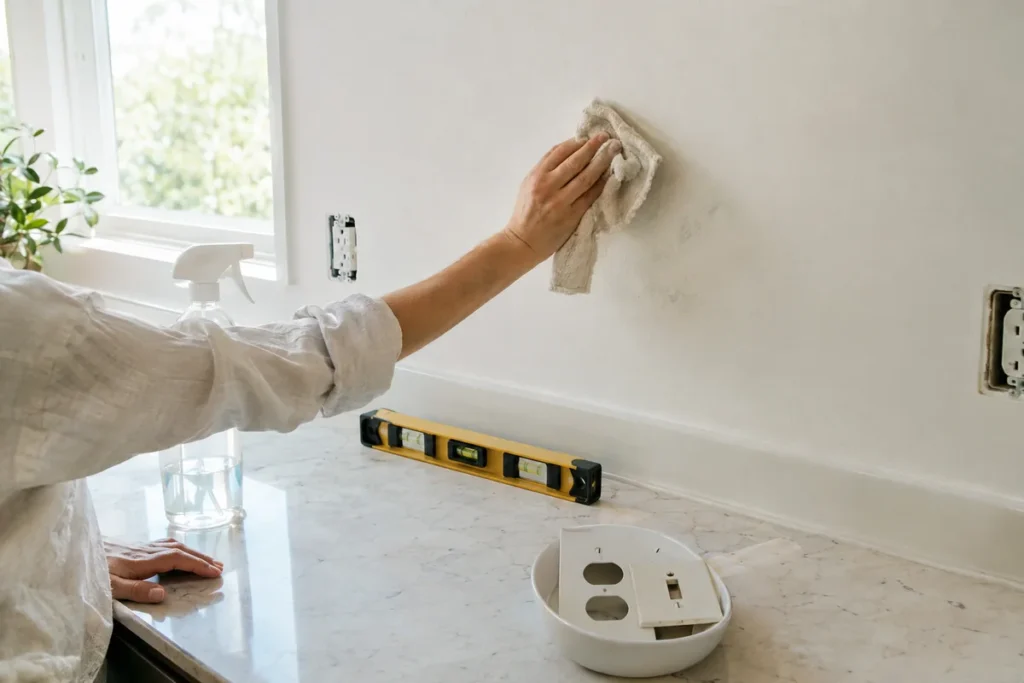
Adhesion is everything. Most peel and stick failures come from a dirty or dusty wall.
- Remove outlet and switch covers.
- Wash the wall with degreasing cleaner. Kitchen walls collect a thin layer of cooking oil, especially near the stove.
- Wipe again with plain water and let it dry completely.
- Fill any holes and lightly smooth bumps. A smooth wall gives a smooth result.
If the room is cold, wait for a warmer day. Most adhesives grip best between about 50 and 90 degrees F.
How to Install Peel and Stick Tiles
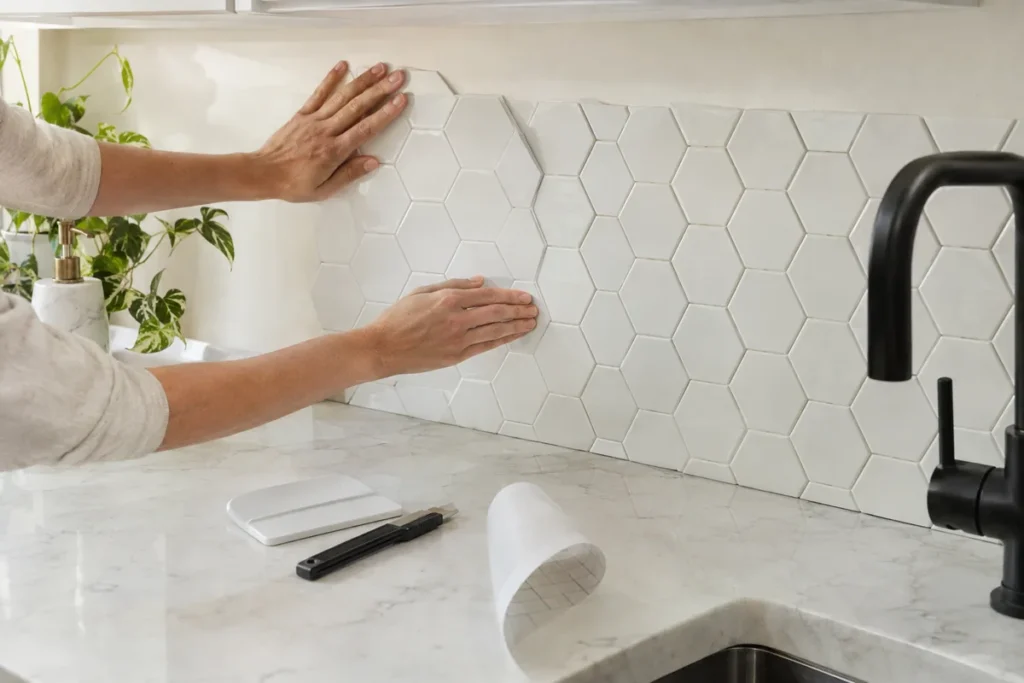
- Peel only part of the backing. Pull back a few inches at the top, line up the sheet with your starting point, and press the top edge in place.
- Work downward. Slowly peel the rest of the backing while smoothing from the center outward with your scraper. This pushes out air bubbles.
- Overlap or butt seams as directed. Some tiles overlap a small strip, others meet edge to edge. Follow the product’s direction so seams disappear.
- Press firmly. Go over each sheet with firm pressure, paying extra attention to edges.
- Cut around outlets. Hold the sheet in place, mark the outlet box with a pencil, then cut the opening on your mat with the utility knife. Cut slightly small, test fit, and trim more if needed.
- Handle corners. On inside corners, cut the sheet to end exactly at the corner and start a fresh sheet on the next wall. Bending a sheet into a corner usually causes it to lift later.
- Finish the edges. Trim the final edge along cabinets with the straightedge and a fresh blade. Change blades often.
- Reinstall covers. Use outlet box extenders if the added tile thickness keeps covers from sitting flush. Turn the power back on.
- Caulk the bottom edge. A thin bead of silicone along the countertop seam keeps water and crumbs from getting behind the tiles.
Tips for a More Realistic Look
- Choose thicker, textured tiles. Flat, glossy vinyl looks like stickers. Slightly raised tiles with visible grout lines look much closer to the real thing.
- Keep grout lines straight. Check with the level every few sheets.
- Do not stretch the sheets. Stretching distorts the pattern and leads to lifting.
- Pick classic shapes. White subway, small hexagons and soft zellige style tiles look convincing and timeless.
Care and Removal
Wipe tiles with a soft cloth and mild soapy water. Avoid abrasive scrubbers and strong solvents.
To remove later, warm a corner with a hair dryer on low and peel slowly at a low angle. Any leftover adhesive usually comes off with a little warm soapy water or a citrus based adhesive remover. On painted walls, a touch up may still be needed, so renters should test a small piece in a hidden spot first.
A peel and stick backsplash is one of those weekend projects that makes the whole kitchen feel newer. Take your time on the prep, keep your blade sharp, and the result can look surprisingly polished.
Are you leaning toward classic white subway tile or something bolder for your backsplash? Tell us in the comments.
Quick Questions
Can you put peel and stick backsplash over existing tile?
Yes, if the tile is smooth and clean and the grout lines are shallow. Deep grout lines can show through, so some people skim them with a thin layer of lightweight spackle first.
Will peel and stick tile damage my walls?
On well cured paint it usually removes cleanly with gentle heat. On fresh or flat paint, it can pull some paint off. Test a small piece in a hidden spot first.
How long does peel and stick backsplash last?
With good prep and normal care, many installations last several years. Lifting usually starts at edges near heat or water, which is why caulking the bottom seam helps.
Can I use it behind the stove?
Only if the product says it is rated for that area and you keep the recommended distance. Gas ranges are the most demanding, so a metal or tile panel directly behind the burners is the safer choice.